Two Versions of Curly Kale Chips: Salted and Ranch
- For the Salted version, you will need:
- 5-6 fresh kale leaves (makes one batch about 2 cups)
- 1/4 cup of olive oil
- salt and pepper to taste
- For the Ranch version, you will need:
- 5-6 fresh kale leaves
- 1/4 cup of olive oil
- 1-2 tsp. ranch seasoning mix
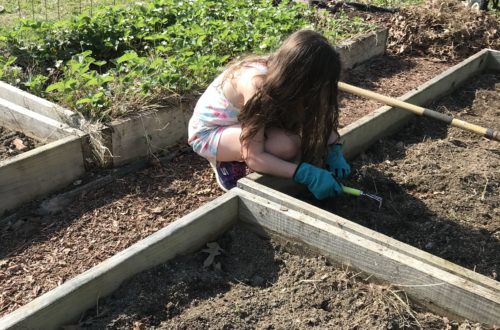
This year, I planted some curly kale in my garden beds. It was the first time I’d planted any leafy greens besides lettuce. I was really surprised how easy it was to grow and the abundance that only a few plants brought – I planted six plants.
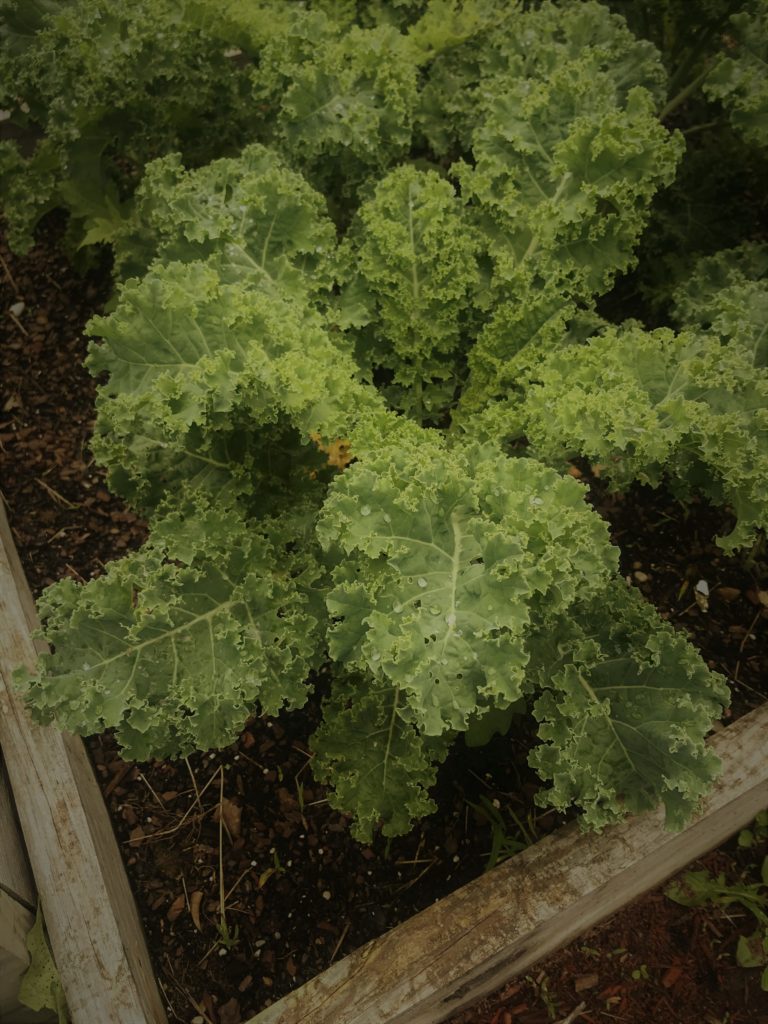
Since no one in my family likes kale (or any green veggie for that matter), I planted this for two reasons. For one, I wanted some greens to use in my green smoothie besides baby spinach, and two, I wanted to make kale chips! I had always bought kale chips from the store, but never tried to make them at home, so I thought I’d give it a whirl. And you know what? They turned out great!
I made two different versions: salted and ranch. Here’s how I did it. FYI – you don’t have to use curly kale, specifically – any kale will do. 🙂
After washing the kale thoroughly, I laid them on a tea towel to dry. You want them to dry completely before proceeding to the next step.
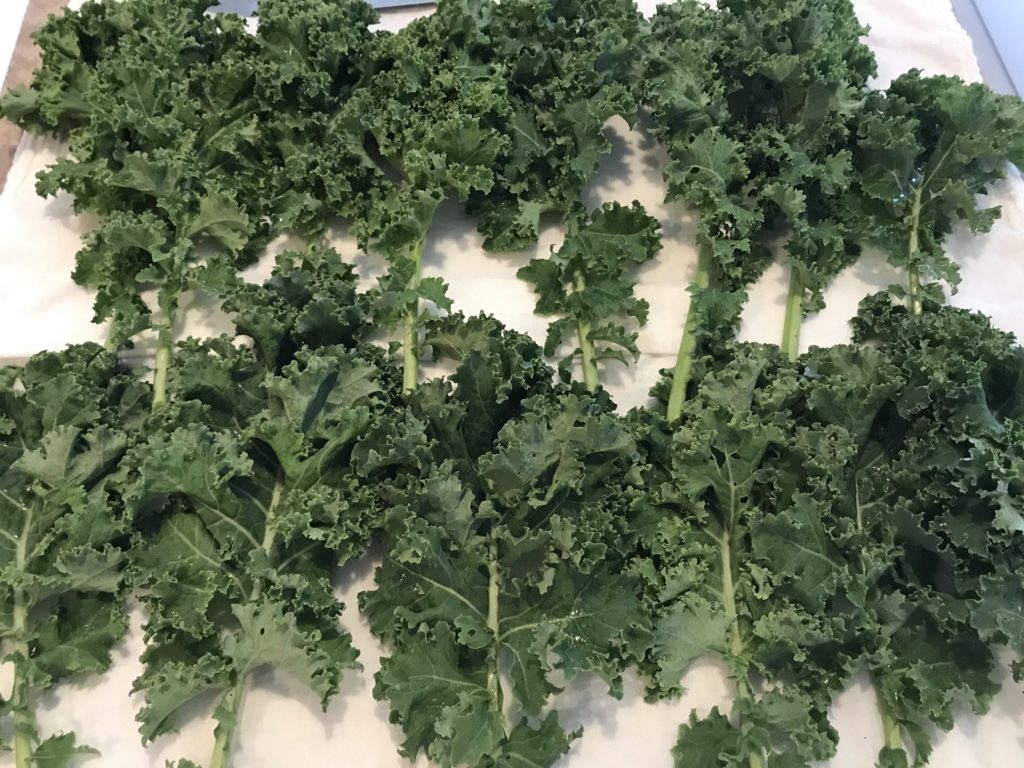
After the kale is completely dry, I preheated the oven to 350 degrees. Then, I used the spine (backside) of my butcher’s knife to remove the leaves from the rib or stem. I prefer to use my hands and tear the leaves into chip-sized pieces. I think they turn out better if they aren’t too big.
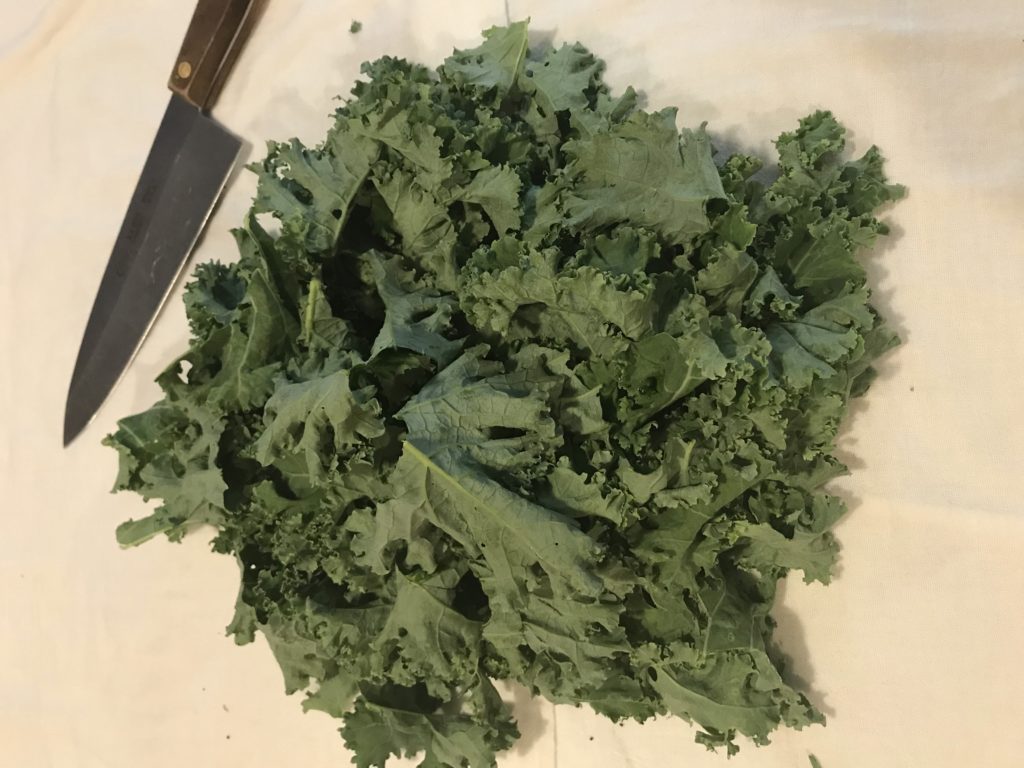
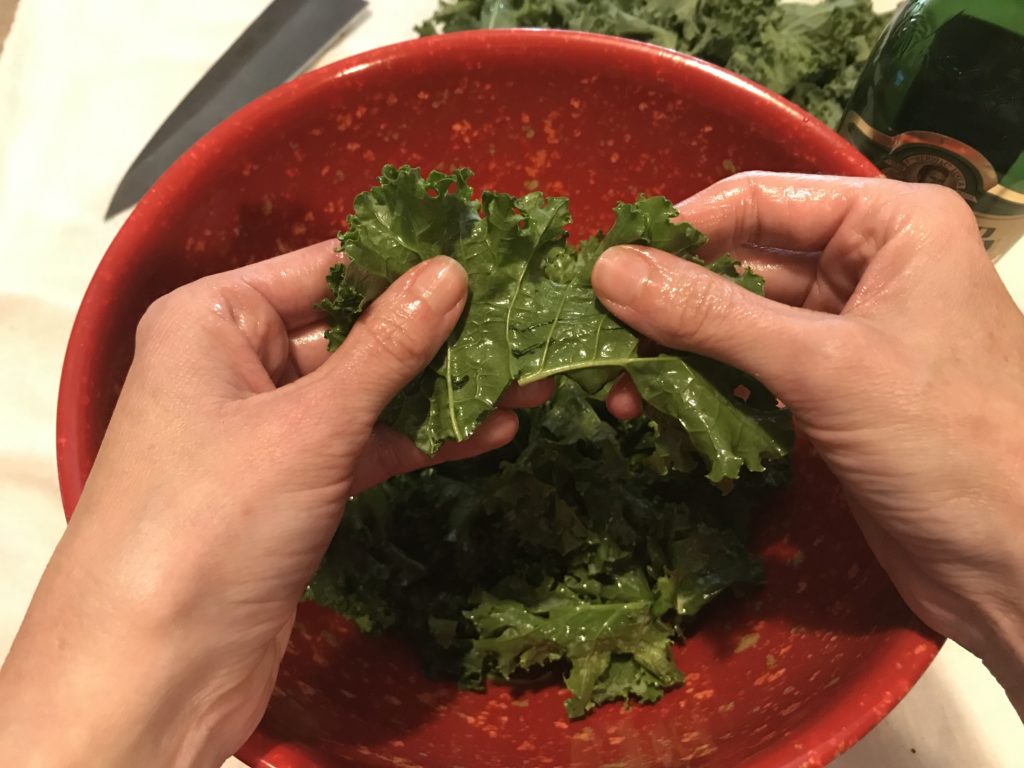
Next, I transfer the kale into a large bowl, so I can coat it with the olive oil (I have never used any other kind of oil, so for this recipe, I would recommend using olive oil only). I have seen other kale chip recipes that instructs you to drench the kale in oil, but I don’t like my kale chips deep-fried in the oven! However, it is important to make sure the entire surface of the kale is coated in oil. The method I use to do this takes time, but it’s worth it!
I start by drizzling in a small amount of oil over the kale and then use my hands to massage it in to every crease of the leaves. If the leaves are too dry, drizzle in a little more. When you are finished, your kale should be shiny, but not dripping with oil.
For the salted version, this is when I like to add the salt and pepper. I just used coarse salt, but you can use sea salt, seasoned salt, or a salt substitute like Mrs. Dash. The ranch version is a little different, so I will explain that at the end.
After the leaves are seasoned with salt, place them on a large baking sheet. I like to cover my baking sheet with aluminum foil to make clean-up easy. No need to oil the pan, since the kale is already coated with oil. Be sure not to layer the kale on top of each other. You should have a single layer of kale leaves with a little space between them. If they are folded over, unfold them. This will help them to bake more evenly.
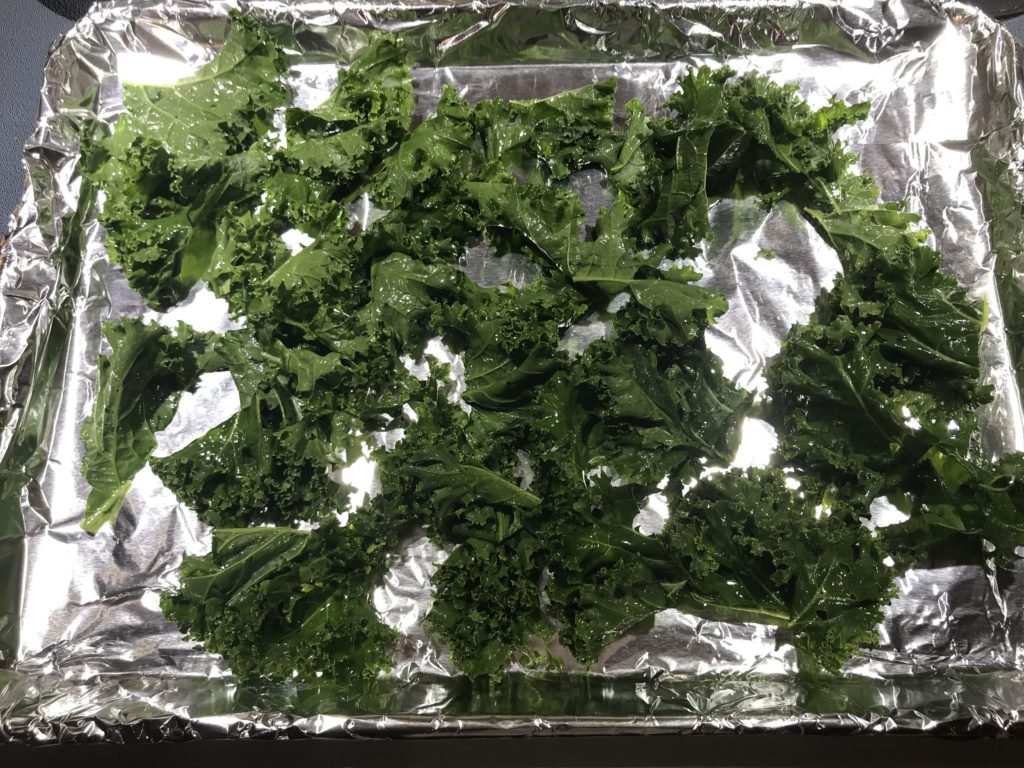
Bake them in the over for about 10-12 minutes or until the kale is crisp.
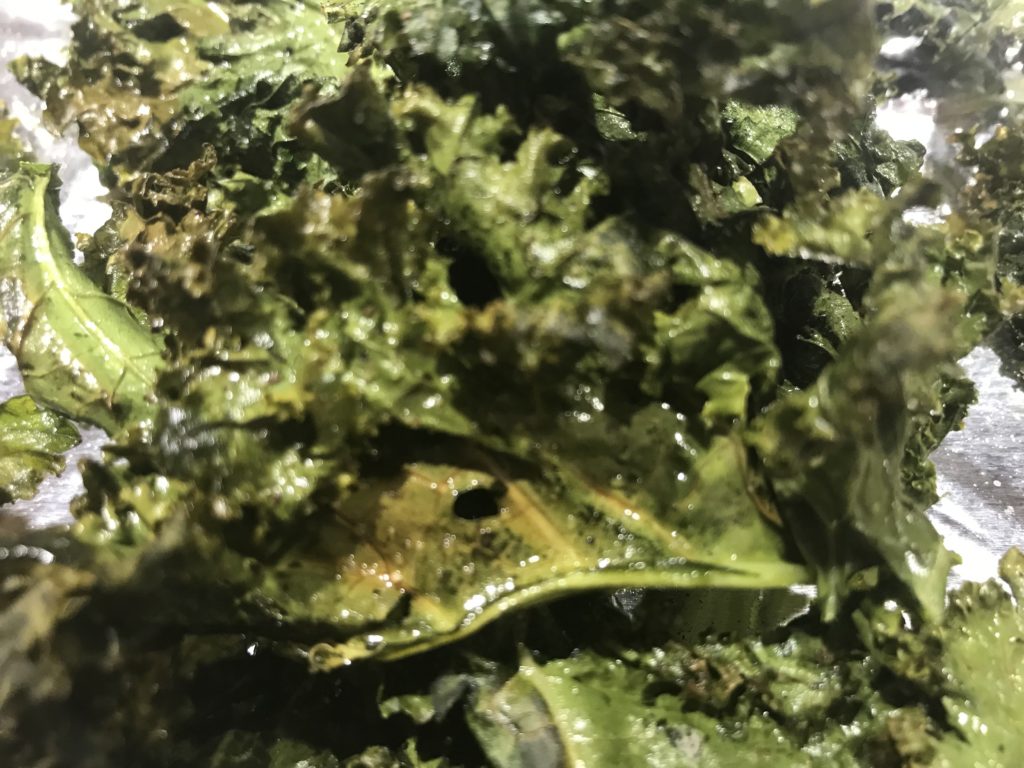
For the ranch version, the steps are the same until it is time to coat the leaves with the olive oil. Instead of using just the olive oil, I mixed the ranch seasoning mix with the oil and then drizzled it in to coat. A little ranch seasoning goes a long way, so you might have to play with the seasoning to oil ratio to get the right amount of ranch flavor you like.
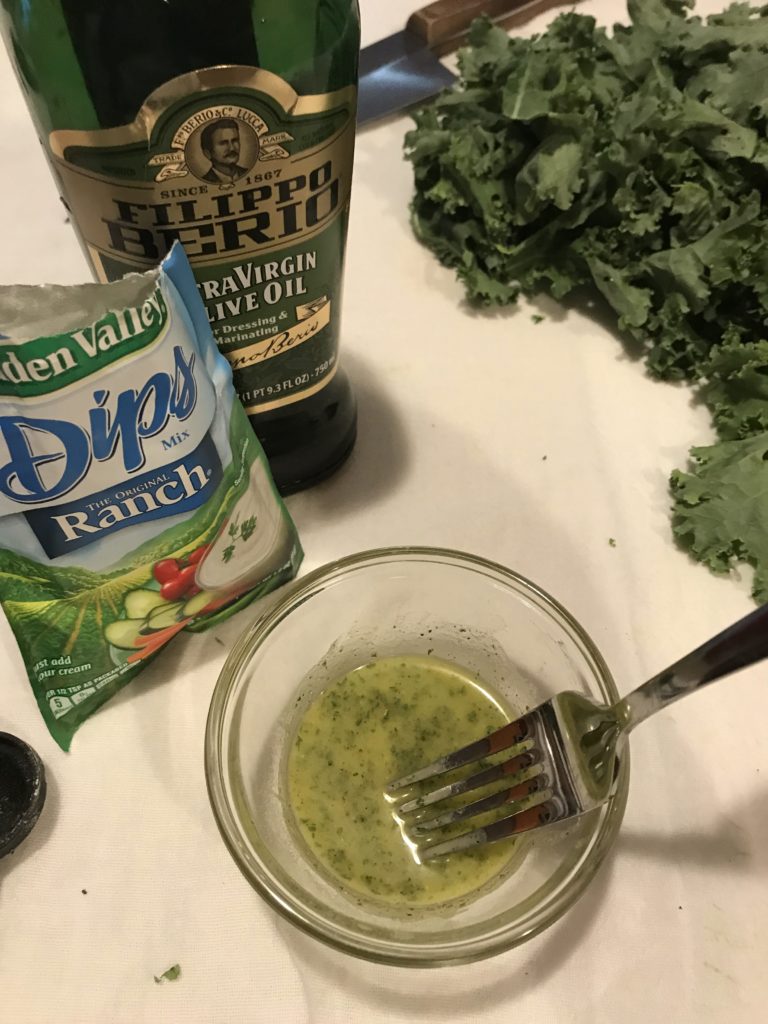
Just like the salted version, don’t dump in the whole amount of seasoned oil into the bowl. Drizzle it in, little at a time, until all the leaves are evening coated, not dripping.
Once coated, place them on the baking sheet in an even single layer and bake until crisp!
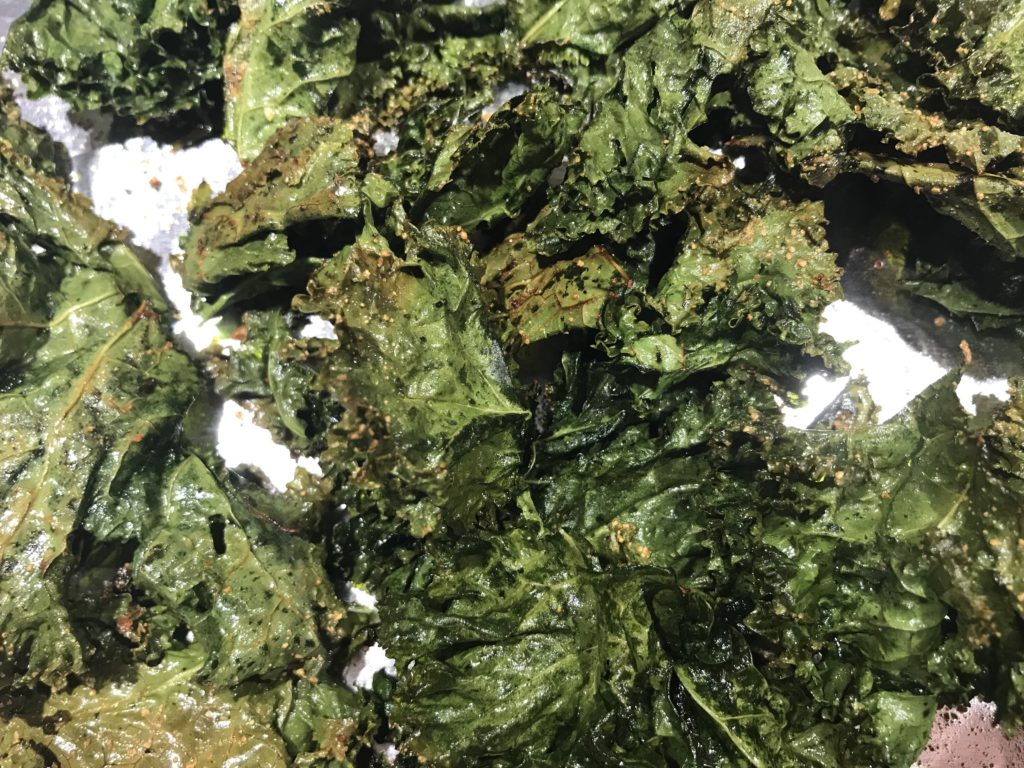
All that’s left now is to enjoy them! If you don’t eat all of them in one sitting, you can store them in an airtight container. Just be sure to allow them to cool completely before you store them, or else, they will lose their crispiness.
If you try this recipe, please let me know how they turned out.
If you have some tips or tricks you’d like to share, I’d love to hear them!




One Comment
Stacy Sexton
I loved the photo of the kale growing in your raised bed garden.It looks so picture perfect.🌱 I have got to try this recipe. I think I will try the salted version first. Great post!😁