Two Versions of Curly Kale Chips: Salted and Ranch
- For the Salted version, you will need:
- 5-6 fresh kale leaves (makes one batch about 2 cups)
- 1/4 cup of olive oil
- salt and pepper to taste
- For the Ranch version, you will need:
- 5-6 fresh kale leaves
- 1/4 cup of olive oil
- 1-2 tsp. ranch seasoning mix
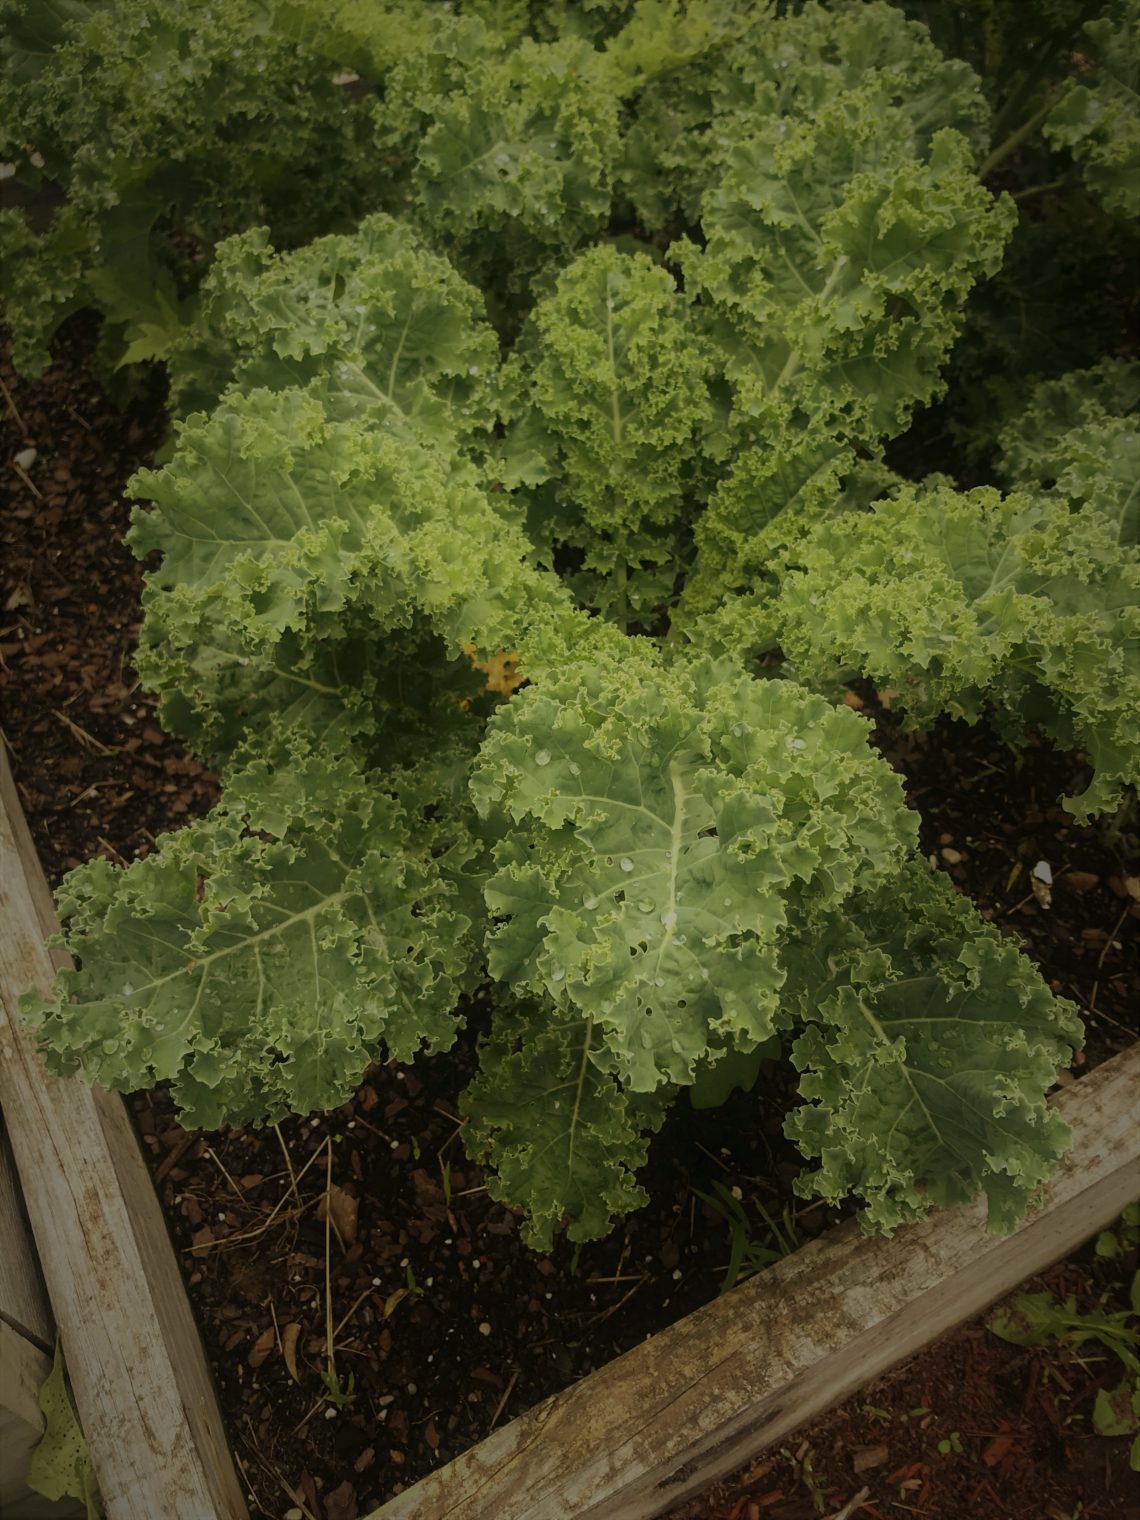
This year, I planted some curly kale in my garden beds. It was the first time I’d planted any leafy greens besides lettuce. I was really surprised how easy it was to grow and the abundance that only a few plants brought – I planted six plants.
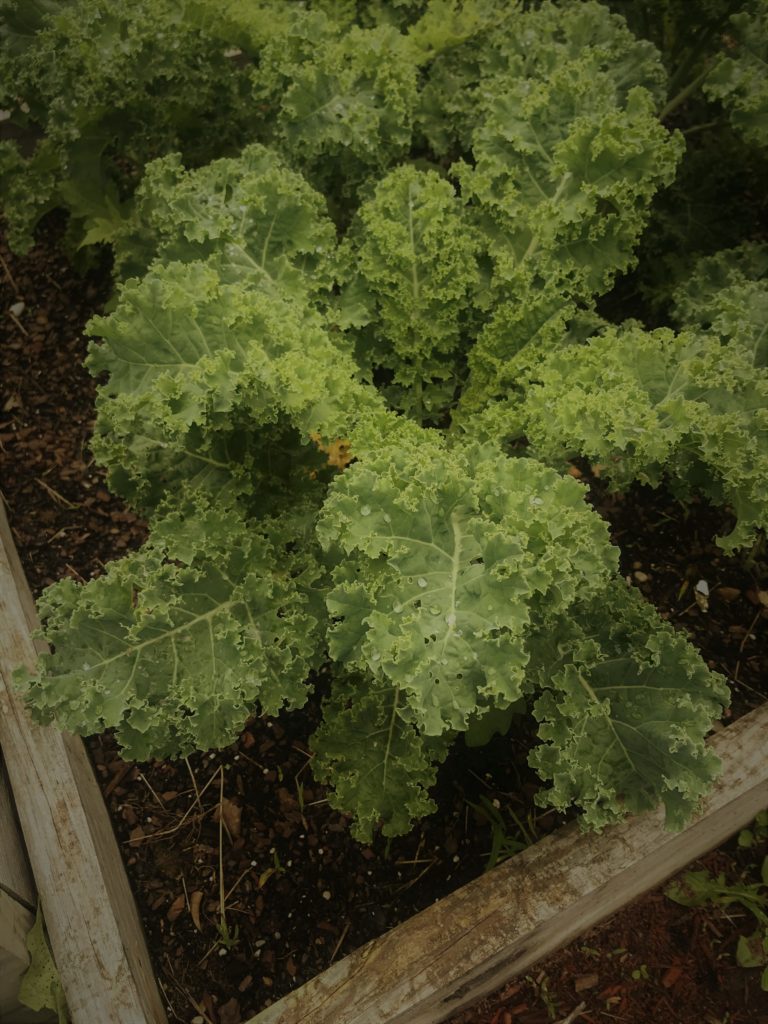
Since no one in my family likes kale (or any green veggie for that matter), I planted this for two reasons. For one, I wanted some greens to use in my green smoothie besides baby spinach, and two, I wanted to make kale chips! I had always bought kale chips from the store, but never tried to make them at home, so I thought I’d give it a whirl. And you know what? They turned out great!
I made two different versions: salted and ranch. Here’s how I did it. FYI – you don’t have to use curly kale, specifically – any kale will do. 🙂
After washing the kale thoroughly, I laid them on a tea towel to dry. You want them to dry completely before proceeding to the next step.
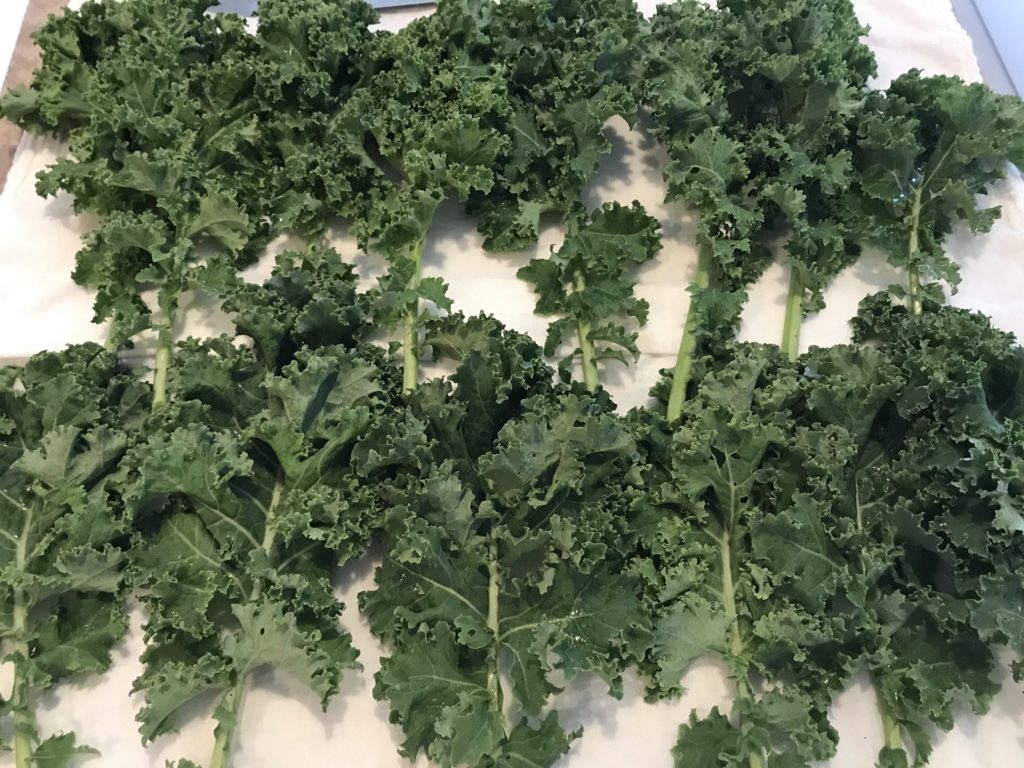
After the kale is completely dry, I preheated the oven to 350 degrees. Then, I used the spine (backside) of my butcher’s knife to remove the leaves from the rib or stem. I prefer to use my hands and tear the leaves into chip-sized pieces. I think they turn out better if they aren’t too big.
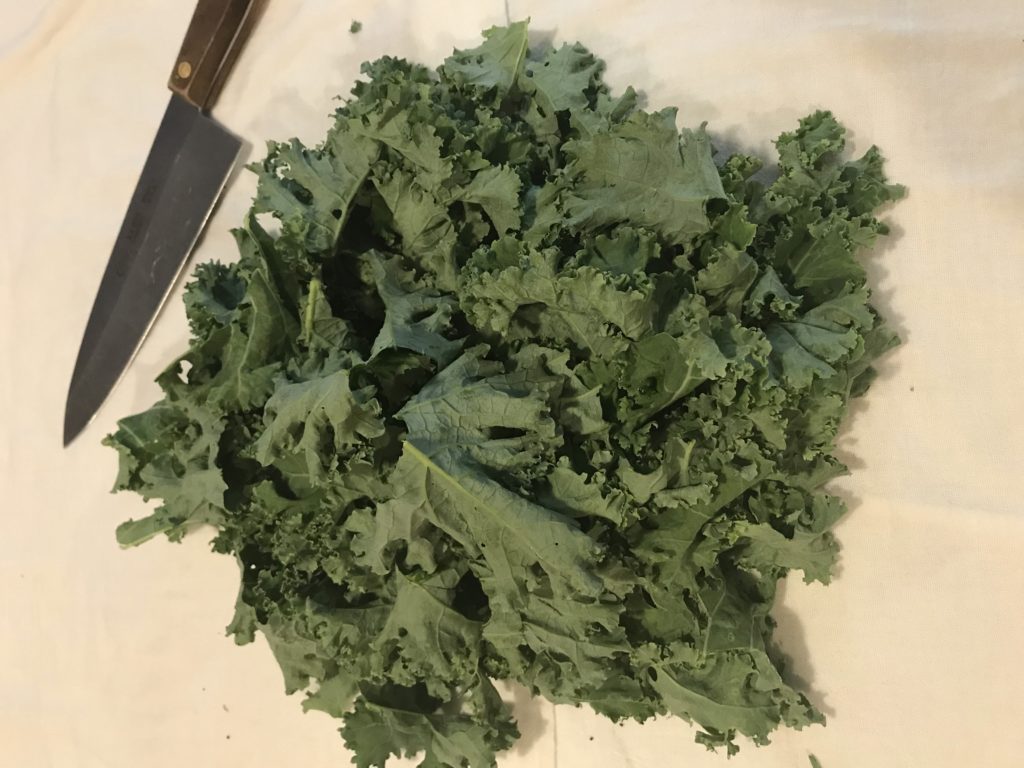
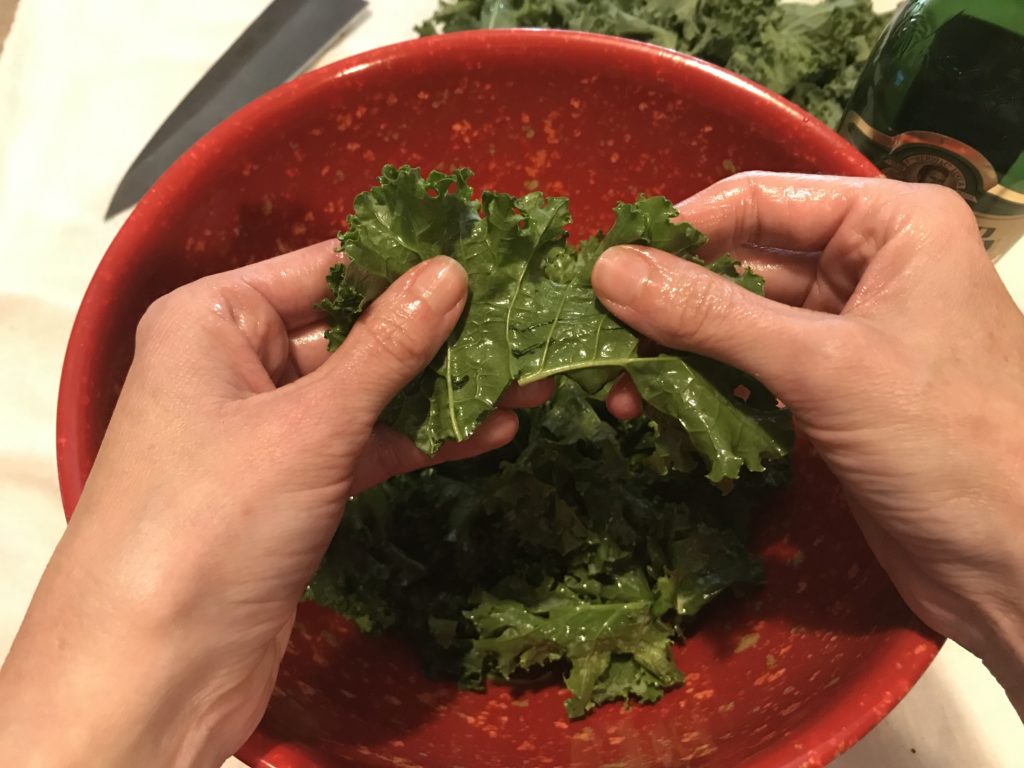
Next, I transfer the kale into a large bowl, so I can coat it with the olive oil (I have never used any other kind of oil, so for this recipe, I would recommend using olive oil only). I have seen other kale chip recipes that instructs you to drench the kale in oil, but I don’t like my kale chips deep-fried in the oven! However, it is important to make sure the entire surface of the kale is coated in oil. The method I use to do this takes time, but it’s worth it!
I start by drizzling in a small amount of oil over the kale and then use my hands to massage it in to every crease of the leaves. If the leaves are too dry, drizzle in a little more. When you are finished, your kale should be shiny, but not dripping with oil.
For the salted version, this is when I like to add the salt and pepper. I just used coarse salt, but you can use sea salt, seasoned salt, or a salt substitute like Mrs. Dash. The ranch version is a little different, so I will explain that at the end.
After the leaves are seasoned with salt, place them on a large baking sheet. I like to cover my baking sheet with aluminum foil to make clean-up easy. No need to oil the pan, since the kale is already coated with oil. Be sure not to layer the kale on top of each other. You should have a single layer of kale leaves with a little space between them. If they are folded over, unfold them. This will help them to bake more evenly.
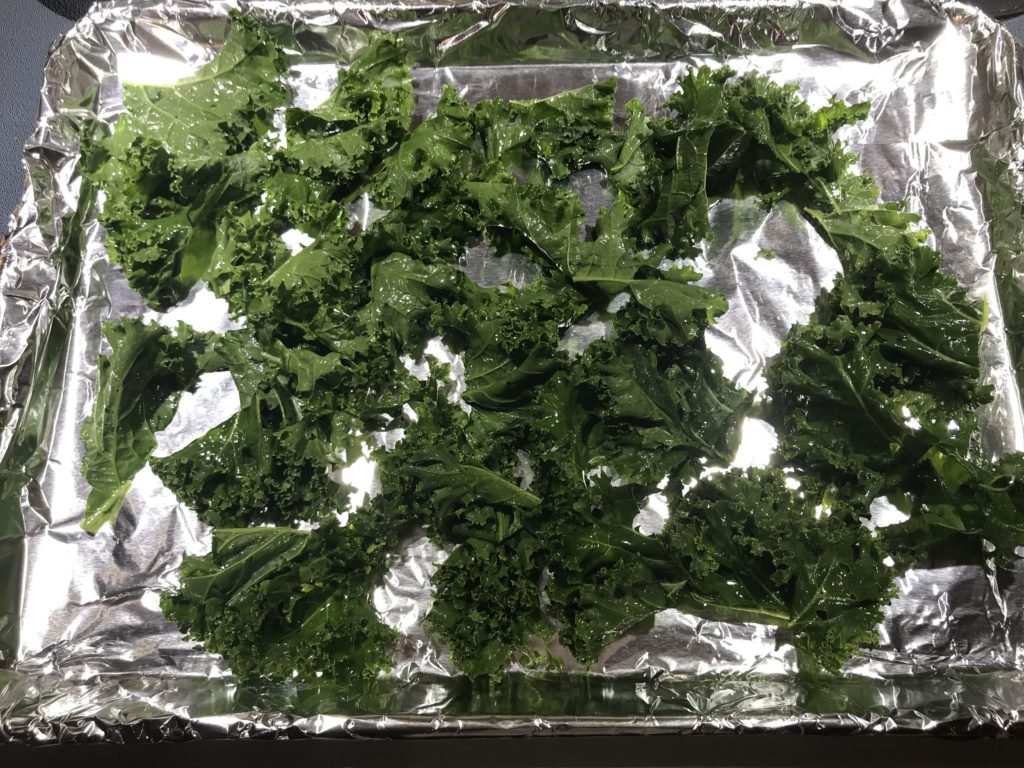
Bake them in the over for about 10-12 minutes or until the kale is crisp.
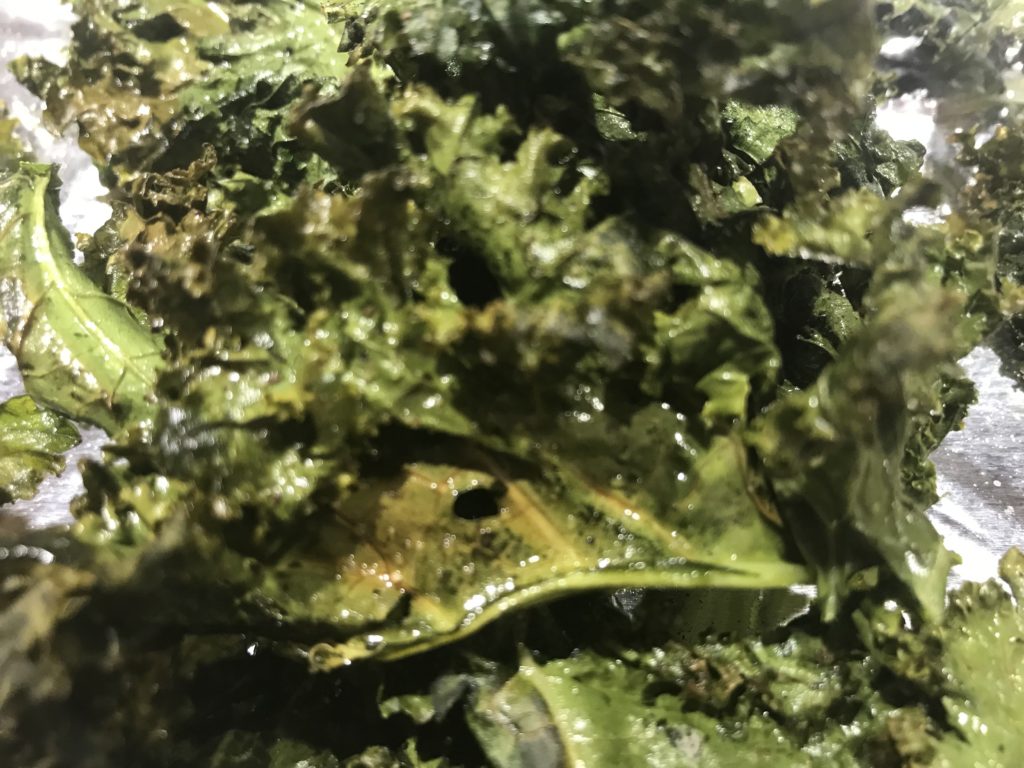
Salted Version For the ranch version, the steps are the same until it is time to coat the leaves with the olive oil. Instead of using just the olive oil, I mixed the ranch seasoning mix with the oil and then drizzled it in to coat. A little ranch seasoning goes a long way, so you might have to play with the seasoning to oil ratio to get the right amount of ranch flavor you like.
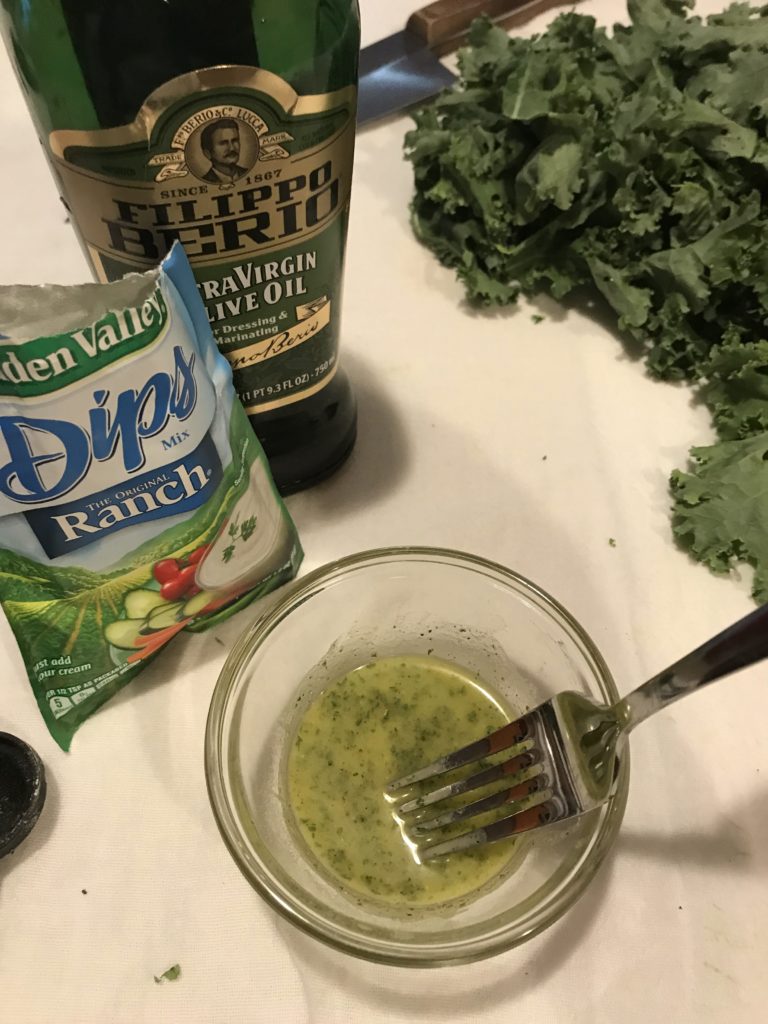
Just like the salted version, don’t dump in the whole amount of seasoned oil into the bowl. Drizzle it in, little at a time, until all the leaves are evening coated, not dripping.
Once coated, place them on the baking sheet in an even single layer and bake until crisp!
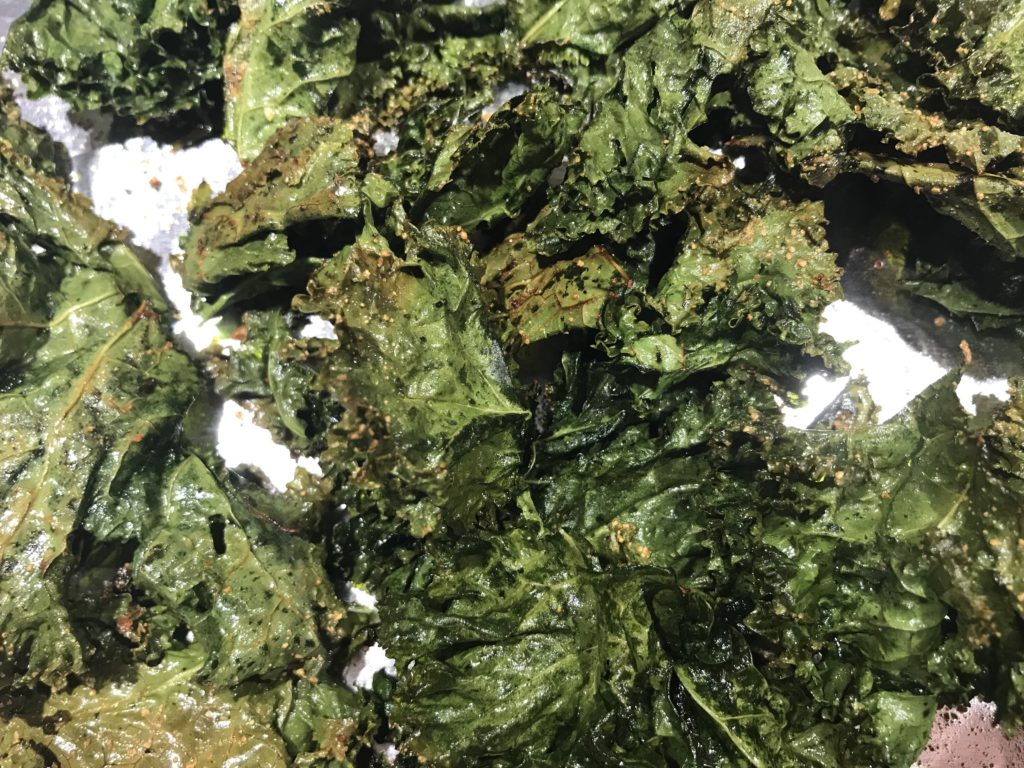
Ranch Version All that’s left now is to enjoy them! If you don’t eat all of them in one sitting, you can store them in an airtight container. Just be sure to allow them to cool completely before you store them, or else, they will lose their crispiness.
If you try this recipe, please let me know how they turned out.
If you have some tips or tricks you’d like to share, I’d love to hear them!
- For the Salted version, you will need:
More than Just a Cabin
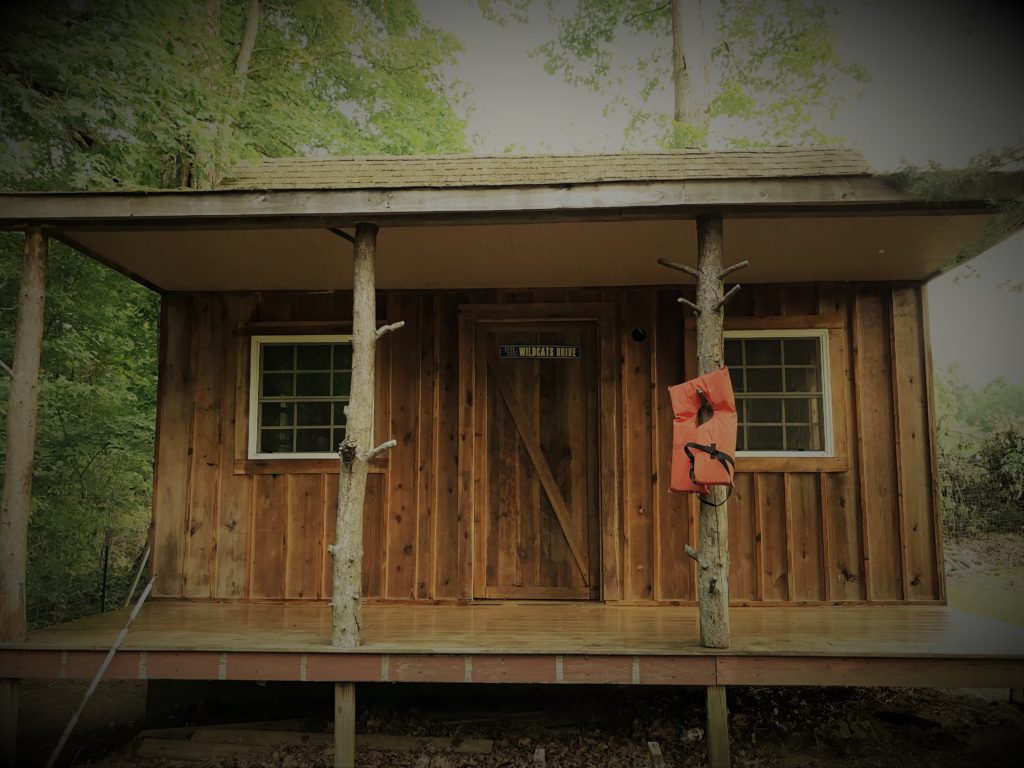
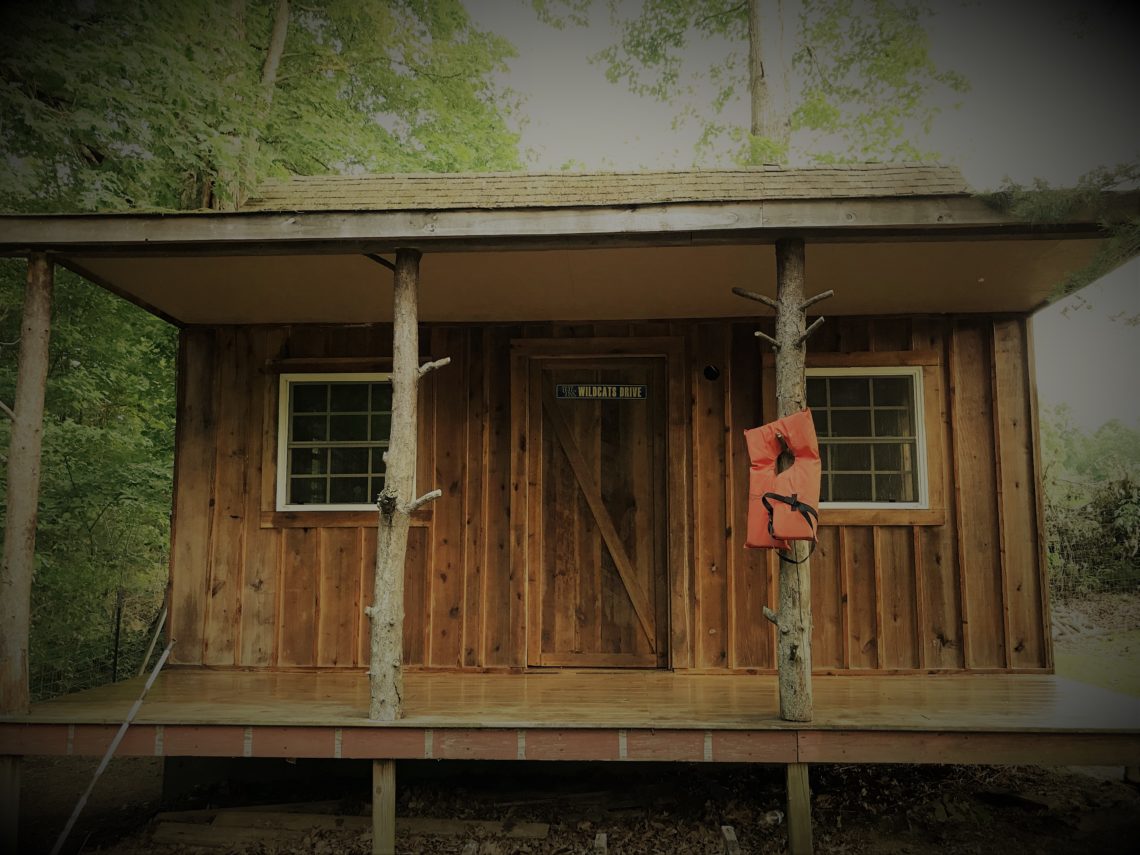
This little wooden structure has been our passion project lately. It was started several years ago by my husband and his dad, but it was never completely finished or used for it’s intended purpose. Although it looks as if it might be isolated in a remote location, it is actually sitting only a couple hundred feet from our house.
It was originally intended to be my husband’s man cave. He plays guitar and loves hunting, so he wanted a place where he could relax, hang “manly” wall ornaments, and play music as loud as he wants. I can’t blame him – I wouldn’t mind a little retreat of my own to write, create, and simply unwind. However, as our children grew, we started looking at the cabin as an opportunity for togetherness.
Time is so precious, and spending quality time as a family is a priority. Sometimes it’s hard to do that in our home. There are so many distractions like TV, PlayStation, phones, and tablets. I especially have trouble keeping my focus off things that need to be done around the house like laundry and dishes. I can always find something in the house to challenge my attention away from my family. So, the idea of a place we can retreat to in a spontaneous moment and feel comfortable leaving all those distractions at home is very appealing. Of course, it will still be Nate’s man cave when he needs it for that purpose, but there’s nothing wrong with using it at it’s full potential!
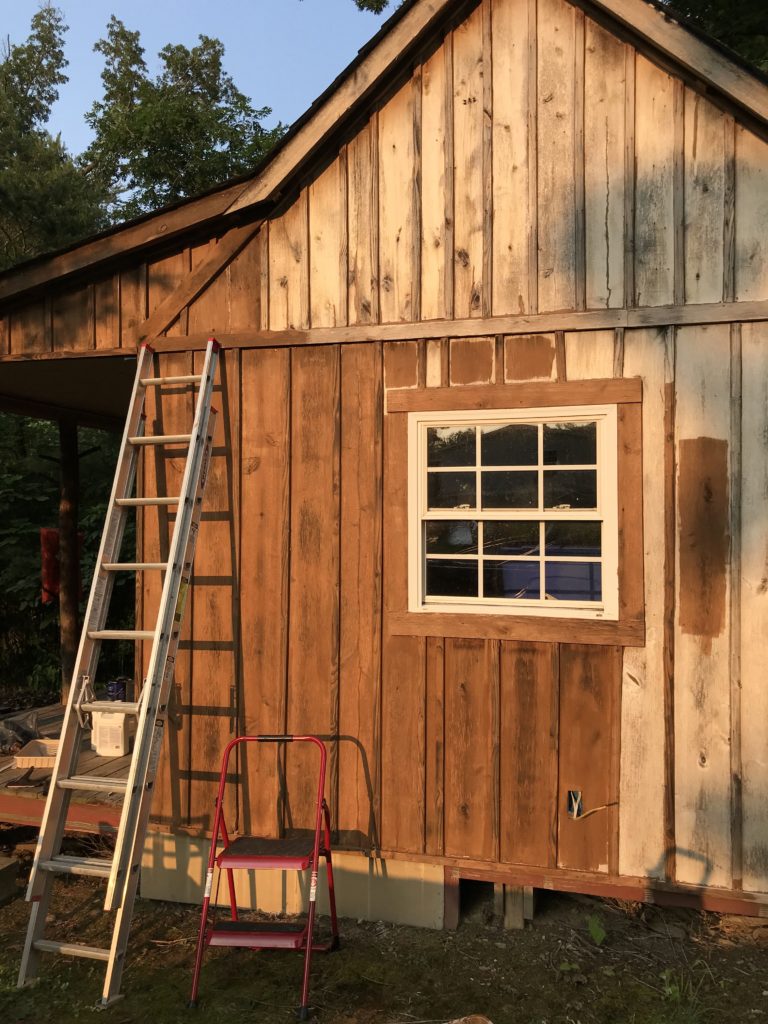
We have a lot of work left to do, but it’s very rewarding seeing it all come together bit by bit. I will try to keep you posted on our progress as we continue to preserve and update this little jewel, and ultimately ready it for the final reveal! Until then, tell me where you and your family have your quality togetherness. God bless you all.
Quality Time in the Garden
Our raised garden beds were a bit of a mess this spring. Last summer had been so “busy” that I had neglected the maintenance and not only missed out on a good harvest last fall, but I also created a lot of work for myself this year. That got to me thinking that maybe I could use this mistake to my advantage. I’m starting to see that opportunities for quality time with my kids don’t always have to entail spending time and money entertaining them.
I gave the kids notice, weeks in advance, that we would have to get some work done during spring break, so they knew the expectation. My children, like most, don’t love chores, but I find that if I set the expectations early, I end up receiving less drama and complaining when it comes time to pick up the shovel. I had also took them with me to buy the plants and let them pick out a vegetable or herb that they wanted to incorporate into the garden. This gave them a sense of ownership and responsibility for their plants, which helped to motivate their interest to help.
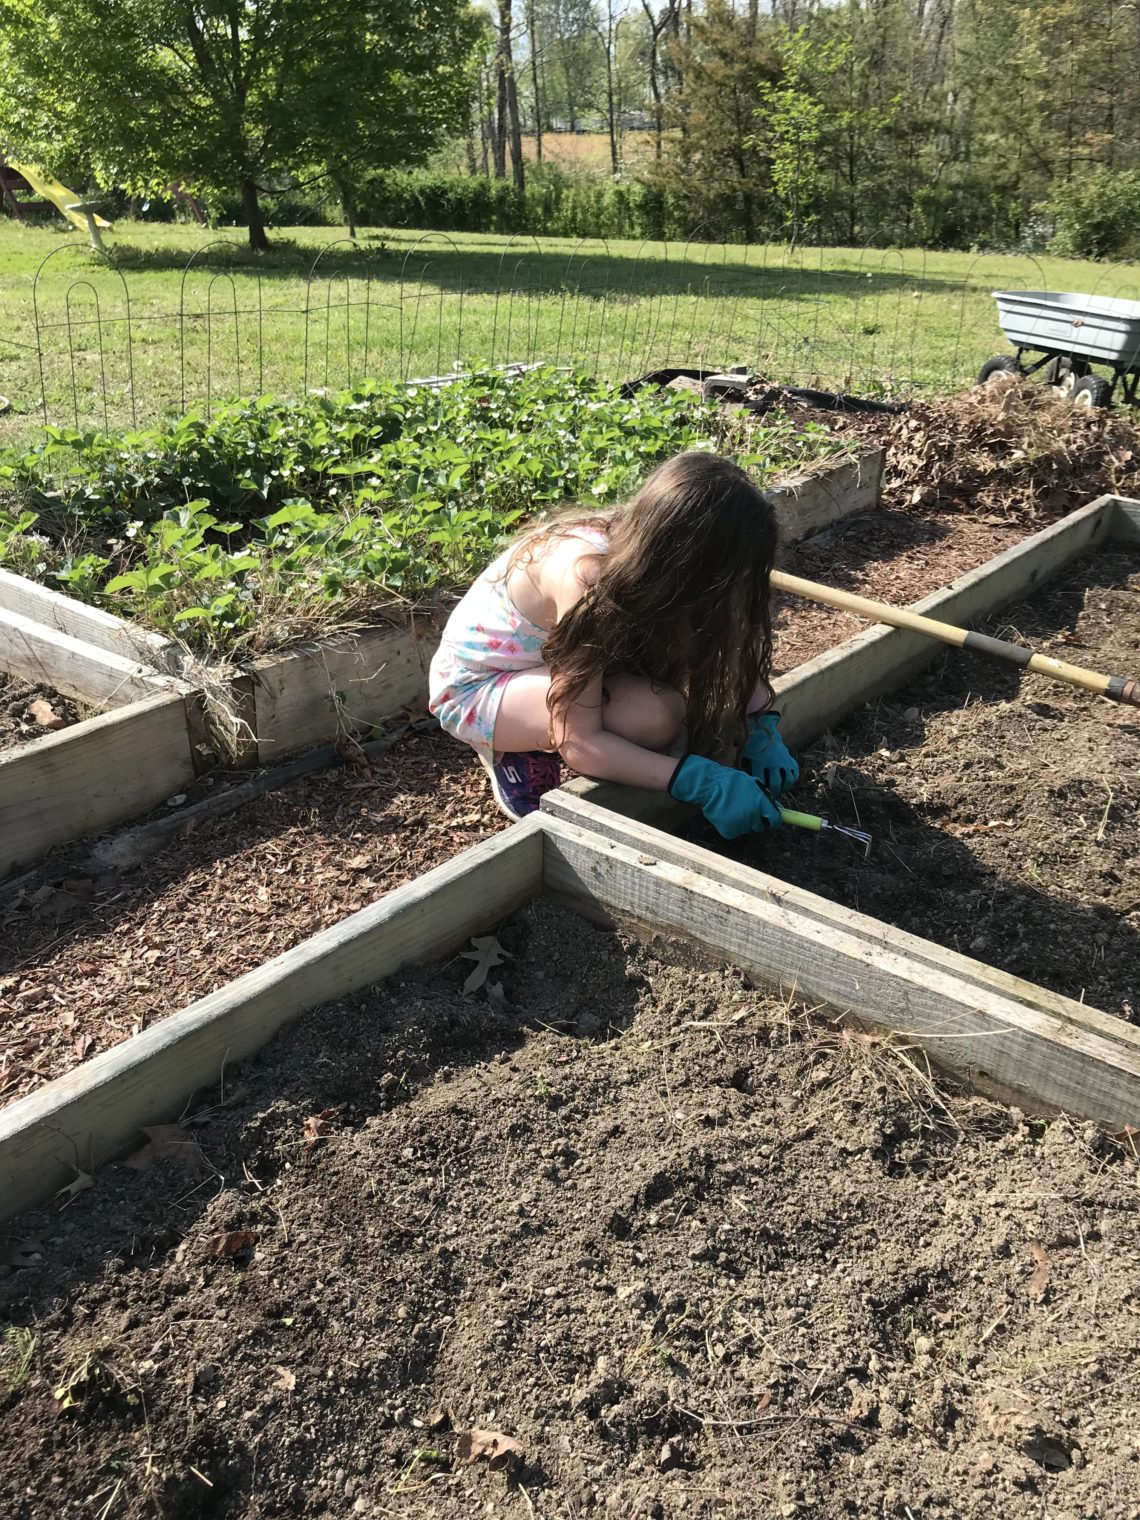
The day we set aside to work on the garden was a beautiful, sunny day. We got up, ate a good breakfast, filled up our water bottles and headed out. I had already purchased the plants and some organic plant food, so all we had to do was pluck out all the weeds, add in a fresh bag of organic garden soil, and start planting. We also had to pull the weeds that had grown up through the mulch outside the beds and rake the leaves that had fallen during autumn. It was a lot of work, but with my two helpers by my side, it was a good kind of work.
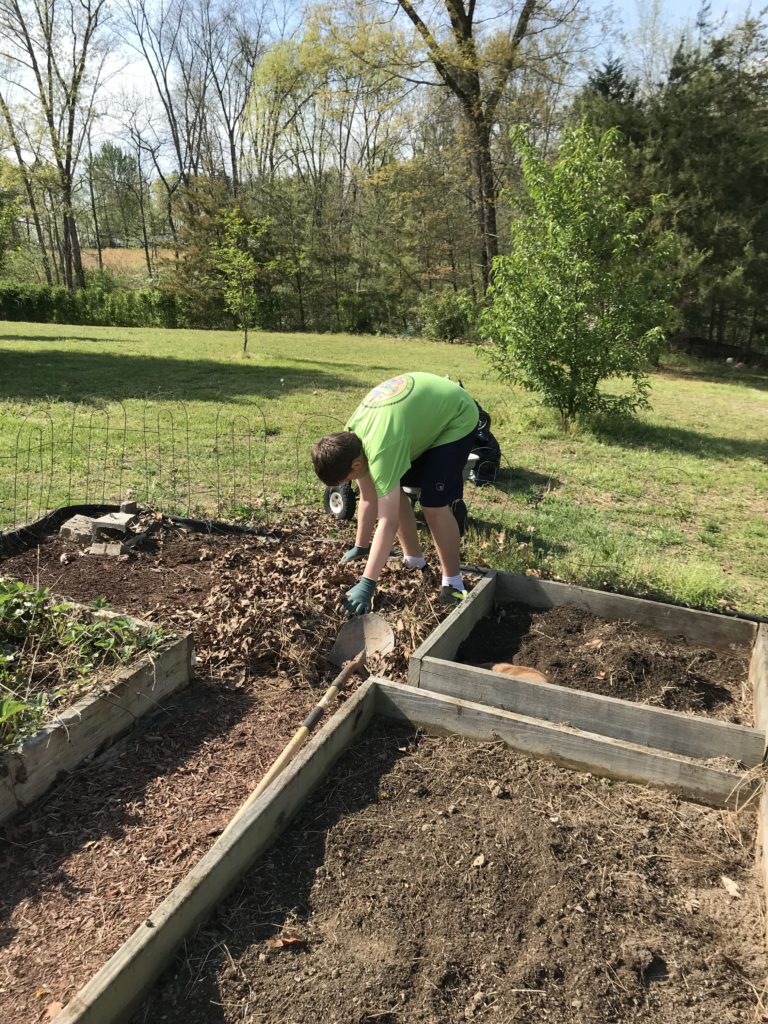
We got tired, sweaty, and a little dirt under our nails, but eventually the work was finished, and we were able to stand back and see the results of our labor. The kids enjoyed seeing the transformation and being a part of something that mattered. Our little garden beds may not seem like much, but I believe it’s much more than just a few tomatoes and onions. It’s time I get to spend with my kids, watching them learn, laugh, and get a little messy. For a couple of hours they forgot about school, TV, and video games, and were able to breathe the fresh air as they relaxed in the wonder of God’s creation. I would even say they had a little fun.
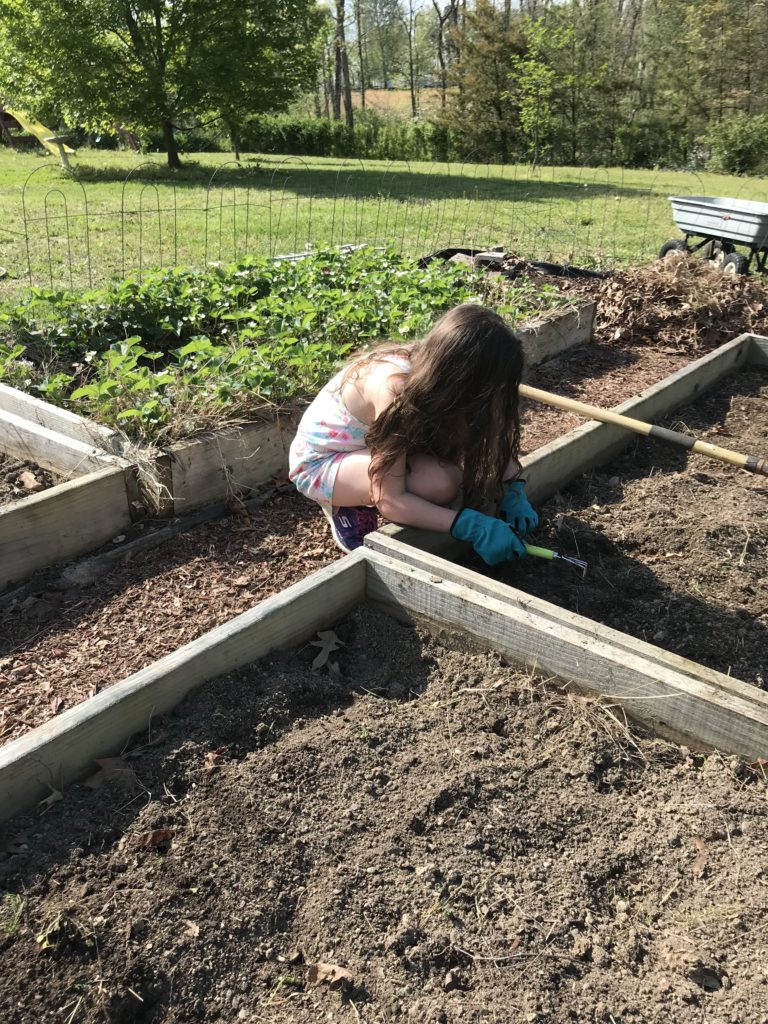
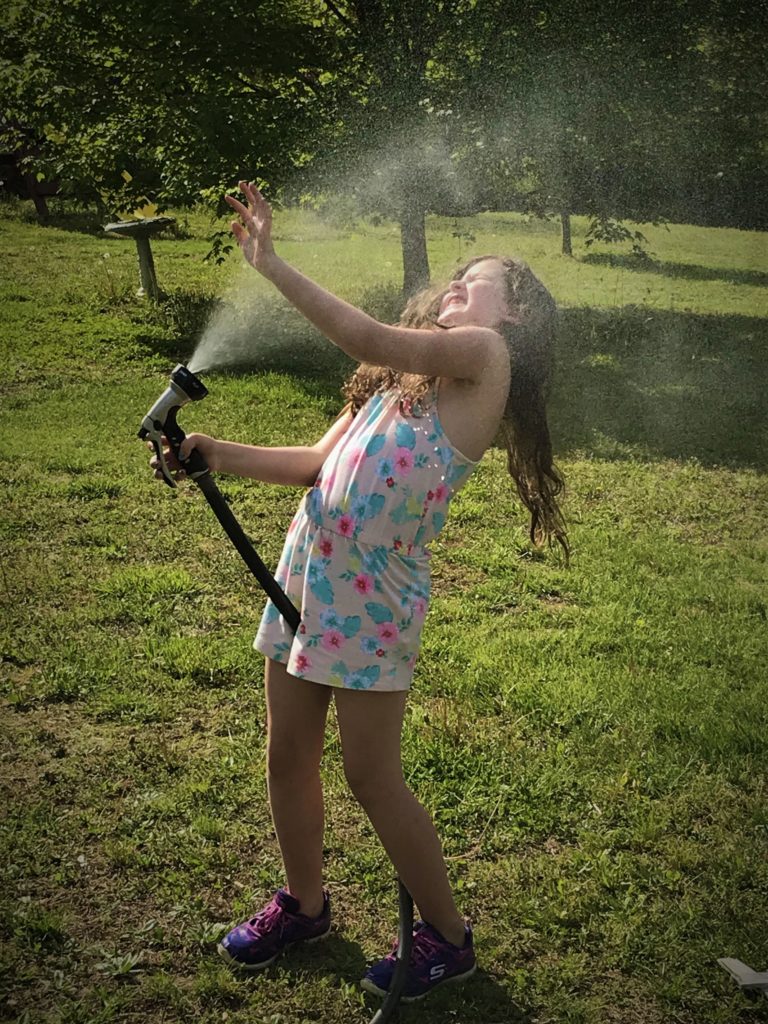
What begins as work, ends up being an opportunity to dig for worms, look for uniquely shaped rocks, and play with the water hose. As long as the work gets done, why not squeeze in a little playtime? I think you’d be surprised how many opportunities for fun you can find in the everyday tasks around your home and property. Why not take advantage of every opportunity we have to find something good – something that makes us smile? Isn’t life too short for anything less?
I’d love to know how your family works together! Are there any chores you take advantage of to spend quality time with your family? How do you make chores fun for your kids?
