We Are Finally Home!
On Oct. 21st, 2020 we broke ground on our dream home. It was a long time coming and a long and trying journey to the finish line, but it was surely worth the wait!

On April 21st, exactly 18 months later, we finally received our certificate of occupancy, which basically means our house is livable and safe to move into. On May 3rd, we spent our first night here. It has all been very surreal, and I have continued to remind myself how blessed we are to have made it here. I don’t ever want to take this for granted.
Since I am already months overdue posting this update, I will be minimal with my words and get onto the pictures of our progress. Keep in mind that although we have officially moved in, the house is not quite finished. We have several small things that still need to be done, like staining the front door, as you can see from the picture below (although, this will have been completed by the time you see this post). Oh, and please ignore the mess in the kitchen. I was lucky to have found time to take the picture in the first place – no time to fuss about the work clutter. 🙂 So, without further ado, here is our home!

Entry 
Bedroom 1 
Bedroom 2 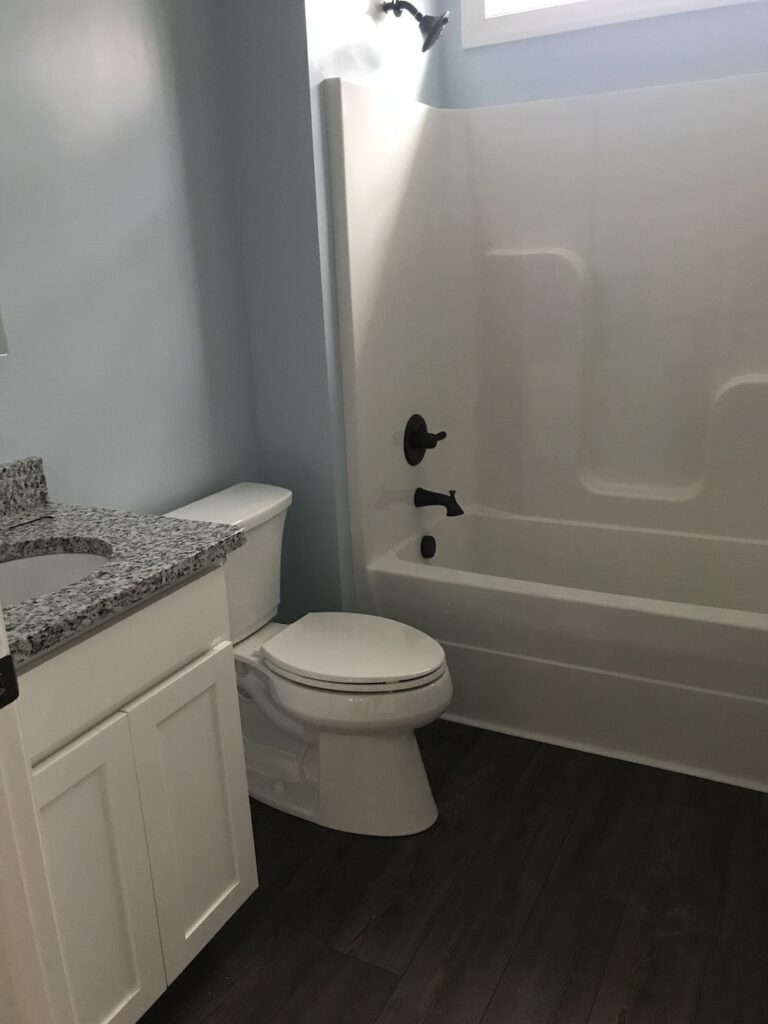
Bathroom 
Open-concept Dinning Room 
Open-concept Living Room 
Open-concept Kitchen 
Master Bedroom 
Master Bathroom 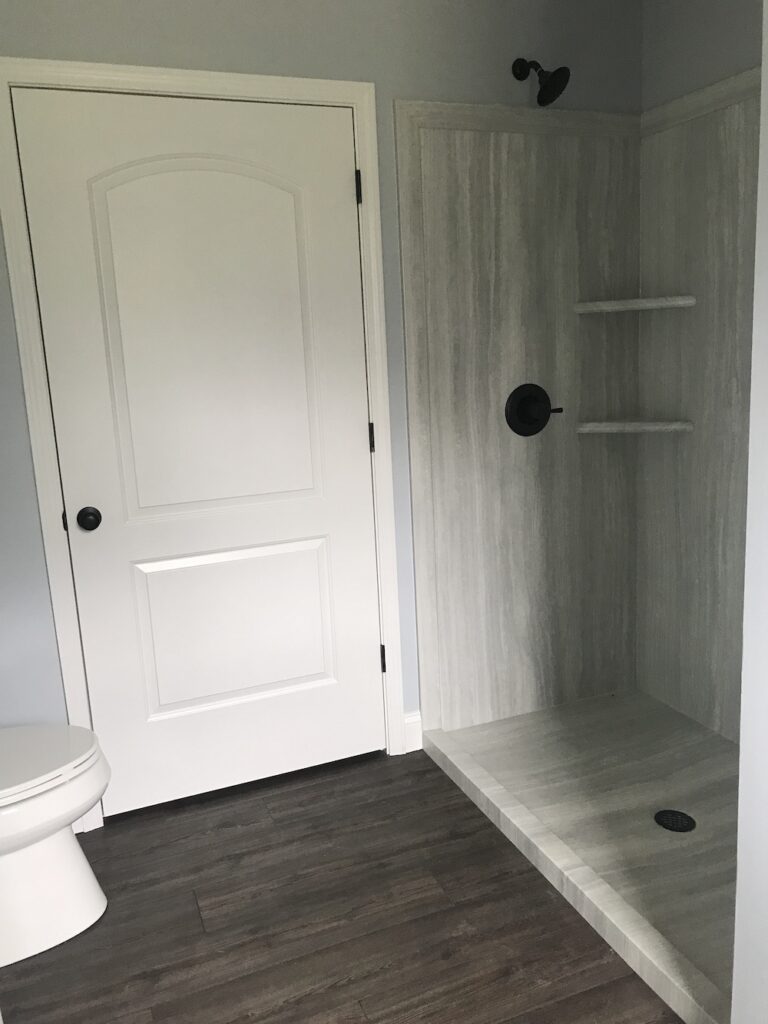
Master Bathroom 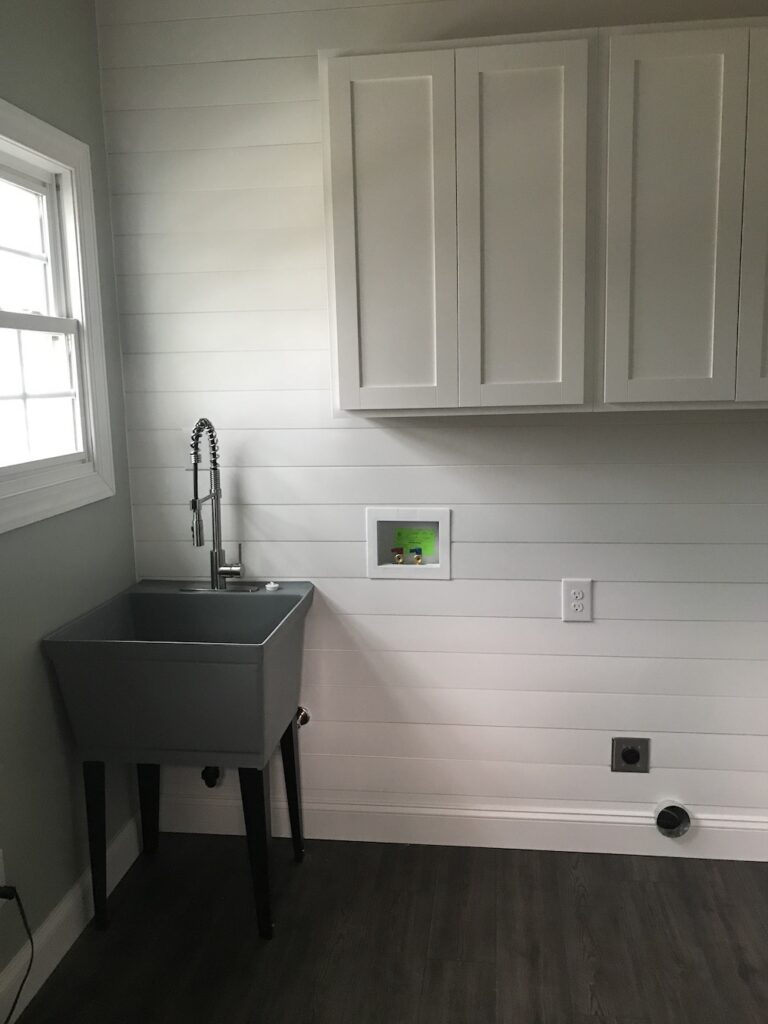
Laundry/Utility Room 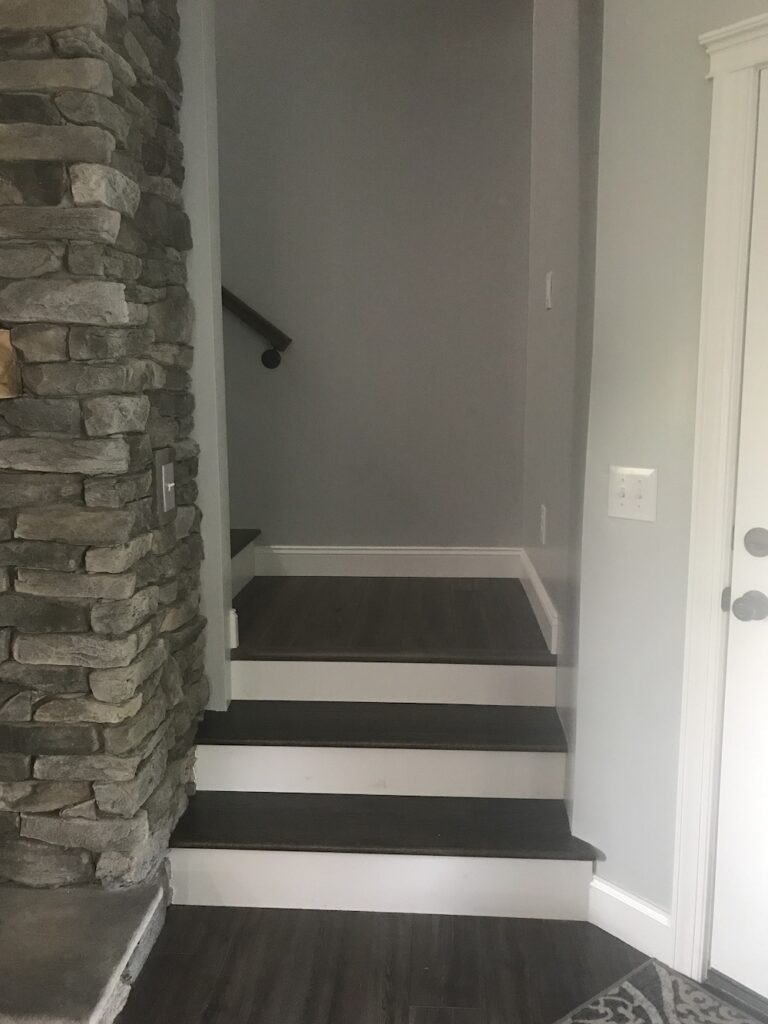
Entry to Stairs 
Stairs to 2nd Level 
Upstairs Office 
Upstairs Bonus Room There are still a few spaces in the home, which I’m not ready to share just yet. Once we are officially settled and things are completed, I look forward to sharing those spaces and follow-ups to how we’ve chosen to decorate it.
Thanks you so much for taking the time to stop by the blog. I hope you visit again soon!!
Love,
Sarah
Construction Update: Insulation and Drywall

It is hard to believe it has been over a year since construction began. Time has flown by, but sometimes it has also seemed to have stood still. Building in the age of Covid has not been easy! Nothing has gone as planned, and we still have a pretty good way to go, but we are thankful for the progress so far and love watching everything come together, even if at a slow pace.
Last week we hit another milestone with the completion of the drywall, followed by the garage doors installation just a few days later. We are ready to start painting just as soon as the HVAC is running, supposedly early this week. With more cold weather days left this year than warmer ones, we are eager to wrap up the outside and move our focus completely to the inside. Concrete work on the steps and sidewalks will begin next week and gutters should be installed sometime in the next couple of weeks. Landscaping will likely be put off until the spring.
In case you are wondering, we chose to do batting insulation, instead of spray foam. We also did batting in the attic, as opposed to blown-in. This was just a personal preference, after considering the pros and cons of each. Here are some additional pictures of the progress so far.
Again, I know there is still so much left to be done, but I feel like we have jumped a huge hurtle with the completion of the drywall. I look forward to seeing what’s next!
The Most Simple and Powerful Homemade Fabric Stain Remover
You will need:
- 1 tbsp. of baking soda
- 1 tbsp. of blue Dawn dish soap
- 1 tbsp. of hydrogen peroxide
I stumbled upon to this homemade stain remover, while watching one of my favorite YouTubers, Hillary, from Old World Home. She said it was good for set-in stains, which can be nearly or completely impossible to remove. It is also recommended for white or light colored fabrics. I would not recommend using this on bright or darks colored fabrics. Additionally, if you have a delicate fabric, I would test an inconspicuous area before using it on a stain in a noticeable area.
The recipe is simple. You mix equal parts, baking soda, original blue Dawn dish soap, and hydrogen peroxide, in a dish. I stated one tablespoon per ingredient because that was a good amount to cover your average sized stain, but you can make as little or as much as you like. Just be sure to make only the amount you need because the hydrogen peroxide will breakdown when exposed to light, so it will loose it’s effectiveness over time.
I’ve used this stain remover several times, and I’ve found that it is most effective on dried or set-in stains if you treat the stain for 24 hours before washing. However, if the stain is still present, you can treat it again for another twenty-four hours. For fresh stains, treating for 30-minutes to an hour before washing should do it. I recommend applying the stain remover with a soft bristle toothbrush, and then gently brushing it into the fabric. Don’t scrub hard, or you can damage the fabric.
Below is a video demonstration of removing black eye makeup set-in stains from two different white wash cloths. In the video I demonstrate how to make the stain remover, apply it and the results after pre-treating for 24 hours.
If you try this stain remover, let me know what you think. Also, if you have a recipe for a homemade stain remover you love, please share it. I’d love to try it.
Decorating the Cabin for CHRISTmas!

Last fall we finally finished up the interior of our little cabin, which sits at the edge of our property against the tree-line. Last year, I had the idea of decorating it for Christmas and taking some family photos inside. They turned out really cute, especially since the photographer was a complete amateur! 😛

Family photo from Christmas 2019 We’re still chipping away at the finishing work needed for the outside, but, for now, we’re just enjoying our time spent there. My husband likes to go down and build a fire in the wood-burning stove, get it toasty warm, and gather inside just to sit around and chat. Just last night, we went down to the cabin and played a game of Rook around the table he made from wooden pallets.
This Christmas, we decided to keep it very simple. The cabin doesn’t have electric yet, so we wanted to use décor that didn’t require any extension cords. First, we decorated the pencil tree, given to us by my mom-in-law, Carol. I borrowed it from her for our Christmas photos last year, but when she saw it in the cabin, she thought it needed to stay. I agreed!
For the tree, we skipped the lights this year. Instead, I dehydrated some orange and lime slices, strung them with glittery-green ribbon and hung them for a natural and old-fashion Christmas look. I also used a few other ornaments that went along with the hunting cabin theme as well as some pinecones. I topped the tree with a natural-looking star I found at Hobby Lobby and a navy blue tree skirt from Walmart.
Next, I added a plaid table runner to the table and dressed up the oil lamp with some faux berry garland. My daughter added the two snowmen on each side for a finishing touch. At night, I added a couple of candles, which gave the space a nice warm glow.
In each window, I added a couple of faux pine picks with burlap ribbon and pinecones. It was a very simple touch, but I loved it!

For the door, we also kept it simple with a berry garland over the top and a wooden snowman piece that my sister and her husband made for us a couple of years ago for Christmas. It was the perfect, natural doorhanger, and it made us smile! By the way, if you love Christmas crafts, check out her YouTube channel called Life’s a Project!

Finally, for the attic stairs, we just wrapped some faux pine garland around them to break up the wood, and added a few burlap snowmen (actually, my daughter added those).

This may not seem like much, but I really wanted to keep it simple and not make a big fuss. One of the main things we love about the cabin is it’s simplicity. We love to come down and just forgot about our stresses and spend quality time as a family.

Christmas Photo from 2019 Maybe next year we could stick with the natural theme, but use only things from our property, like pine, cedar, and berries. I think it would be fun to get the family involved and gather things to make ornaments, reefs and garlands to decorate with. Just a thought…
Anyway, I hope you enjoyed this little tour and that it gave you some inspiration for your Christmas decorating this year. Sometimes, less is more. What do you think? Do you keep your decorating simple, or do you go all out for Christmas. Whatever your style, I hope you keep in mind the true meaning of Christmas and cherish the blessings you have with your family this year.
Isaiah 9:6 “For unto us a child is born, unto us a son is given: and the government shall be upon his shoulder: and his name shall be called Wonderful, Counsellor, The mighty God, The everlasting Father, The Prince of Peace.” – KJV
CHRISTmas Checklist: 10 Things to do Before December 1st
CHRISTmas is the best, isn’t it? It’s that time of year we’re reminded what’s truly important – what truly matters. It’s a season of giving, hope, joy and peace, and it’s only made possible by our Lord and Savior Jesus Christ.
I absolutely love Christmas and everything it represents. However, this time of year, can also be stressful, if we don’t take the time to plan and prepare. I like what Proverbs 15:19 says. “The way of a slothful man is as an hedge of thorns; but the way of the righteous is made plain.” – KJV
Christmas doesn’t have to be full of anxiety and stress. I’ve put together a list of 10 things you should complete before December 1st. That’s not to say you should wait until November 30th to get them done though. Many of these can be done months in advance, and by completing these before December, you can have a much more restful holiday.
1. Complete Fall Cleaning
There’s nothing like having a nice, clean home to start the holidays off fresh. Now, I say these are things you should do before December 1st, but you won’t want to put this off until the last minute. I do my fall cleaning in September, because that’s when I’m packing away summer things and pulling out my fall décor. Then, I only need to do my normal cleaning routine through the holidays.
2. Declutter the Kids’ Rooms
Since I’ve added decluttering as a part of my everyday routine, I normally don’t have any major decluttering jobs to tackle during fall or spring cleaning. However, with Christmas coming, I like to encourage the kids to go through their closets and toy bins and see if there’s anything they would like to declutter and donate. Not only does this free up some space for new items they will surely get for Christmas, but it’s a good opportunity to donate to toy drives or other Charities looking for used toys this time of year.
3. Book Your Christmas Photo Session
Whether you want to document your Christmas memories with some professional photos, or customize your Christmas cards, you need to book your family, Christmas photo session early. Slots will surely begin filling up in November and may be impossible to book after December 1st, so get this booked in advance.
4. Purchase/Order Christmas Cards and Stamps
Christmas cards are meant to be received in early to mid-December so family and friends can enjoy and display them along with their other Christmas décor. If you’re ordering customized Christmas cards, be sure to place your order early so you can send them out to friends and family timely. Don’t forget to purchase your stamps early too, so you won’t have to wait in lines at the post office during the holiday rush.
5. Make your Gift-giving List
This is another item you will want to complete well in advance, but by no later than December 1st. Make a list of all the people you plan to buy for this year, and some gift-giving ideas for each. Keep this list with you wherever you go; maybe put it in your purse or the glove box of your vehicle. This will keep you prepared whenever you are out and decide to do some shopping. It will also ensure you don’t forget anyone on your list.
6. Purchase Christmas Attire
What Christmas picture is complete without those coordinating plaid shirts or matching PJs? You’ll want to look for these items early, or you might not find what you’re looking for or the size you need. Stores order a limited supply of seasonal Christmas items and attire, so once they’re gone, they’re gone. Folks are quick to snatch these things up early, so don’t wait until the last minute.
7. Plan Your Christmas Menu
There’s nothing worse than having to run out on Christmas eve to find that beloved can of cranberry sauce, which makes your Christmas turkey complete. Usually near the end of October, grocery stores will start stocking those seasonal items for all your favorite sugary or savory holiday dishes and treats. Don’t wait until the last minute and pick up everything. If you’re like me, in additional to the normal favorite holiday dishes, you like to make Christmas cookies and candy to share with family and friends. This list of ingredients can add up quickly. Start stocking up on these little by little over several weeks before December. This will prevent you from being hit with a huge grocery bill right before Christmas, and ensure you find all seasonal ingredients you need for your holiday recipes.
8. Purchase Giftwrap
This may not seem like a big deal, but purchasing your giftwrap, giftbags, tissue, boxes and tape ahead of time will save you a huge headache. There’s usually not a shortage of gift wrap, even up to the last few days before Christmas, so that’s not the issue. The problem is waiting until Christmas eve to wrap everything. I’ve done this, I know. Over the last several years, I’ve tried to make sure I had giftwrap on hand, so that when I purchased a gift, I could immediately take it home and wrap it. This way, I don’t have to worry about hiding gifts, and I can take my time and enjoy the wrapping process.
9. Purchase Event Tickets
Whether your planning to see the Nutcracker ballet or attend a Christmas event, you won’t want to wait until the last minute to reserve your spot. Many shows and events that have limited availability will book up quickly. You’ll usually see these advertisements as early as October, so reserve early to guarantee you won’t miss out.
10. Purchase Trendy Toys
When I think of this, my mind goes back to the famous Tickle Me Elmo doll craze. Don’t wait until December to purchase toys that are trending or popular with the kids in your area. These will be the first items to disappear from the shelves, and then you’ll either be forced to pay big bucks on Amazon or find a, less cool, alternative.
I hope this list helps make your Christmas holiday a little less stressful and enjoyable. I’d love to hear what things you like to do before December to prepare for the Christmas rush. Let me know in the comments!
How to Simplify Your Declutter Routine
Simply put, decluttering is defined as removing mess or clutter from a space. But, depending on the amount of clutter that’s in a space, this task can be either simple or complicated.
For many years, I spent a great deal of time and energy decluttering my house twice each year during my spring and fall deep cleaning. I can’t tell you how much I dreaded this. Room by room, I would pull out stuff from every closet, corner and cabinet, sorting and separating it into piles – MANY piles. I would have piles of things to keep, to donate, to throw away, to rehome, to sale, and, the dreaded, undecided pile.
This wasn’t something I could get done on a Saturday, which meant I had to take a few days off work. I would spend two or three days cleaning and decluttering, and sometimes I still didn’t get everything accomplished that I wanted to. Additionally, it was very physically and mentally exhausting. Although I would feel some sense of accomplishment once I was finished, it was very short-lived. I still had the huge piles of things I sorted out, which I needed to deal with, and since I hadn’t slowed down on bringing new stuff home, my house would end up getting cluttered again only a few months later. I felt anxious, frustrated and overwhelmed. There had to be a better way.
When I learned about minimalism, it was definitely an ah ha moment for me. Why didn’t I realize before that my overabundance of things were causing me so many problems? Why was I continuing to bring things into my home that my family didn’t use or need?
From a very young age, we’re taught by the world that “things” make us happy, and the more things we have, the happier we will be. We’ve all heard these familiar phrases.
- The more, the better!
- The bigger, the better!
- New and improved!
God’s Word tell us that we should be content with having our basic needs met. First Timothy 6:6-8 says, “But Godliness with contentment is great gain. For we brought nothing into this world, and it is certain we can carry nothing out. And having food and raiment let us be therewith content.” – KJV
This is not to say that things are bad, or that God doesn’t want us to have things we enjoy. The problem is when our things begin to take control of our lives, or take away from the time we spend with the people and things that matter most to us. If you spend more than 10-15 minutes on your daily tidy-up routine, or more than a couple of hours a week cleaning, then you probably have too much stuff and not a place for everything. Tidying or cleaning your home should not be a grand undertaking. Even spring cleaning shouldn’t take so much time that you can’t conquer it in a couple of hours a day over a few days, or on a Saturday.
With that said, I also understand that if you have kids, or even a spouse, your home is going to get messy from time to time. I am married with two children and things have a way of getting out of their place a lot. The question is, does it take more than a few minutes to tidy up the mess? And once, it’s tidied up, does your space stiff feel cluttered?
Organized chaos is still chaos.
The bottom line is, I had to learn that decluttering is not something that should be done only once or twice each year, it’s something that needs to be done every single day. We are constantly bringing new things into our home, which means we should constantly be evaluating what needs to be removed from our home. Start by making decluttering a part of your daily routine.
Keep a box or tote handy that you can dedicate to put items in that you want to declutter. Keep the box out of the way, but convenient enough that it’s not a hassle to get to. Maybe that’s in your mud room, laundry room, or garage. When you stumble upon an item you either don’t use or don’t like anymore, immediately put it in the box. Once the box is full, take it to your local Goodwill, Salvation Army, or any other place that takes donations. Do NOT get another box to fill up! The longer you put off removing the clutter, the more the clutter will grow and be harder to transport to a donation center.
Don’t forget to get the whole family involved. Encourage everyone to use the donation box when they decide to part with something. Challenge everyone, including yourself, to add something new to the box each week. Just one item a week will make a big difference over the course of a year.
This is only one of the many great things I have learned, and am still learning, about living more minimal. If you’d like to hear more, stayed tuned for more insight and tips.
In the meantime, tell me about your declutter routine. How often do you declutter your home? Do you dread it? How do you get rid of your clutter?


