Simple and Quick Marinara Sauce
You will need:
- 1 15oz. can of tomato sauce or crushed tomatoes
- 2 tbsp. of minced or finely dices onion
- 1 tbsp. of minced or pressed garlic
- 1 tbsp. of extra virgin olive oil
- 1/4 cup of chicken broth
- 2 tsp. of white sugar
- 1/4 tsp. of Italian seasoning
- Pinch of salt and pepper to taste
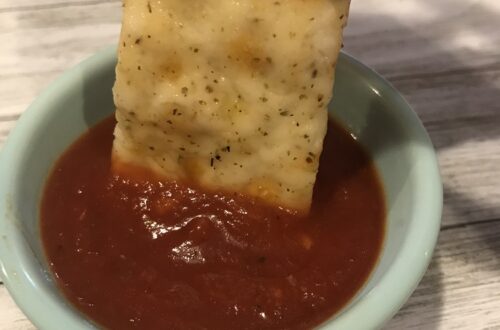
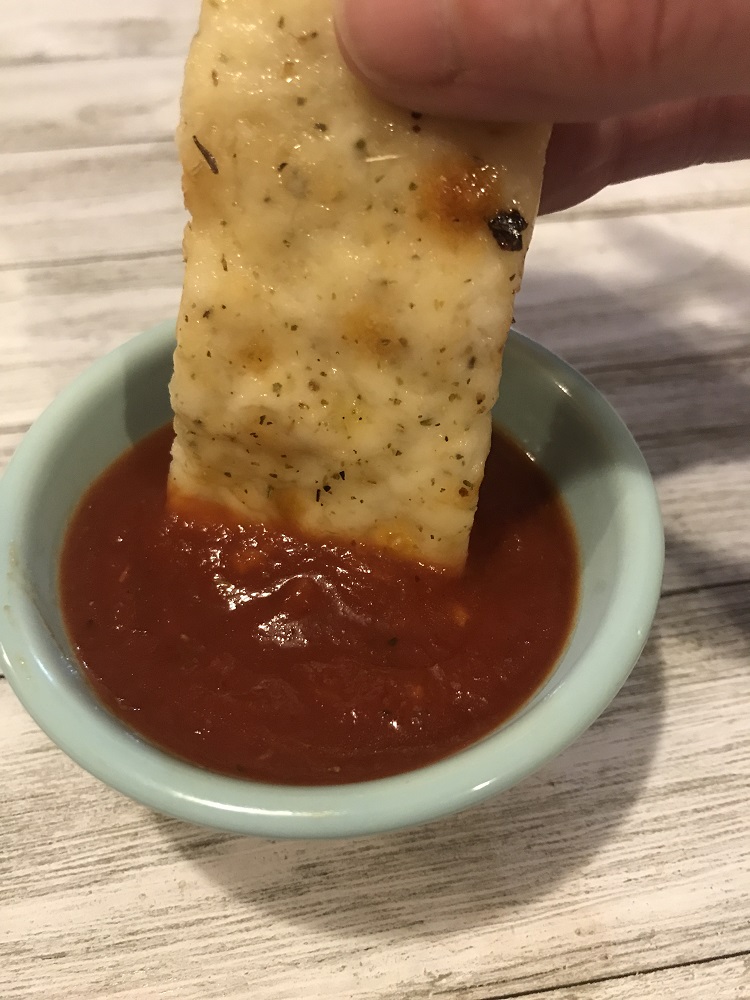
One day, not long ago, I made some cheese breadsticks and didn’t have any pizza sauce or marinara on hand for dipping. I don’t know about you, but I can’t eat cheese breadsticks without some sort of dipping sauce. And, I had to think up something quick because I also don’t like to eat cold, cheese breadsticks…yuck!
After a quick look in the cupboard, I found that I had some tomato sauce, so I decided to try my hand at whipping some up myself. Turns out, it wasn’t bad. Actually, it was really good.
Here’s how I made it.
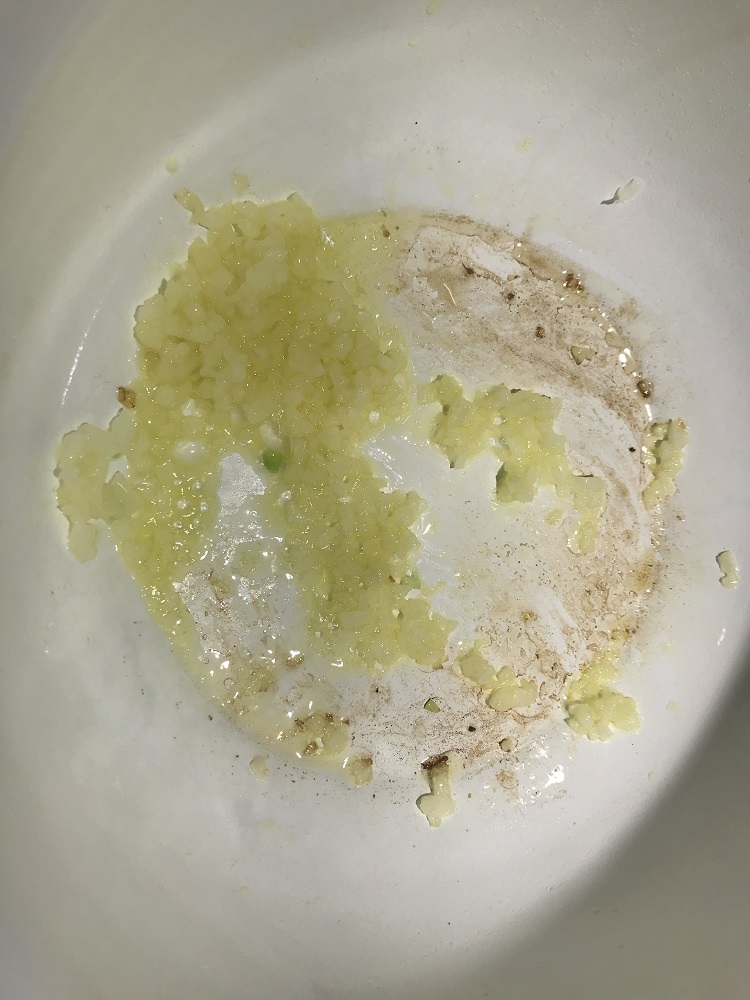
Heat the olive oil in a sauce pan on medium heat. When hot, add the onions and stir around in the pan until translucent, and then add the garlic and cook until fragrant.
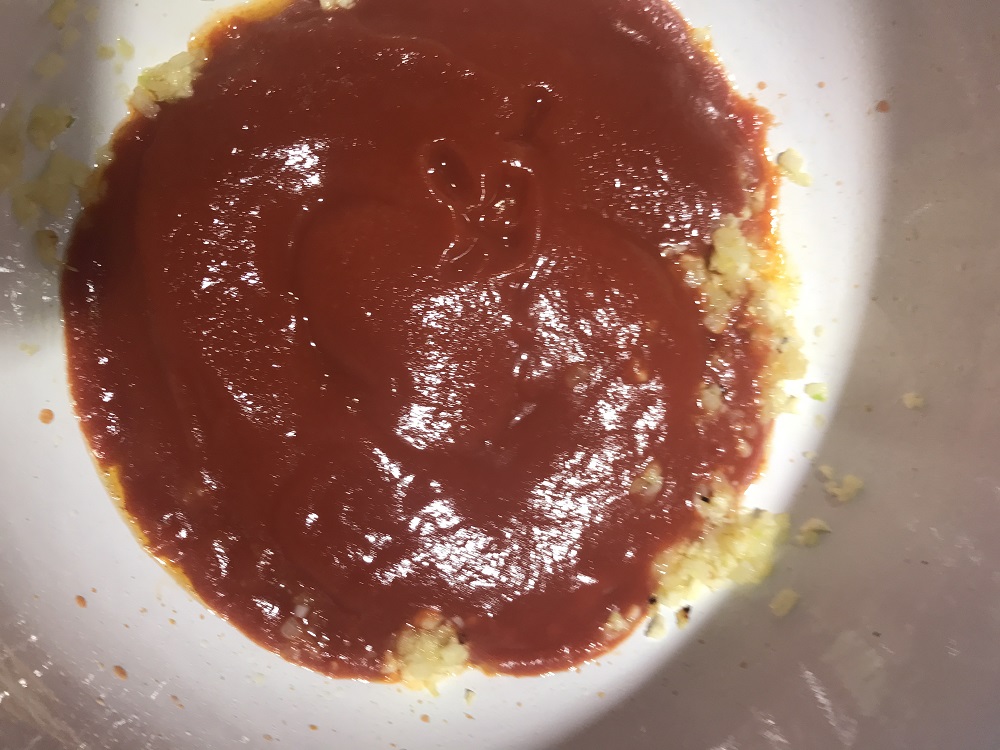
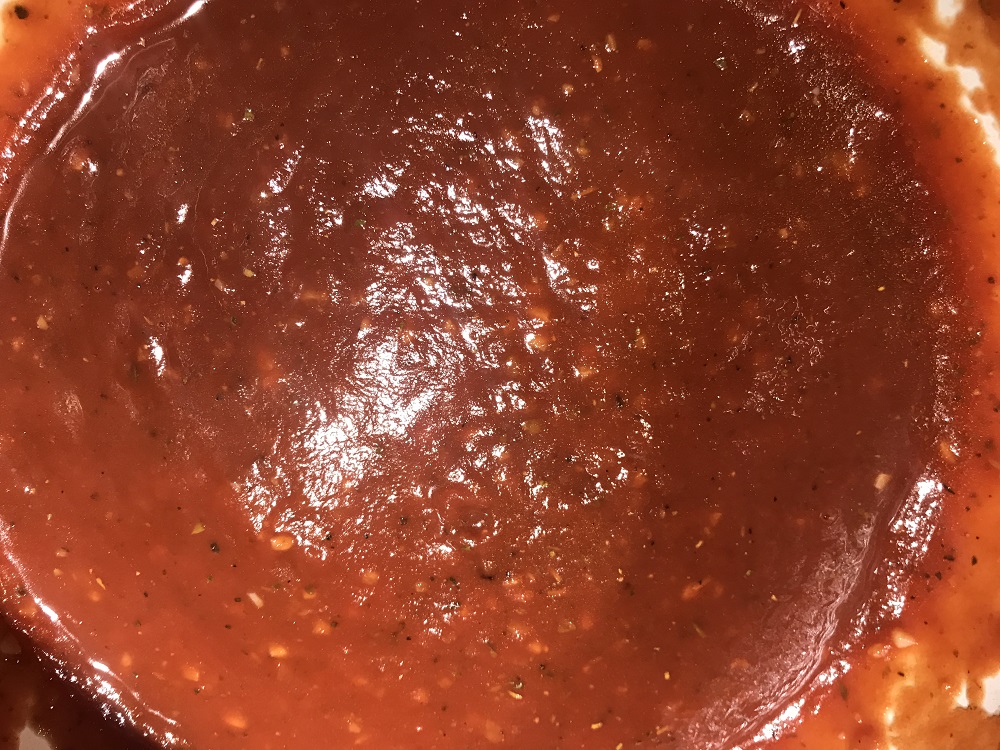
Next, add in the chicken broth, tomato sauce, sugar, Italian seasoning and a good pinch of salt and pepper. Stir the sauce until it gets steaming hot, and then reduce heat to low and simmer with lid on for about 5-10 minutes, stirring occasionally.
This sauce is actually better the next day, but if you’re serving it the same day, allow it to cool and serve warm, not hot. Once cooled, you can store it in the fridge in an airtight container for up to three days.
I’ve made this sauce a few times now and I’ve used it as both a dipping sauce and a pizza sauce. Yes, sometimes canned sauce is more convenient, but this recipe definitely wins first place on simplicity, especially for a homemade marinara sauce!
If you decide to give this recipe a try, let me know what you think!
Veggie Pizza: Two Ways!
For the Original Veggie Pizza, you will need:
- Stonefire Prepared Crust (square or round)
- 1 cup of original or light sour cream
- 1 tsp. of Hidden Valley Ranch Dip (more, if need, for desired ranch flavor)
- 3/4 cup of shredded cheddar cheese
- About a 1/4 cup each of your favorite fresh veggies (sliced and diced)
For Taco Style Veggie Pizza, you will need:
- Stonefire Prepared Crust (square or round)
- 1 cup of original or light sour cream
- 1 tsp. of Hidden Valley Fiesta Ranch Dip (more, if need, for desired ranch flavor)
- 3/4 cup of Mexican style (fiesta blend) shredded cheese (cheddar will also work)
- About a 1/4 cup each of shredded iceberg lettuce, diced red onion, diced tomatoes, diced green bell pepper, and sliced black olives (You can also top with sliced Jalapeno and avocado).
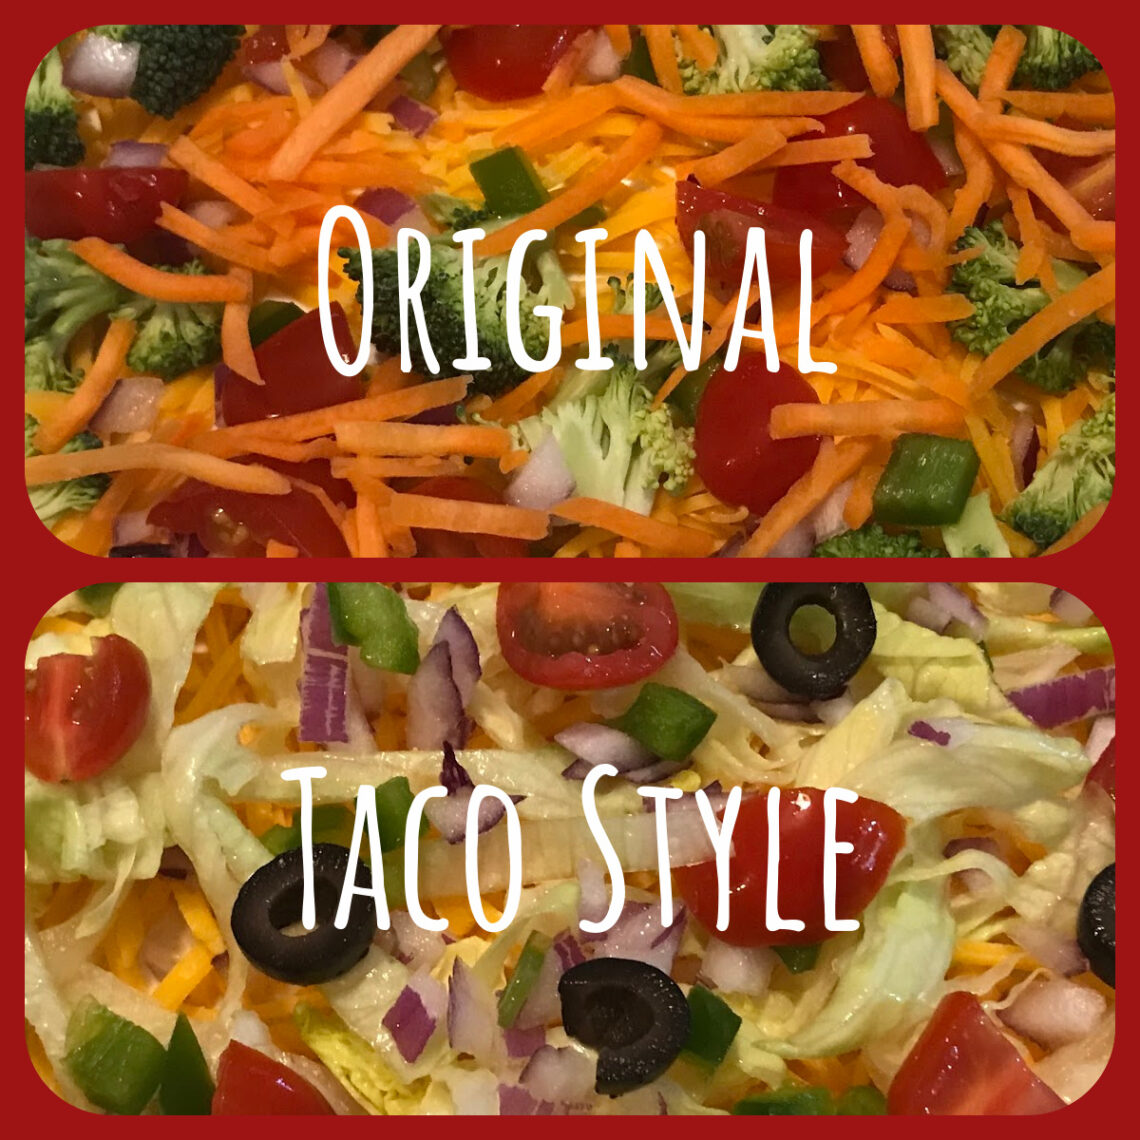
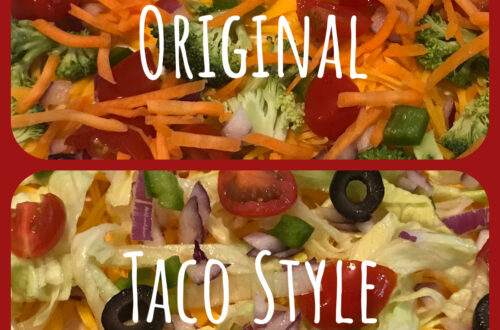
I’ve been making vegetable pizza for years, but, recently, I created a taco style version that my whole family loved, so I thought I’d share it. It makes a great finger food for picnics or get-togethers, but it also makes a great everyday healthy snack. The great thing about veggie pizza is that you can customize it to your family’s liking.
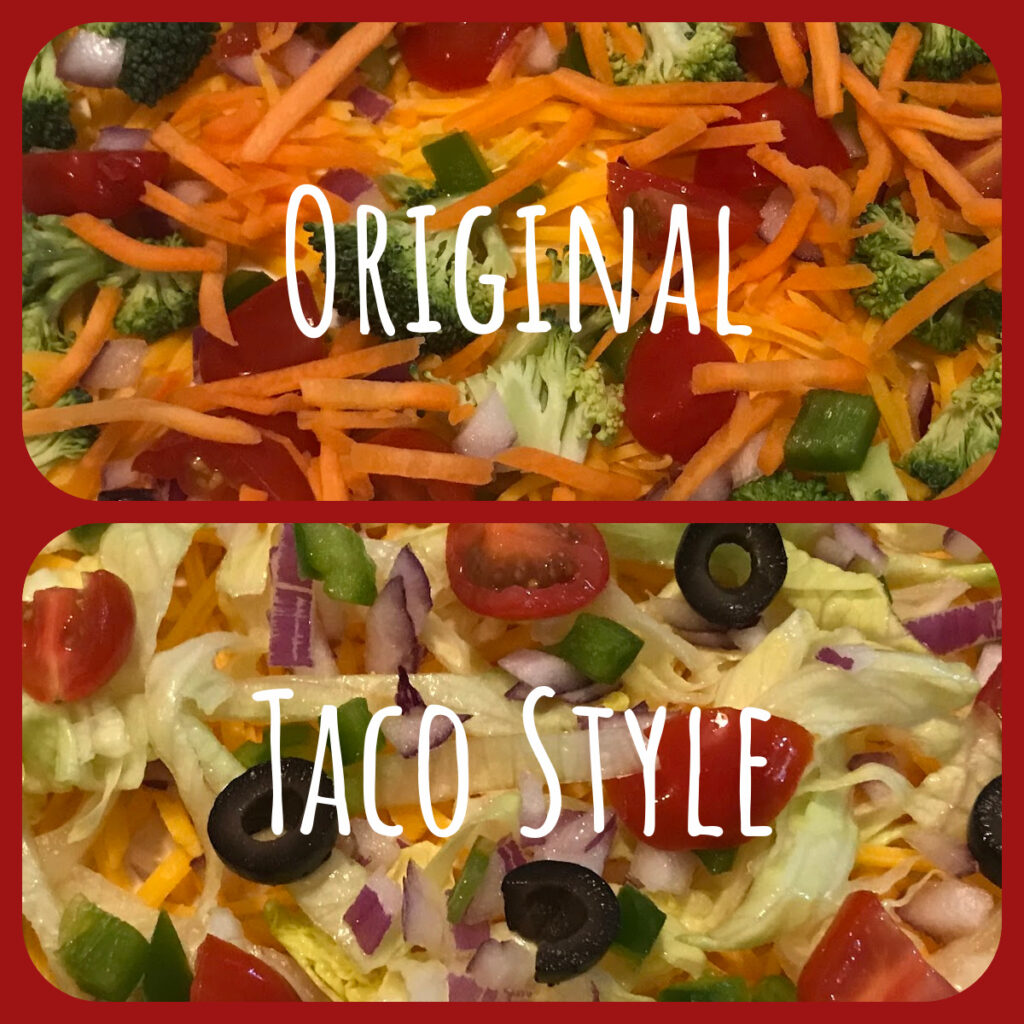
For the original version, there’s really no exception for which veggies you can use as long as they can be eaten raw. I used my family’s favorites for this recipe (broccoli, bell peppers, red onion, tomatoes, and carrots), but feel free to customize it to how you like it.
For the taco style version, you’ll obviously want to use veggies that are normally used on tacos or other Mexican style dishes, or otherwise it won’t be….Taco Style. 🙂
You can use any pizza crust you want. I just happen to like the Stonefire crusts, but I’ve also used Pillsbury Pizza crust, and you can even use your own homemade pizza crust. However, if you use an unprepared crust, be sure to bake it to desired crispiness and allow it to cool completely to room temperature before you assemble the pizza. This veggie pizza is not baked!!
Here’s how you make both versions using the prepared Stonefire crusts:
Now, this is a preference only, but I like to bake the Stonefire crust for about 5 minutes at 375° F. It just makes the outside a little crispy, but, again, this is totally optional. In this case, I still allow the crust to completely cool before I assemble the pizza.
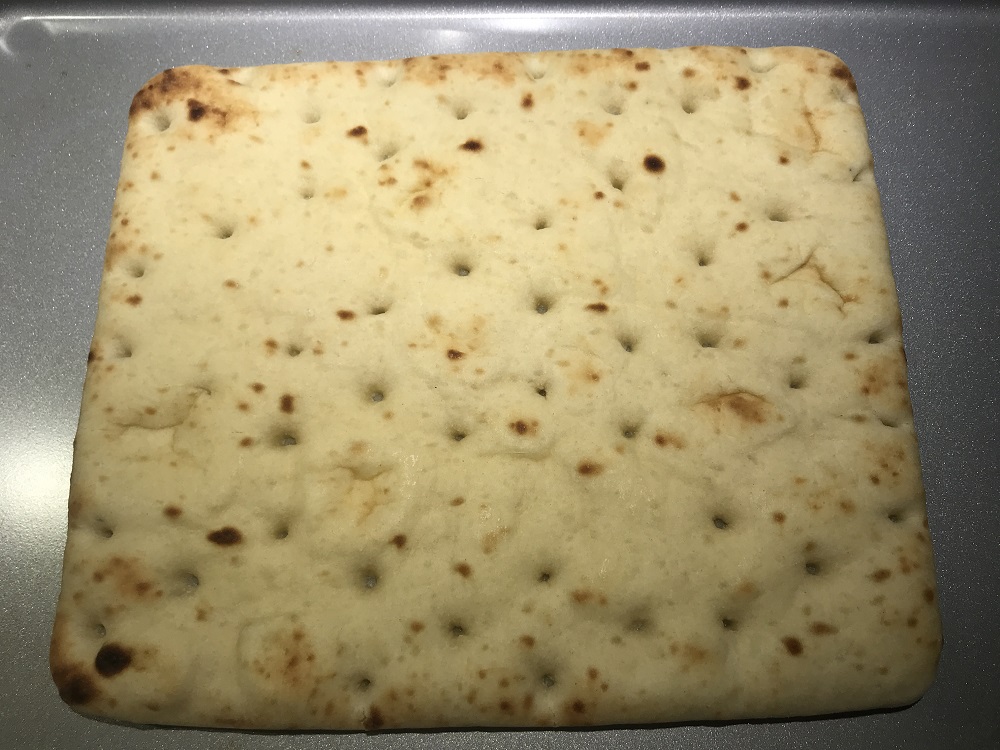
Place your room temperature Stonefire crust on a round serving platter, or baking sheet if you don’t have a platter. Put the sour cream in a small mixing bowl, add the ranch seasoning mix (or fiesta ranch seasoning mix, if you’re making the taco style version), and whisk or stir together until completely blended.
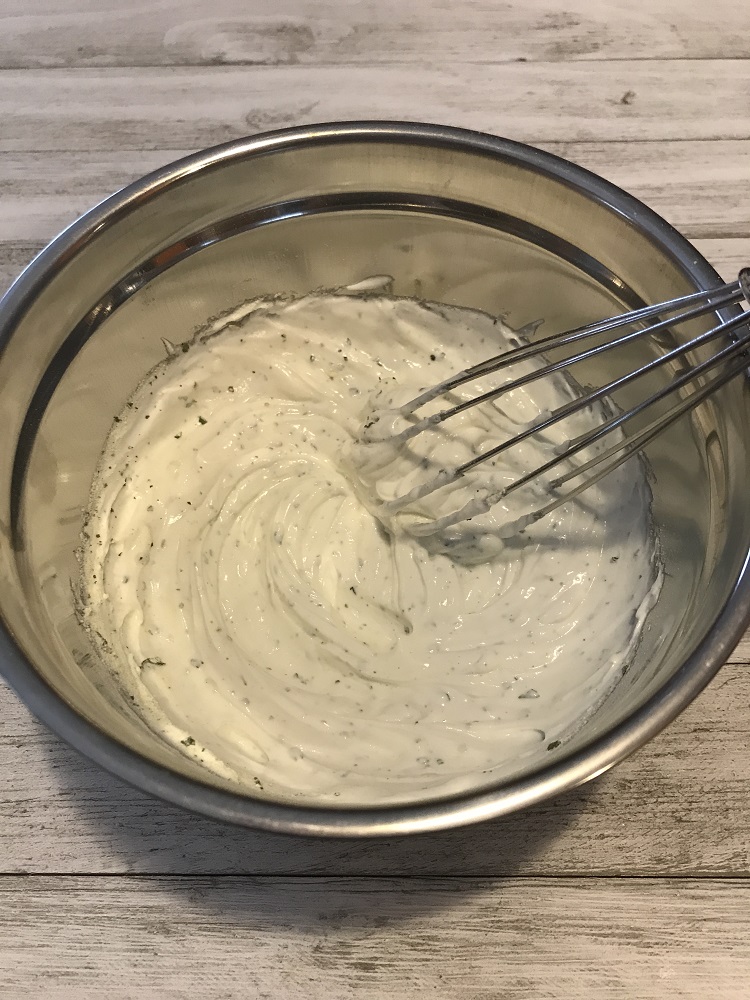
Ranch 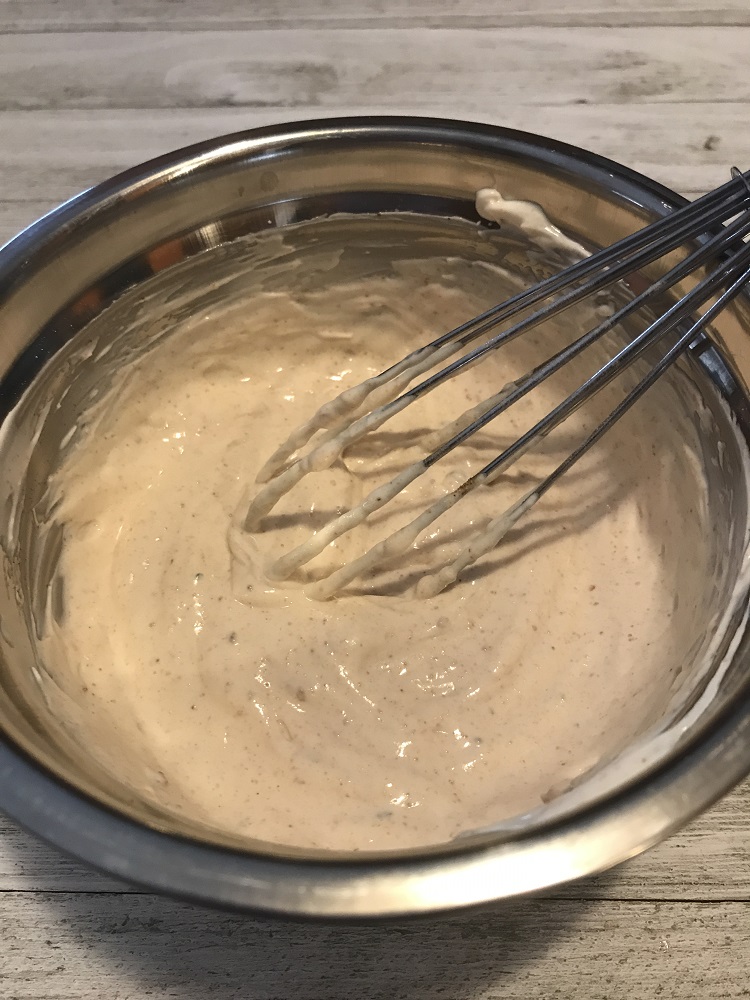
Fiesta Ranch
Using a rubber spatula, spread an even layer of the dip mixture over the entire surface of the crust. Don’t spread it too thin, or the pizza won’t be as good. Trust me!
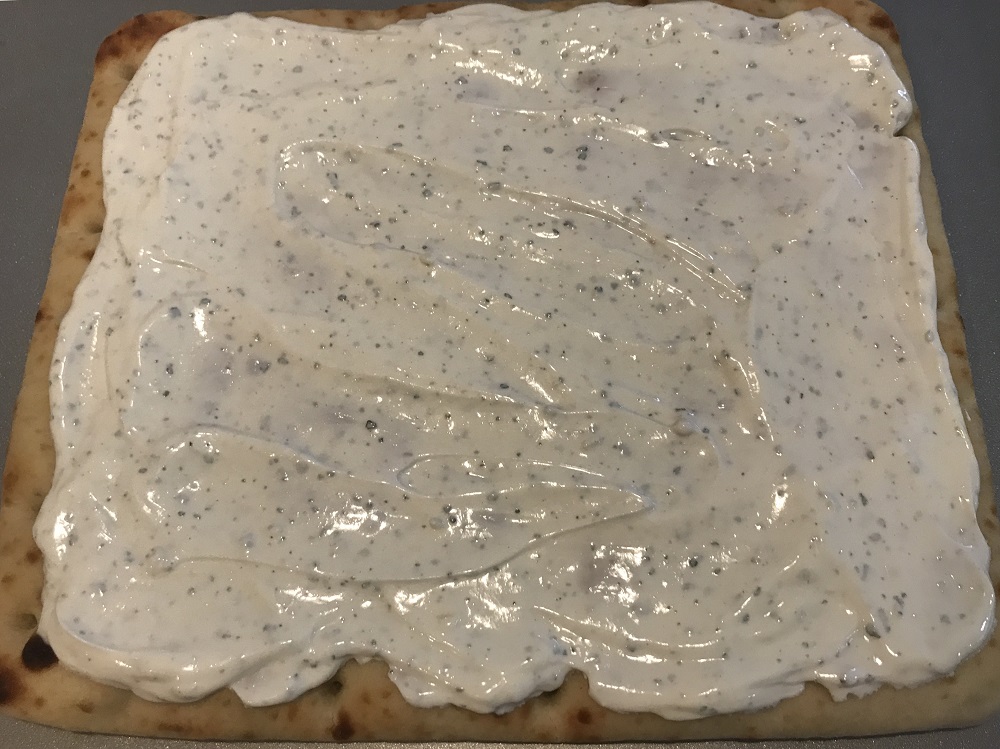
Original 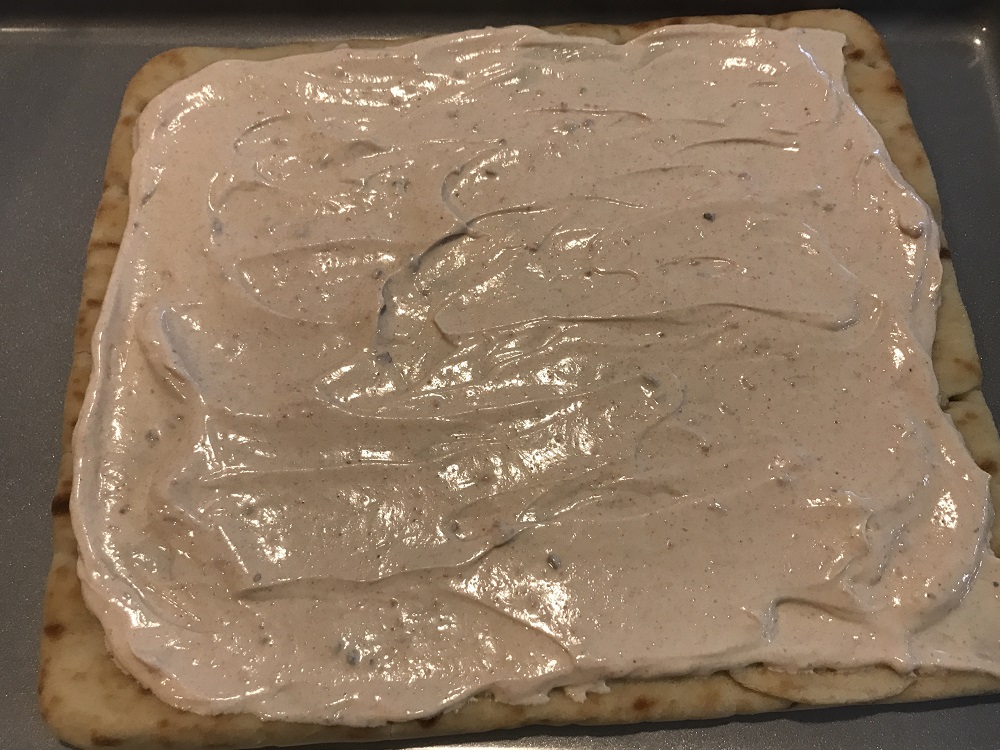
Taco Style
Next, sprinkle on the shredded cheese. I put the cheese on first, because it makes for a less messy veggie pizza. The dip helps keep the cheese in place. Use as little or as much as you like.
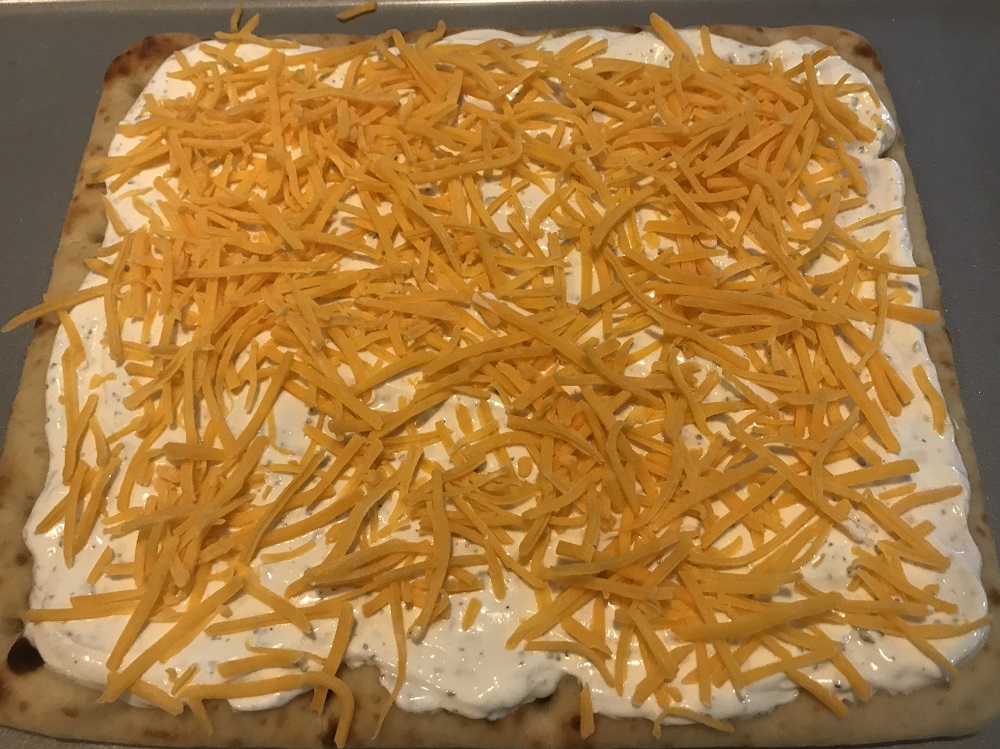
Original 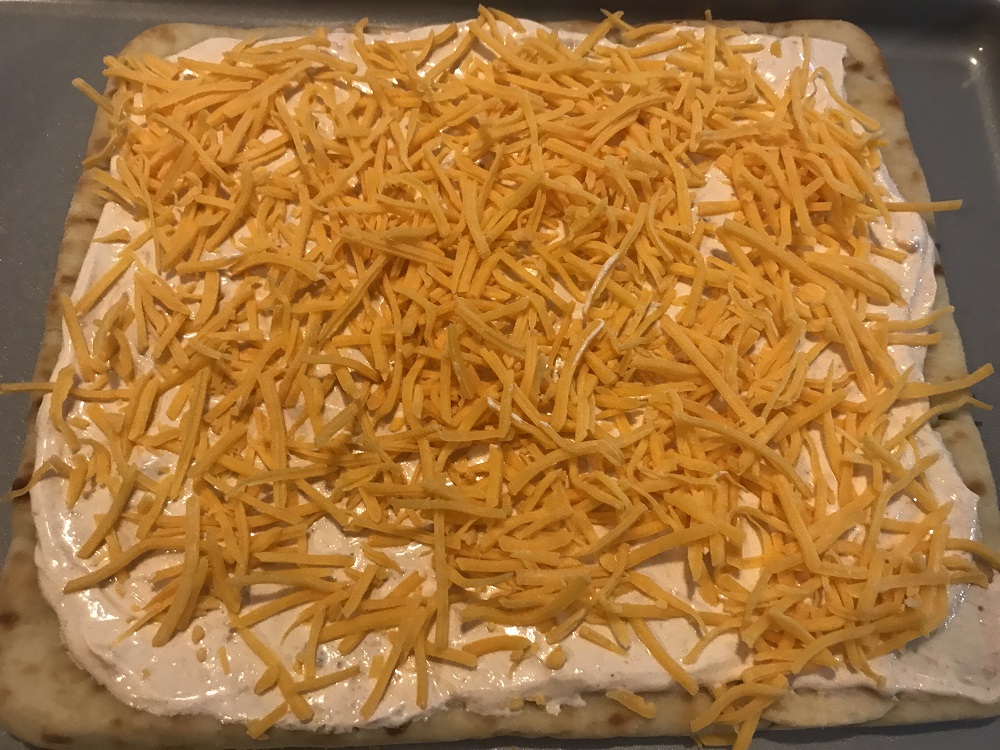
Taco Style
Next, add your veggies. Be sure to dice them about the same as you would for a regular pizza. If the toppings are too big, it’s not as easy, or as appetizing, to eat. You should be able to get all the veggies in every bite!
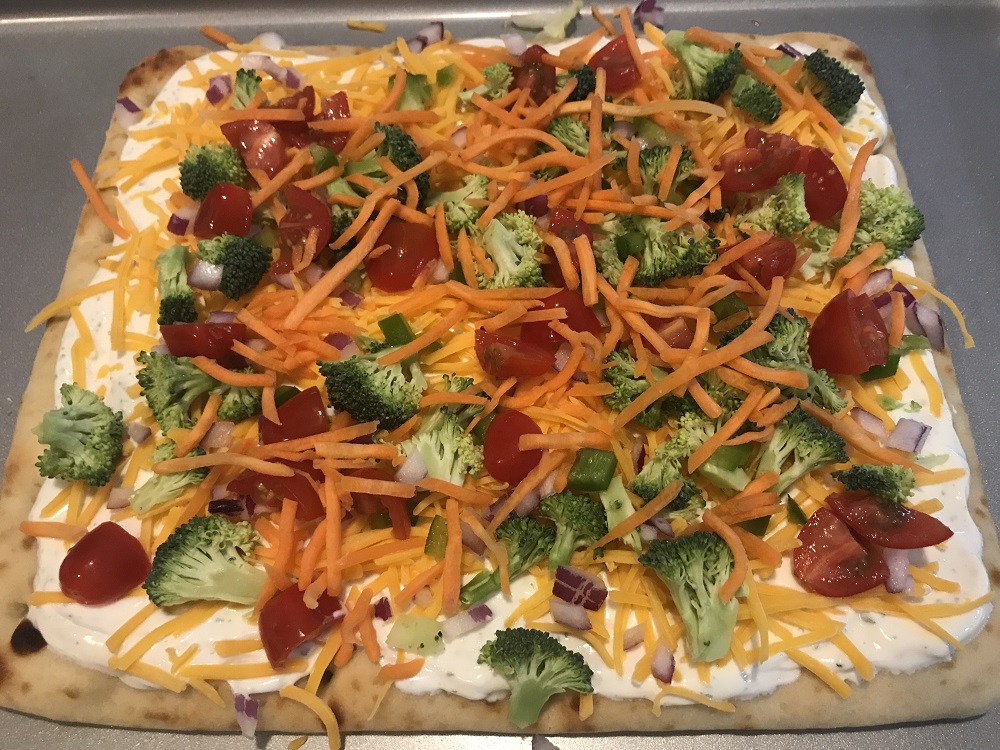
Original 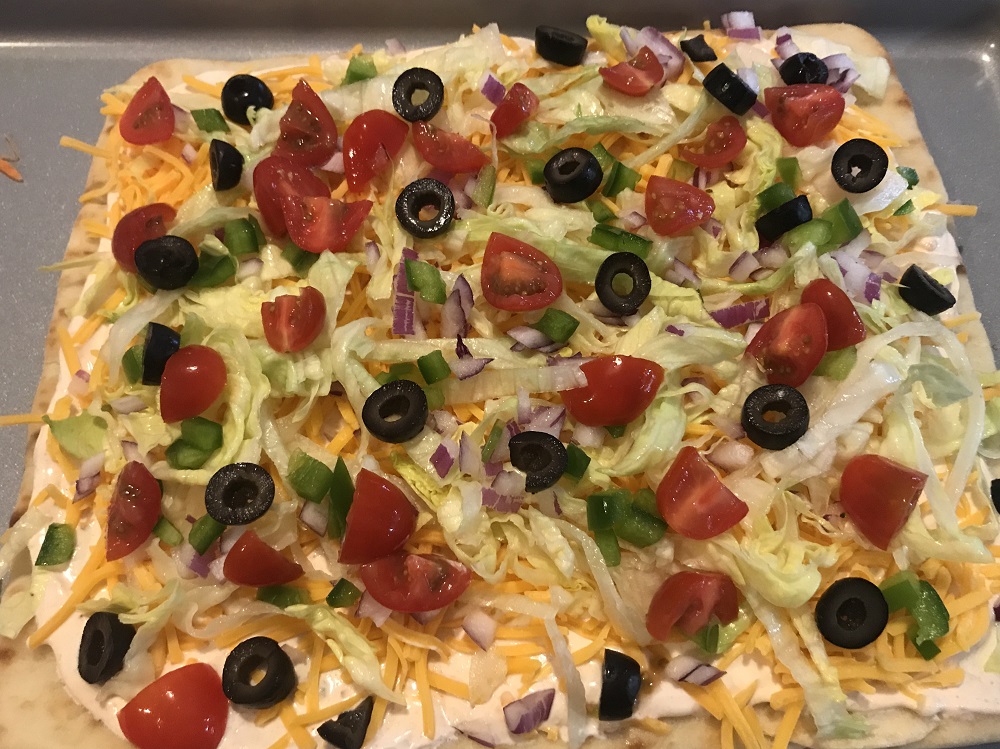
Taco Style
Now, you can slice it up with a pizza cutter and enjoy! This will keep well in the fridge for up to 48 hours, if you store it covered well with plastic wrap. I have also stacked the slices in an air tight container and stored in the fridge, so that works great too.
If you decide to give this recipe a try, let me know what you think. Also, if you’ve made or tried another version of veggie pizza, I’d love to hear hear it. Let me know in the comments. Hope everyone has a blessed day!
Simply Cheesy, Stuffed Baby Bella Mushrooms

You will need:
- 16 oz. package of whole Baby Bella Mushrooms
- I package of Philadelphia Cream Cheese, softened
- 1/2 cup shredded cheddar cheese
- 2 tbsp. of finely diced red or white onions
- 1/4 medium green bell pepper, finely diced
- 1 clove garlic, minced
- 2 tbsp. of real bacon bits
- A few dashes of your favorite hot sauce
- Salt and pepper to taste
I love this recipe, and you will too, if you like stuffed mushrooms with a savory, creamy, cheesy filling! These make a great appetizer or finger-food, and so simple to make. I’m the only one in my house who likes mushroom, so I make them for myself as a treat now and then. I haven’t tried stuff mushrooms at a restaurant that were any better than these.
How to make them:
Pre-heat the oven to 350° F. Gently brush off the mushrooms, remove the stems, and place them in a baking pan or dish. I spray a little olive oil spray in the bottom of the pan, but it’s not really necessary if your pan is nonstick.
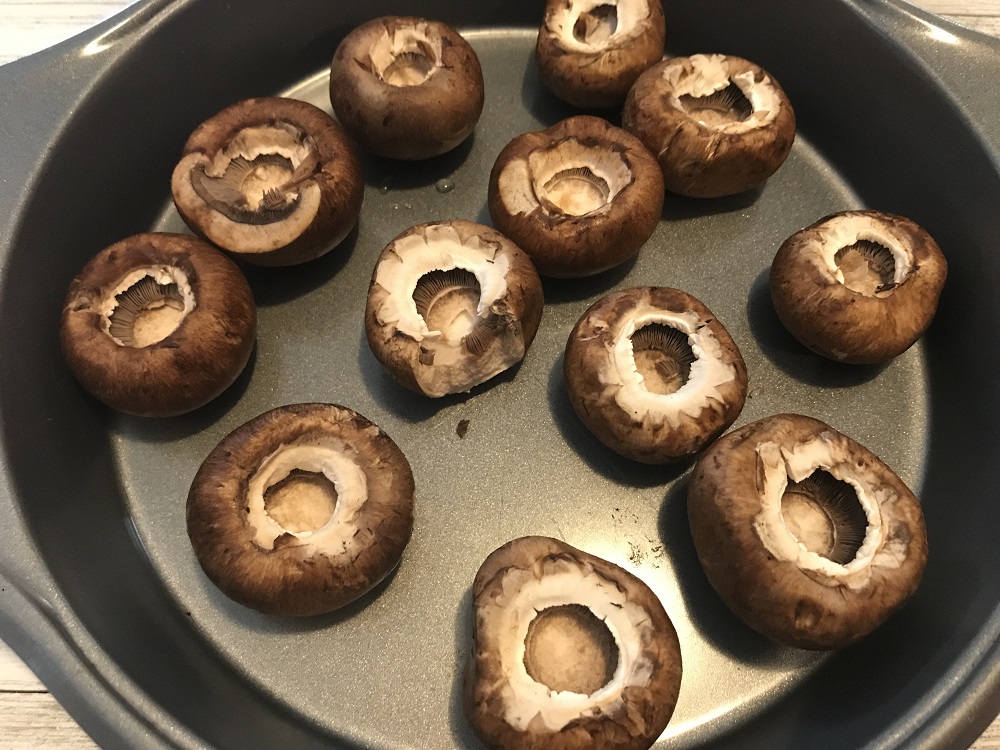
Add all the ingredients in a medium-sized mixing bowl and mix, using a hand or stand mixer, until just combined.
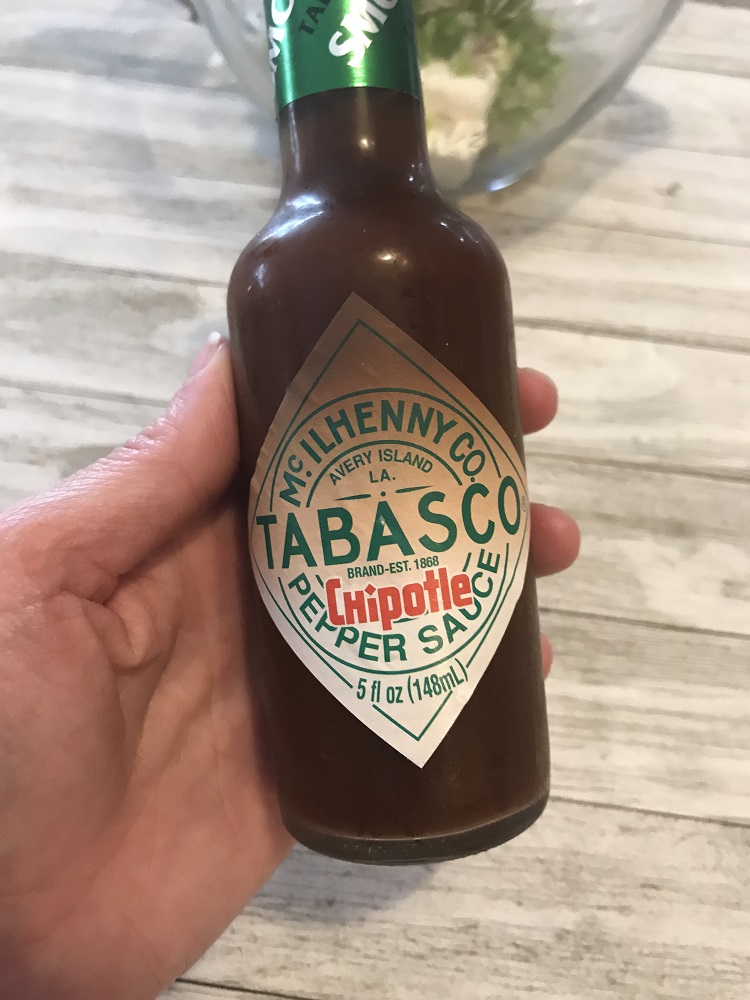
My favorite! 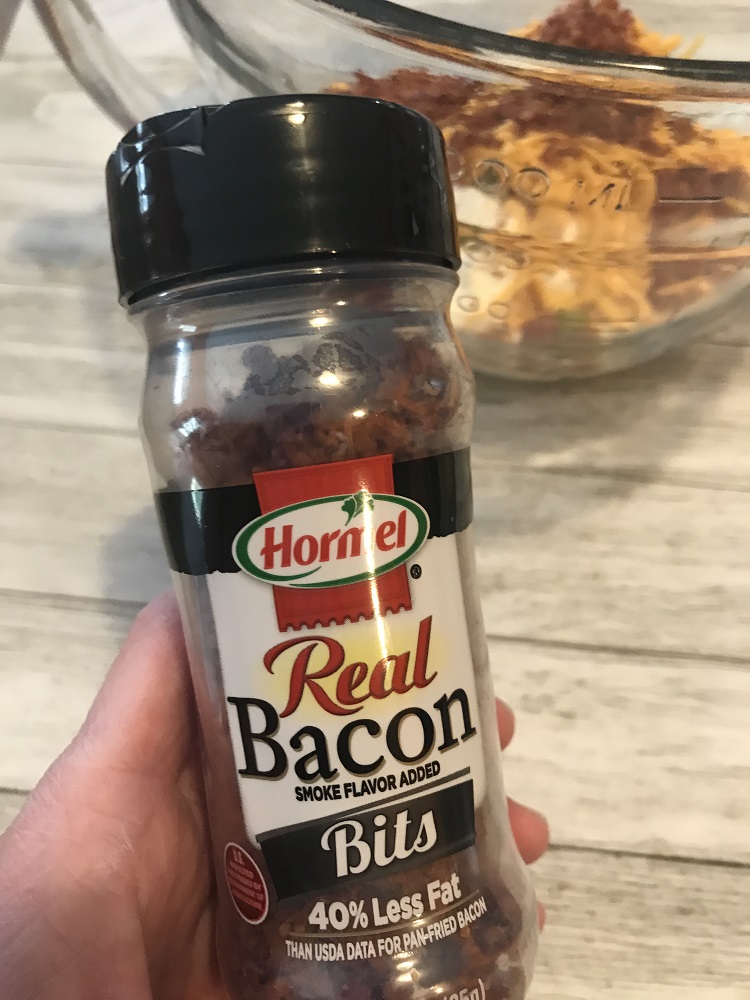
Can’t be beat! 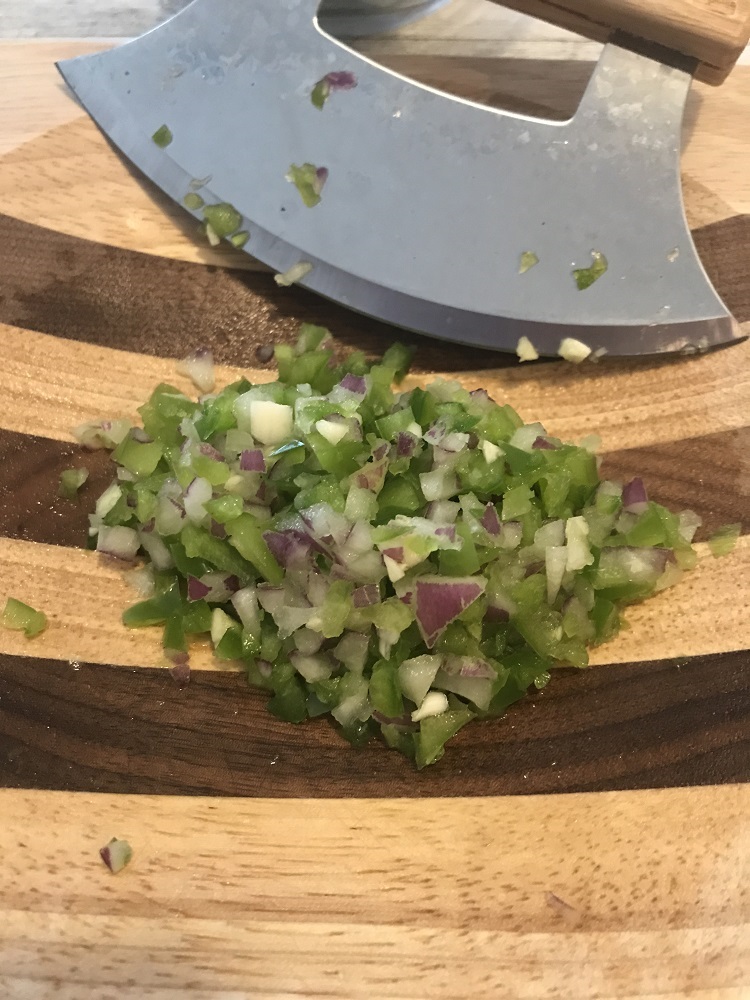
Finely diced! 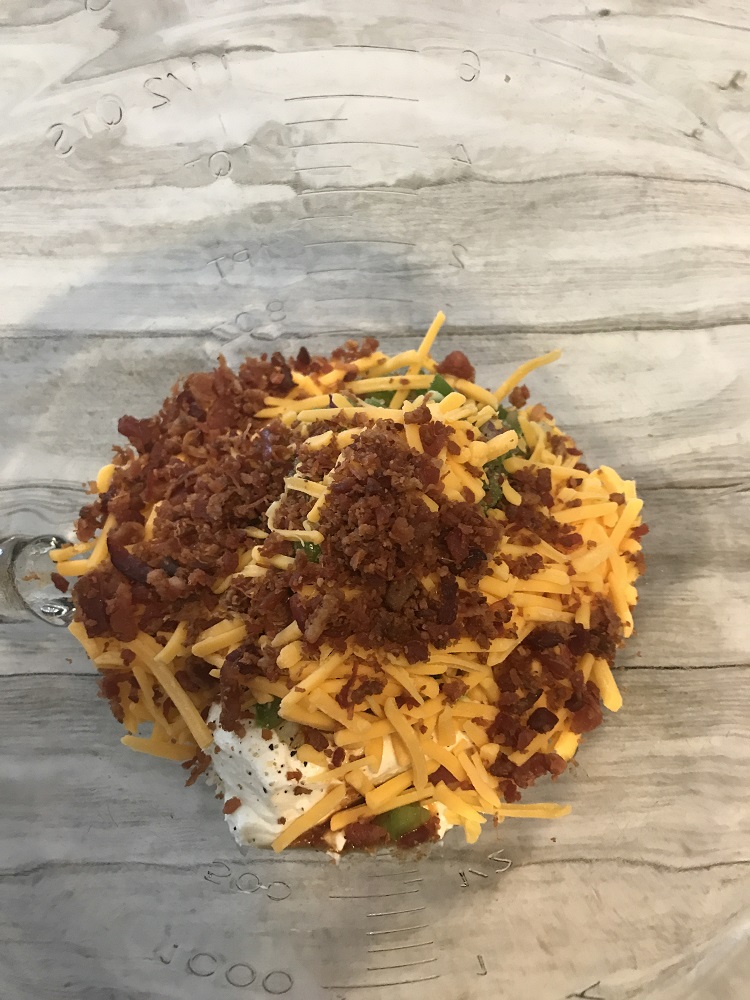
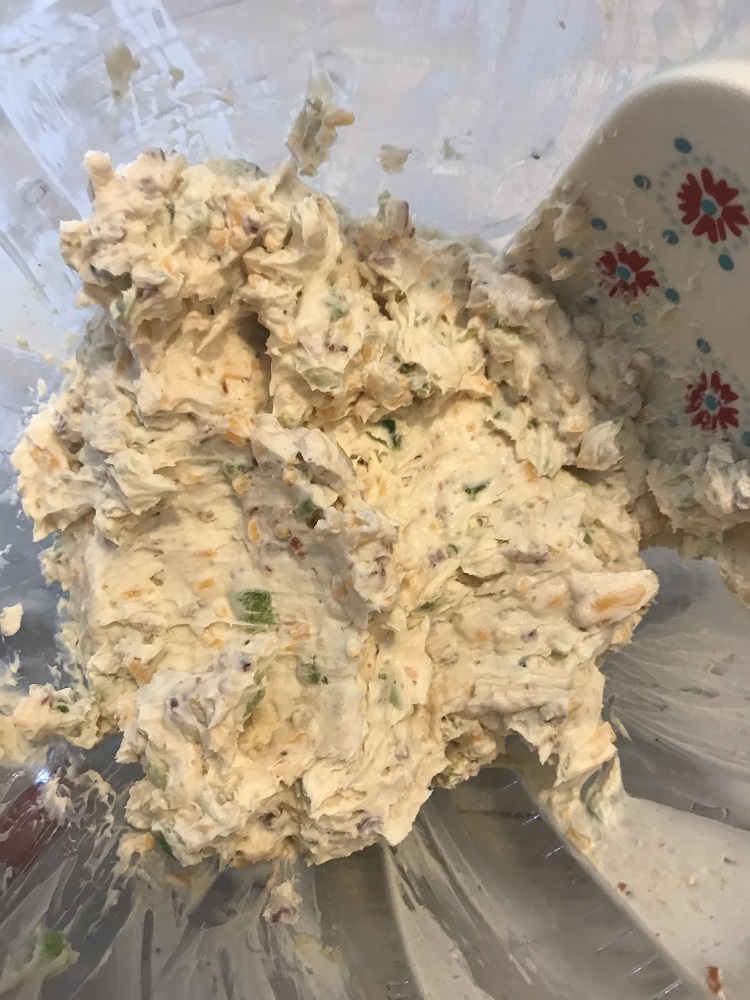
Using a small spoon, stuff the filling down into the bowl of each mushroom and then heap another portion on top.
Tip: It’s not good to crowd the mushrooms in the baking dish, but you want to make sure they are close enough that they can’t topple over while baking. I only had an 8 oz. package of mushrooms, so they were spaced out quite a bit. A few of them toppled, but no big deal. I just scooped up the melted filling with a spoon and heaped it back on top. It tasted the same, just not as pretty. 🙂
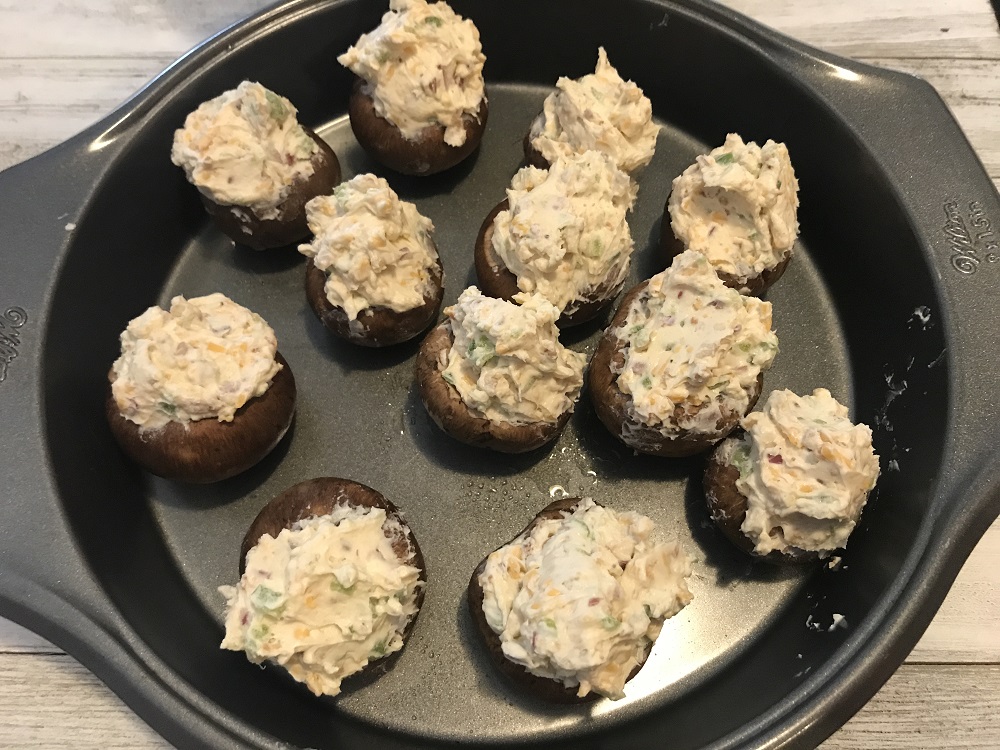
I only had an 8 oz. package of mushrooms, so I had plenty of leftover filling. Bake for 20-24 minutes. The filling should be hot and the cheese should be melted. Some of the filling may spill/melt over the side of the mushroom, and that’s okay. Mushrooms will look a little creped/shriveled when done.
If you give this recipe a try, let me know what you think!
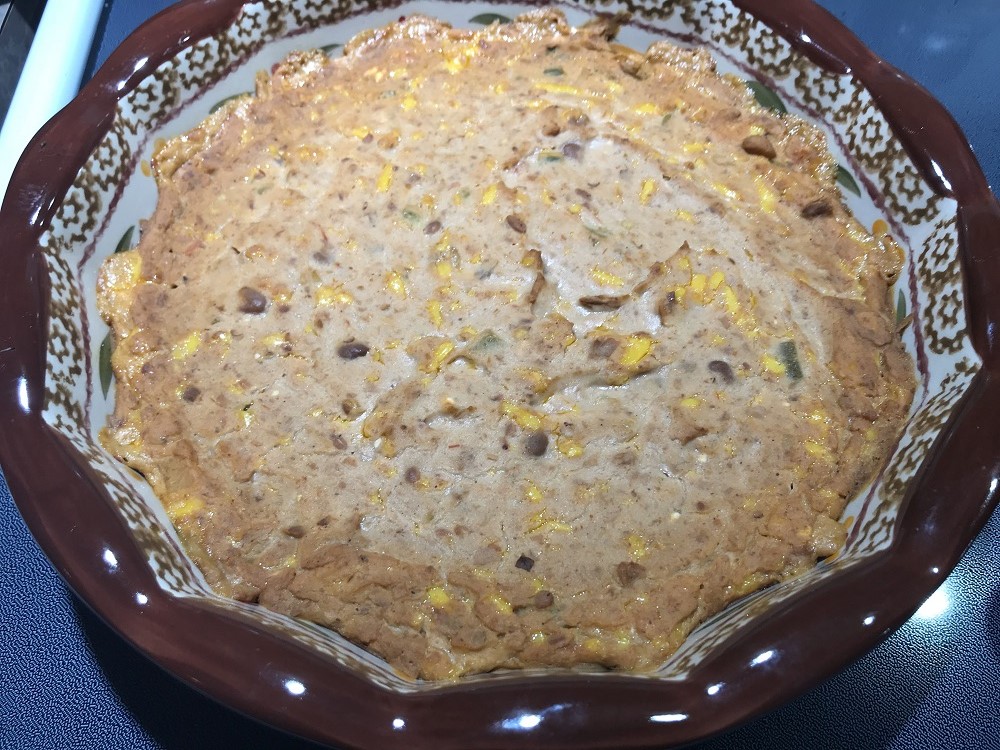
Simple Refried Bean Dip
You will need:
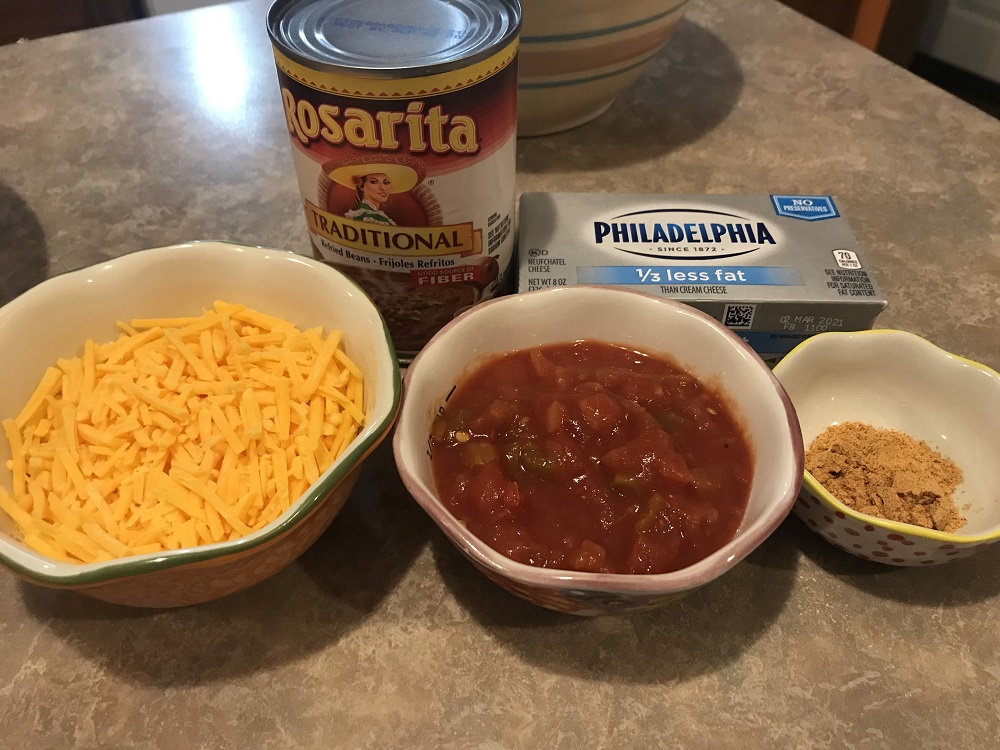
- 1 Can of refried beans (We love Rosarita brand!)
- 1/2 Cup of your favorite salsa
- 3/4 Cup of shredded cheddar cheese (Monterey Jack would also be great!)
- 1/2 8oz. package of Philadelphia Cream Cheese (softened to room temperature)
- 2 Tsp. of prepared taco seasoning mix (or your own taco seasoning mix)
My family loves refried beans with any Mexican dish, but once I started making this dip, they pleaded that we never go back to regular refried beans.
I love this recipe because it’s simple and it’s easy. There are only five ingredients, unless you prefer to mix up your own blend of taco seasoning, and the prep time is less than five minutes!
Here’s how you make it:
Preheat your oven to 350°F.
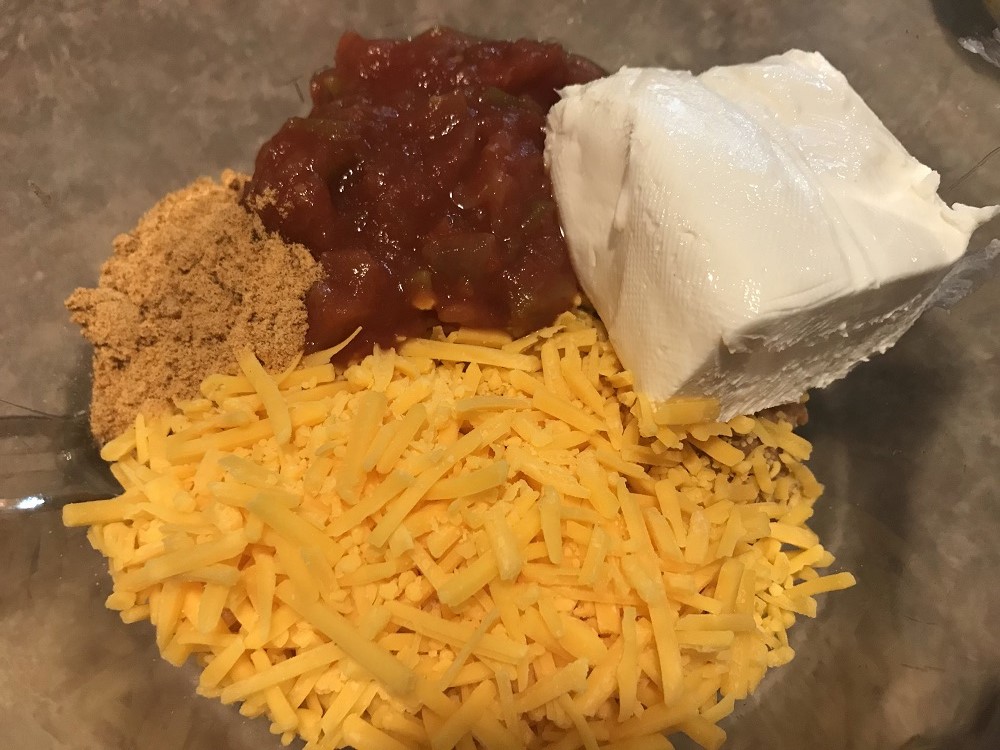
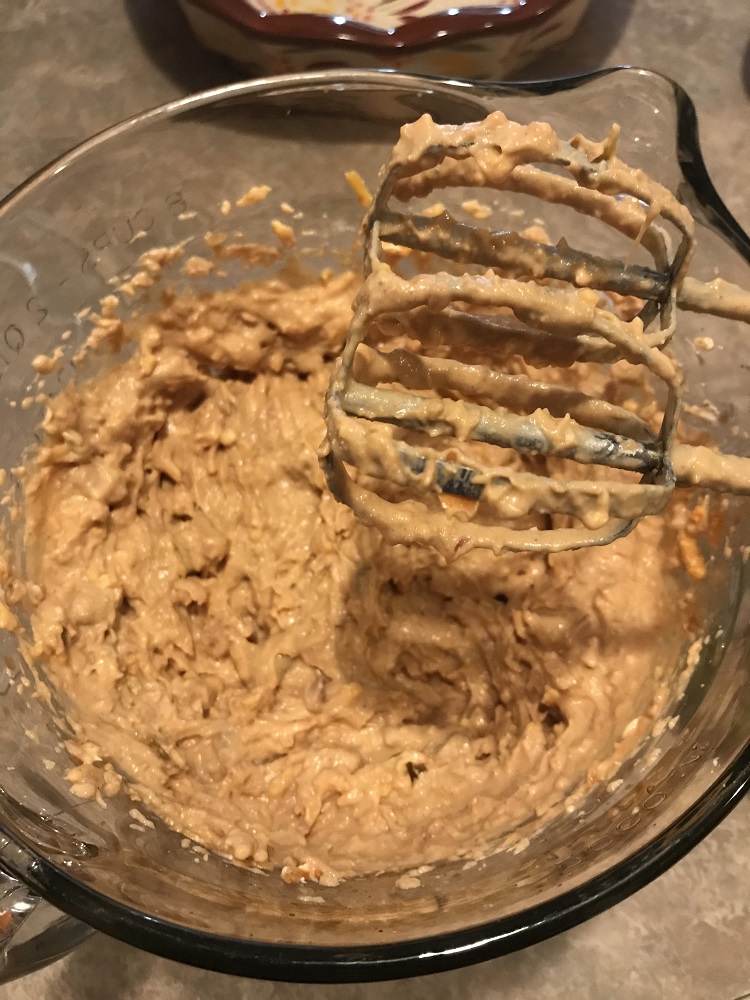
Combine all five ingredients in a medium to large mixing bowl, and mix with a hand mixer until just combined and there are no lumps of cream cheese.
Tip: If you use Philadelphia 1/3 less fat cream cheese, you won’t need to let it soften. It will mix beautifully straight from the fridge!
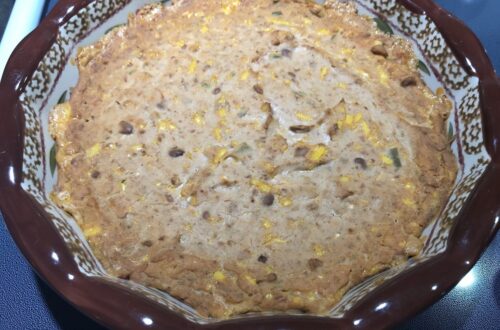
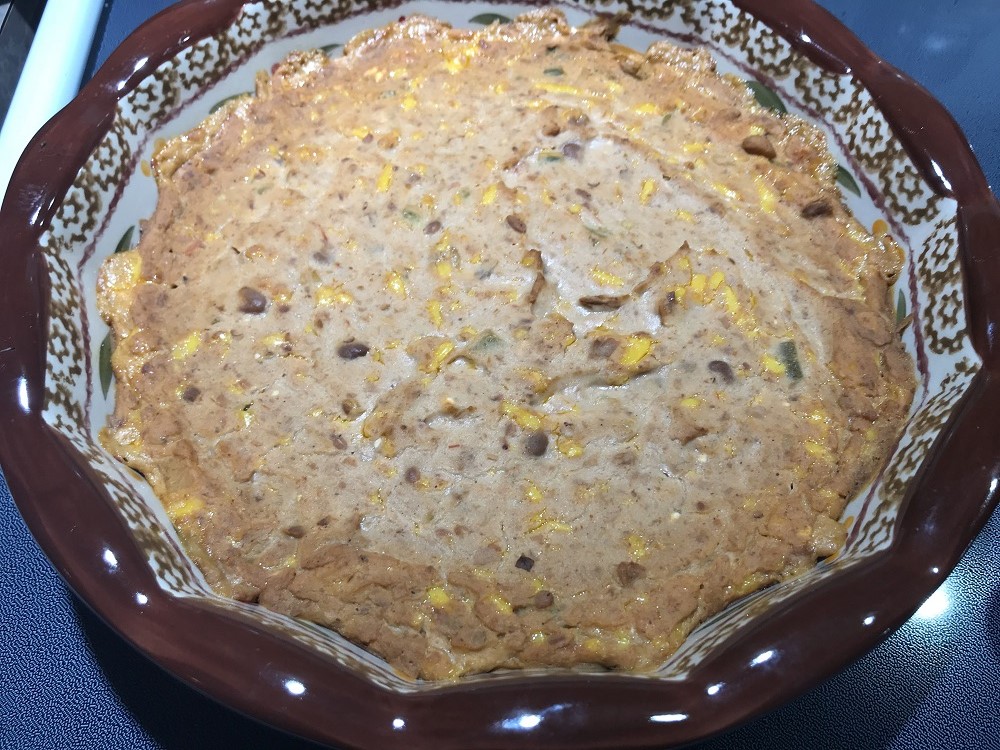
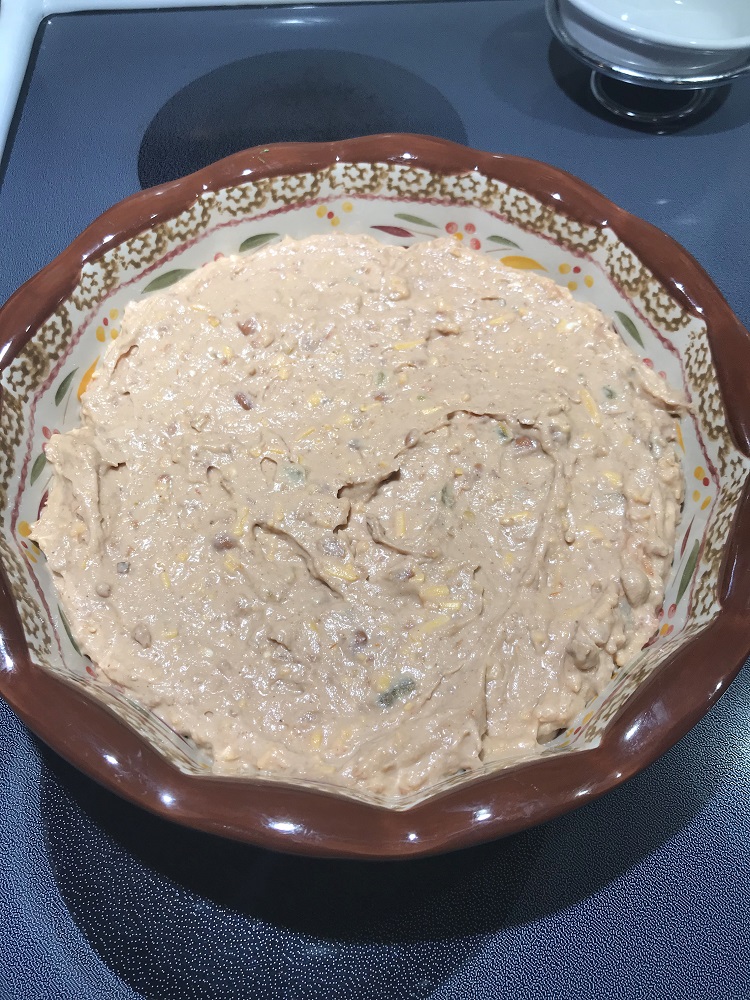
Pour your refried bean mixture into a glass baking dish and bake uncovered for 20-25 minutes, until the edges of your dip are bubbling. And that’s it folks! You’re ready to enjoy.
This dip is great to server along side any Mexican dish, but it also makes for a great party dip, served with tortilla chips. Add a dollop of sour cream and/or guacamole on top for some cool creaminess. If you like it spicy, you can add your favorite hot sauce or top with fresh slices of Jalapeno pepper.
If you give this dip a try, I’d love to hear what you think of it! Drop me comment below if you prefer your refried beans plain or if you prefer to mix it up.
Simple Thanksgiving Casserole
Here’s what you’ll need:
- 1 lb. Ground turkey
- 1 12oz. pkg. Pepperidge Farm Country Style Cubed Stuffing (or any other variety)
- 1 can Campbell’s Cream of Chicken Soup
- 1 can Campbell’s Cream of Mushroom Soup
- 1 Soup can full of water
- 2 tbsp. Butter
- 2 1/2 cups Low sodium chicken broth
- 1/2 cup Diced onions
- 1/2 cup Diced celery
- 1/2 cup Diced carrots
- 3/4 cup Dried cranberries roughly chopped
- Salt and pepper to taste
I came up with this simple recipe just a few weeks ago when I was trying to come up with dinner and only had a pound of frozen turkey to work with. We’ve all been there. You’re due for a shopping trip, and you’ve stretched the pantry and fridge as far as it can go. I nearly resorted to making grilled cheese sandwiches with swiss cheese when it came to me.
When I think of Turkey, I immediately think of dressing, and I had nearly an entire 12 oz. bag of Pepperidge Farm’s stuffing ( I had already used about a cup of it in a meatloaf I’d made a few nights before). I had a few carrots and stalks of celery left over from making chicken pot pie, and I always have dried cranberries on hand because we eat them in our salads. All of this, along with a can each of cream of chicken and cream of mushroom soup on the verge of expiring, screamed savory casserole!
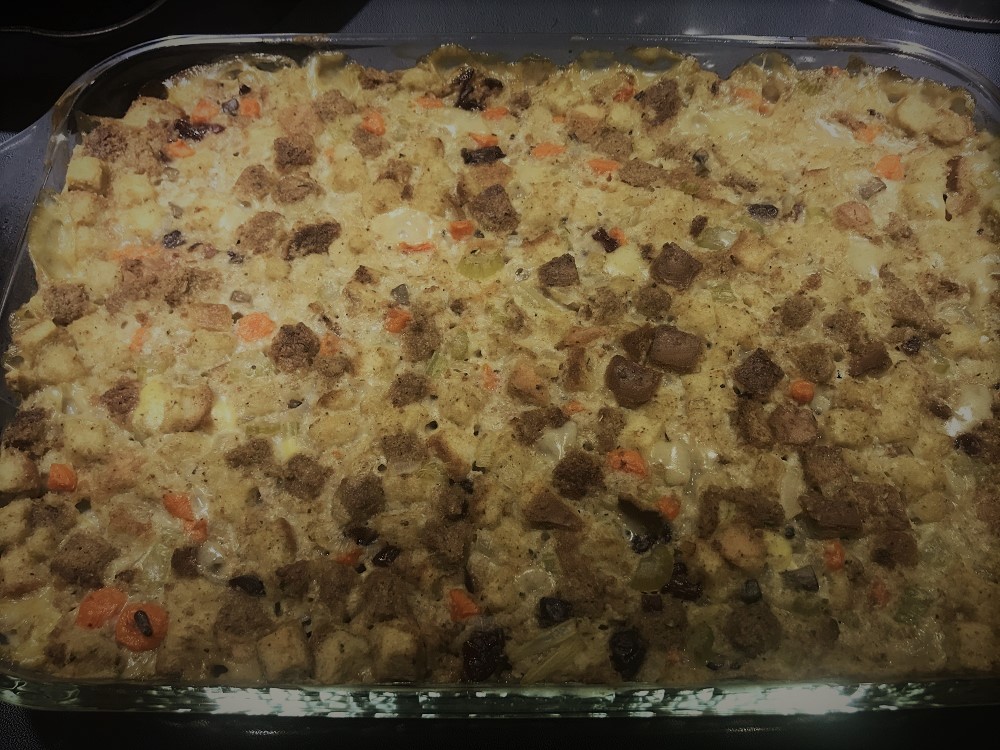
This casserole holds all the essential Thanksgiving favorites in one dish. And, since many of us will be downsizing the guest list this year, or even doing the holiday solo, this could be the solution to a simple, but still very delicious, Thanksgiving dinner.
Here’s how you make it:
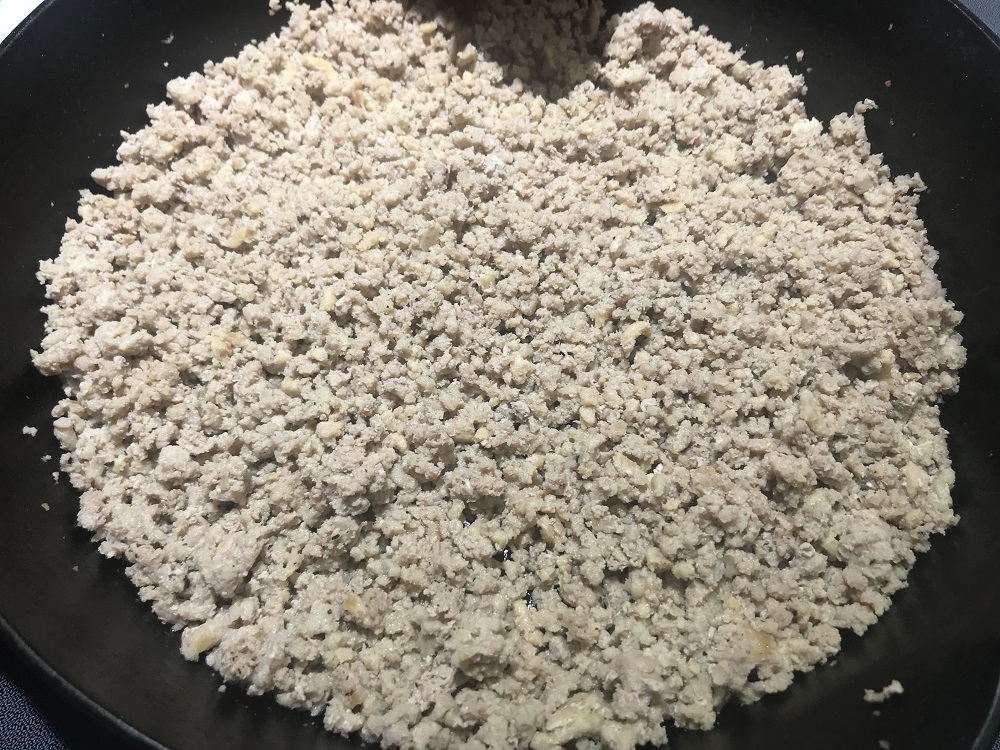
Start by preheating the oven to 350 degrees Fahrenheit, and then brown the ground turkey in a skillet until fully cooked. Be sure to season the turkey with salt and pepper.
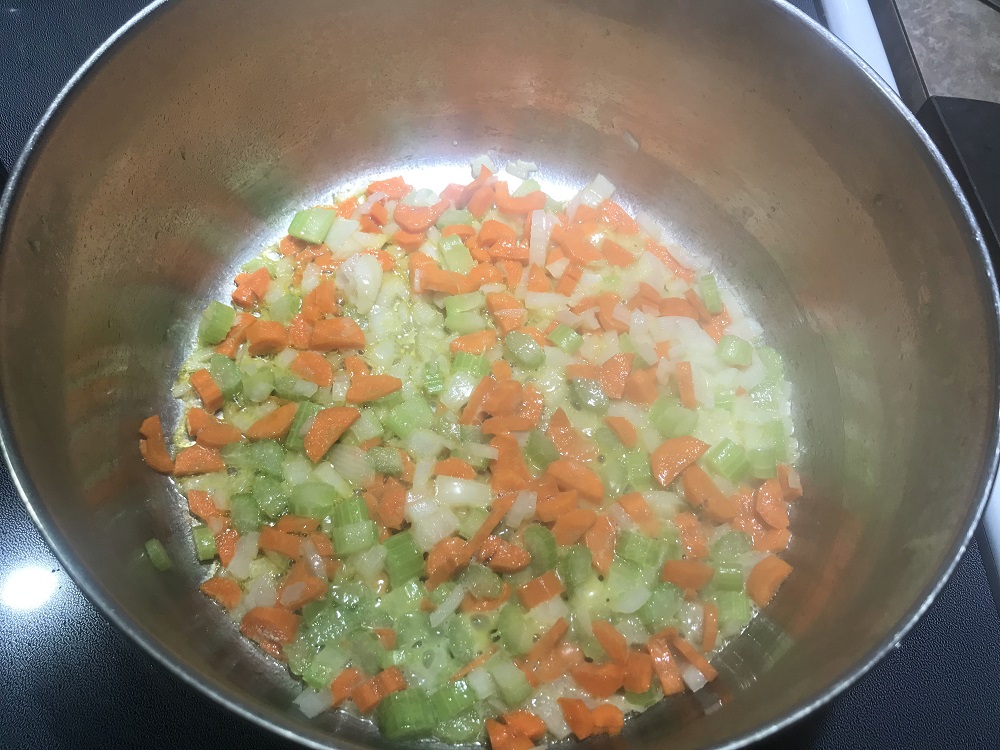
While the turkey is browning, add the butter to a separate pot and sauté onions, celery and carrots over medium heat until they start to soften.
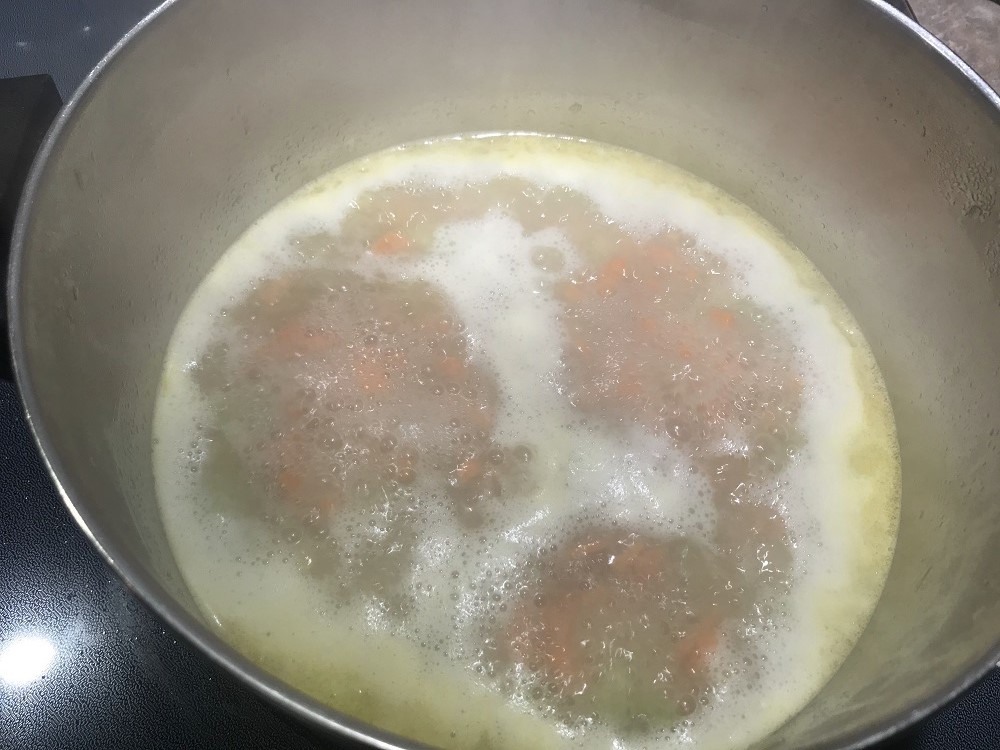
Next, add the chicken broth and bring to a boil.
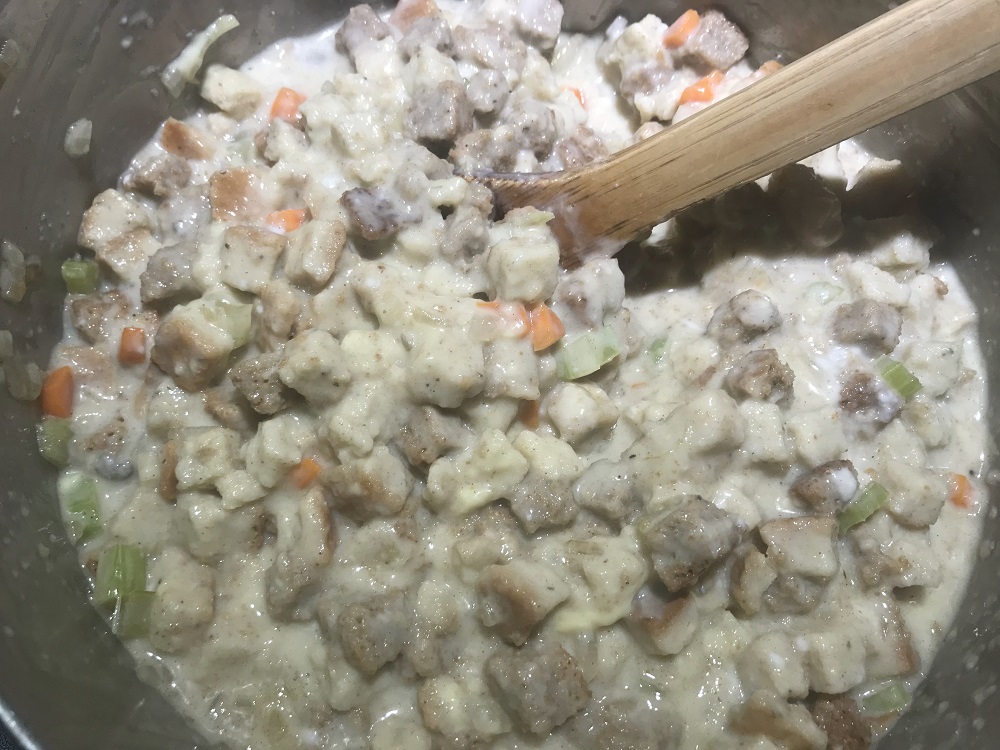
Once boiling, turn off the heat to the broth and veggie mixture and fold in the entire package of stuffing. In a separate bowl or large pitcher, combine the cream of chicken and cream of mushroom soups, along with one soup can full of water. Mix together with a whisk and pour the soup mixture into the stuffing mixture and stir together. It will be wet and soupy, but that’s how it should be.
Also, this is the time to add salt and pepper to the dressing mixture. Be sure to taste it to make sure it’s seasoned to your liking.
Now, it’s time to layer the casserole! You can use spray Pam or grease the dish with butter if you’re worried about it sticking. Start with 1/3 of the stuffing mixture in the bottom of a glass casserole dish. Layer 1/2 of the browned turkey on top of that, and then 1/2 of the chopped cranberries. Now repeat with another 1/3 of the stuffing mixture, and the remaining turkey and cranberries.
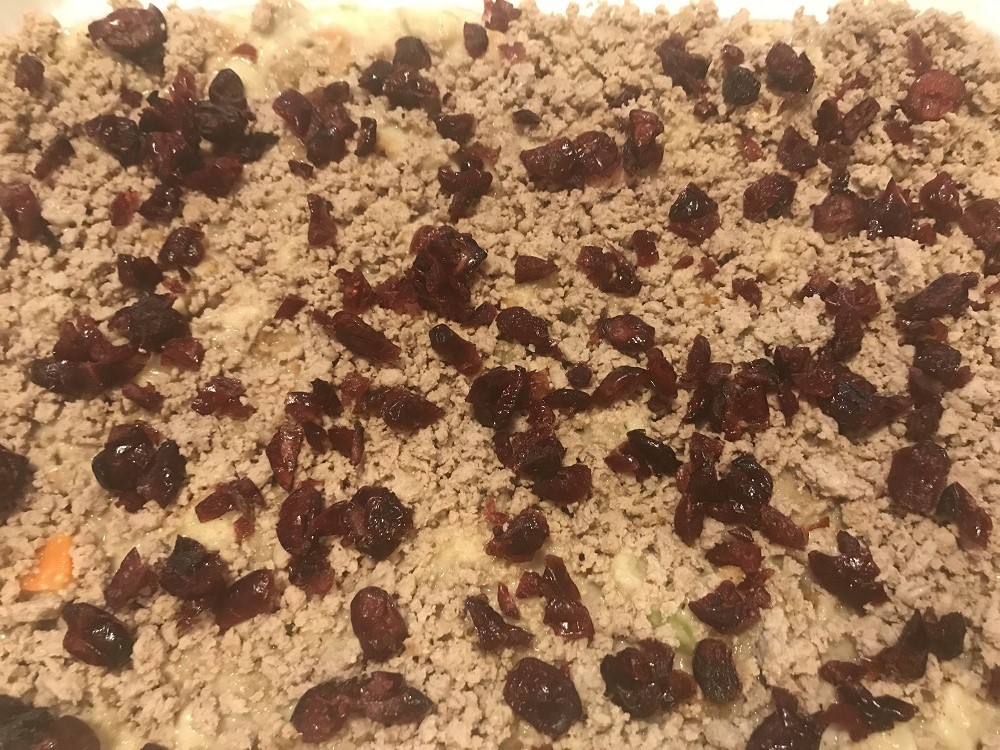
Finish with the last portion of the stuffing mixture on top. Use a spoon to smooth out the last layer and pop it in the oven and bake, uncovered, for 25 minutes. Turn up the heat to 375 degrees and bake for another 15-20 minutes, or until casserole is bubbling and starting to brown on top.
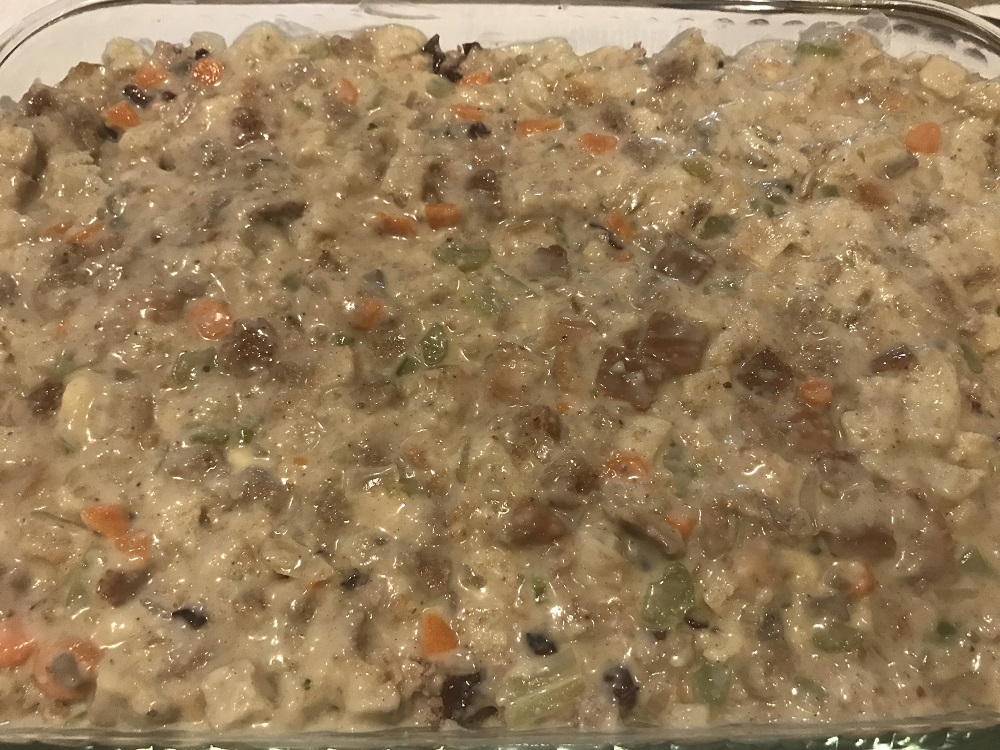
And that’s it! Thanksgiving dinner in one dish. This would go perfectly with a baked sweet potato on the side.
If you end up going all out for Thanksgiving dinner this year, the recipe could definitely be adapted to use your leftover turkey (shredded), dressing and cranberry sauce. Although, you probably wouldn’t want to use the jellied cranberry sauce in a can for this recipe.
I hope you will give this recipe a try, and let me know what you think!
Simple Chicken Salad
- You will need:
- 1 can of premium chicken breast (12 1/2 oz.)
- 1/2 of an 8 oz. package of cream cheese, softened
- 2 tablespoons of mayo
- 1/8 cup of pickle relish
- 1/8 cup of finely diced white onion
- Pinch of Salt and pepper to taste
- 1/2 cup of purple seedless grapes, halved
- Chopped pecans or sliced almonds for topping
Chicken salad is one of those foods that are so versatile. You can spread it on sliced bread or a croissant, stuff it in a garden tomato, top it on a salad, or use it for a veggie or cracker dip. It’s a great food to bring to a party or church function for a snack, and you can make it ahead of time, without sacrificing the quality or taste!
The bottom line is, who doesn’t love a good chicken salad? What most people don’t love is the hassle of putting it together. I say, it doesn’t have to be complicated! I’ve been using this foolproof recipe for years and it always gets praises.
Here’s how you make it.
In a medium-sized mixing bowl, add the chicken, cream cheese, mayo, relish, and onion. You can also add a pinch of salt and a dash of pepper now, but you may want to add more at the end to your liking.
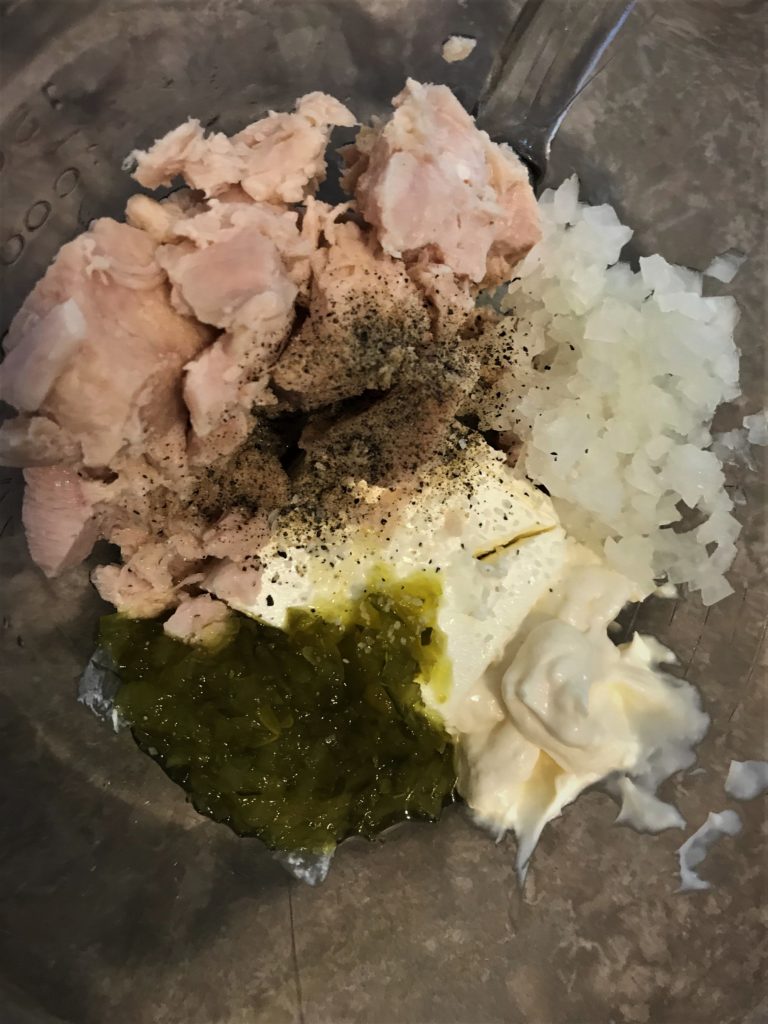
Using a hand mixer, mix all the ingredients until just combined and cream cheese is evenly distributed (no clumps). FYI – if you like chunky chicken in your chicken salad, this is probably not the recipe for you. 🙂
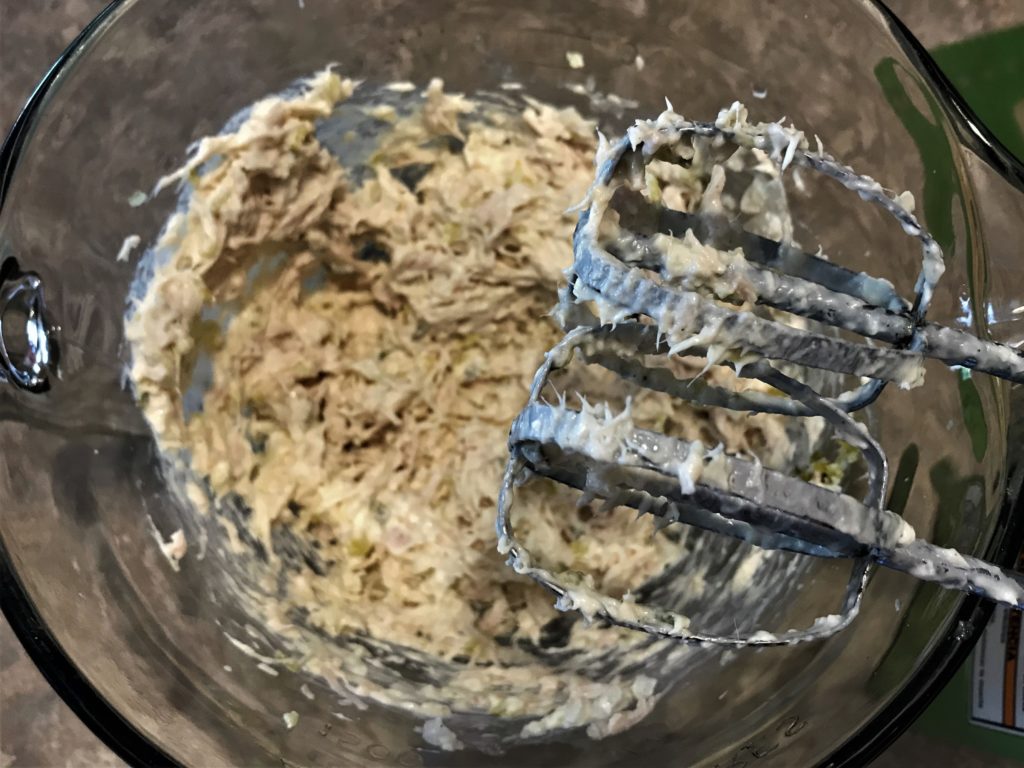
Now, using a rubber spatula (not the mixer), you can fold in the grape halves. If you’ve never tried grapes in chicken salad, please don’t skip this step. Give it a try – you will love it! And if you don’t love it, they won’t be that hard to pick out. 🙂
And….done!
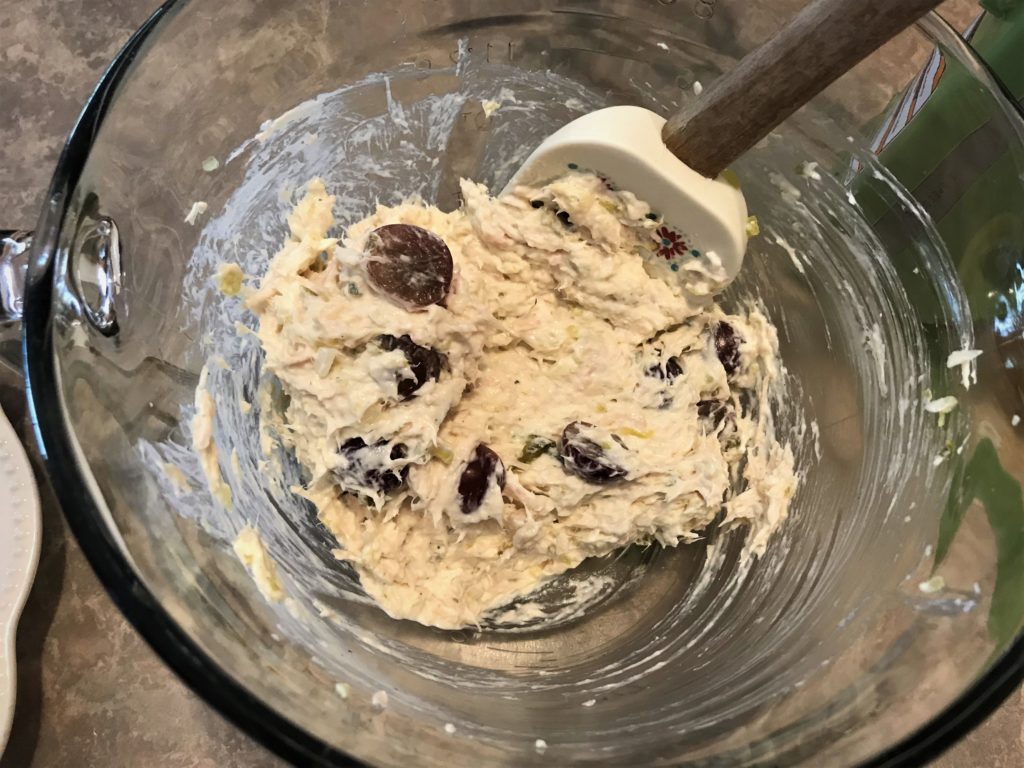
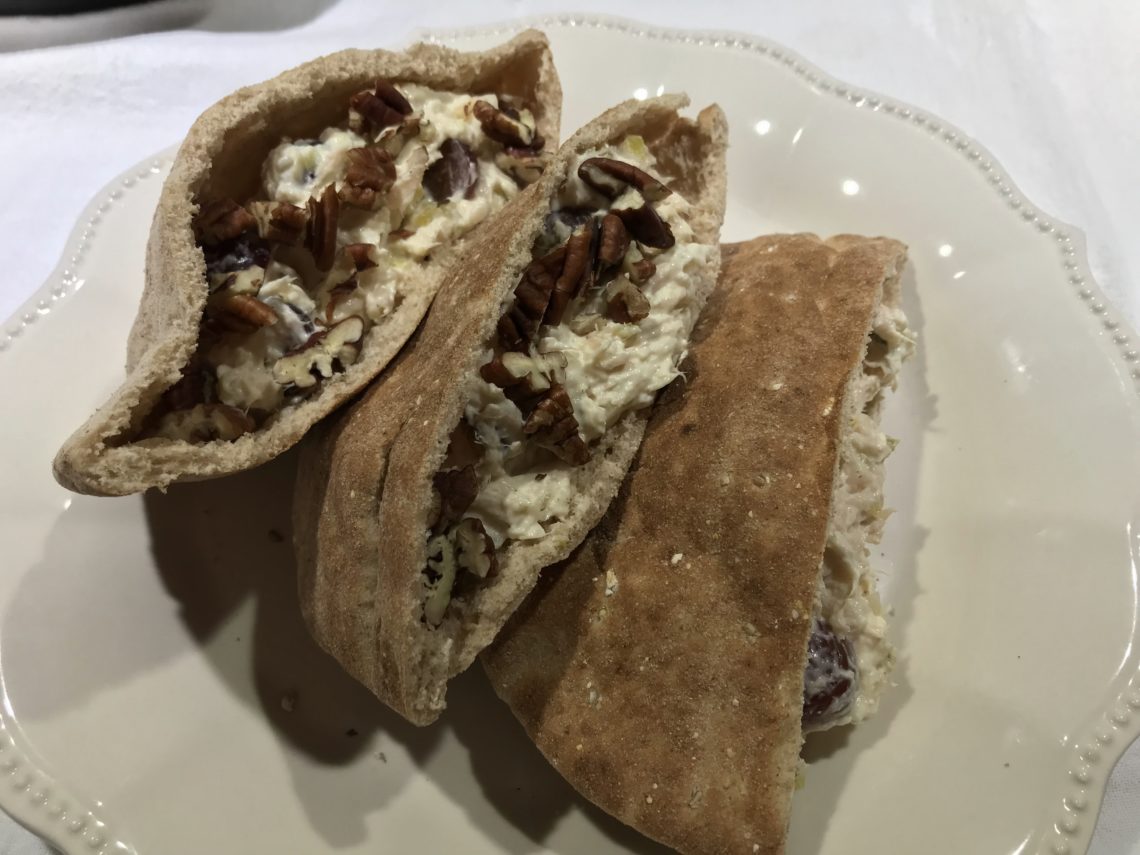
I had some whole wheat pita pockets, which were perfect stuffed with this creamy goodness! If you’re making this for yourself and you love nuts, you can fold those into the chicken salad as well, but I like using the nuts for a topping. It makes the dish more inclusive for people who either don’t like nuts or can’t have them for medical reasons.
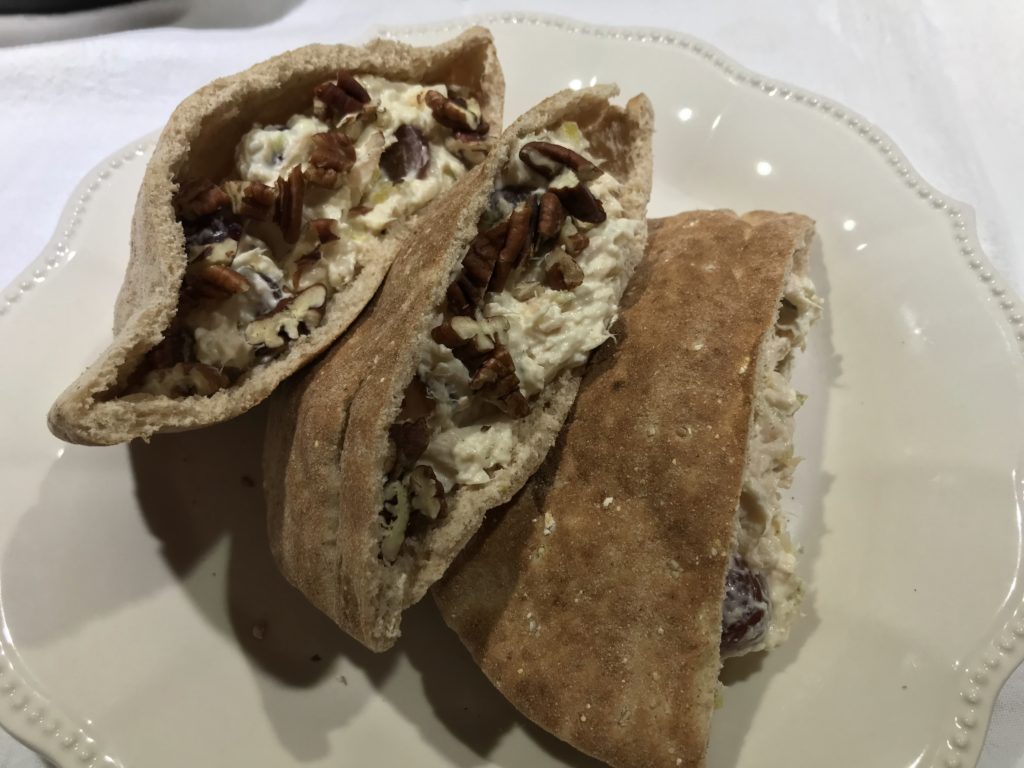
By the way, if you’re not a fan of canned chicken, you can also use the same amount of shredded rotisserie chicken or chicken that you baked and shredded yourself ahead of time.
I hope you love this go-to recipe as much as I do. Please let me know if you try it!
- You will need:
Easy Crock-pot Southwest Chicken
- You will need:
- 2 thick boneless skinless chicken breasts cut into halves (or 4 thin-sliced ones)
- 1 can of black beans (drained and rinsed)
- 1 cup of fresh or frozen corn (canned will work also – drained)
- 1 10 oz. can of Rotel Original
- 1/4 cup of fresh cilantro
- 1 cup of colby jack or cheddar jack cheese
- 1 package of taco seasoning mix
- 1 tbsp. white granulated sugar
- 1/2 cup water
- 2 tbsp. of olive oil, plus more to grease the crock-pot.
- Salt and pepper to taste
- Soft flour tortillas (optional for the side)
- Sour cream (optional for the side)
I am always experimenting with recipes and trying to find ways to make them simpler and quicker. I am not a fan of processed food, and I try to buy the organic options of as many grocery items as I can. But, let’s be realistic, I’m not perfect and I don’t have the time and money to try to live up to unrealistic standards. I do try my best though, and one of the things I take pride in is preparing homemade meals for my family with as many fresh and organic ingredients as I can.
This southwest chicken recipe came to me on a whim. I almost always have chicken in the freezer because its so versatile and great for days when I don’t have the time and energy to be very creative. My go-to is usually quesadillas, but I was rummaging through the pantry cabinet one day and spotted a can of Rotel and black beans. A brilliant light seemed to stream down from heaven, and I immediately grew excited. They would pair perfectly with some sweet corn, and the fresh cilantro growing in my garden.
This is how I did it. FYI – this recipe makes four servings.
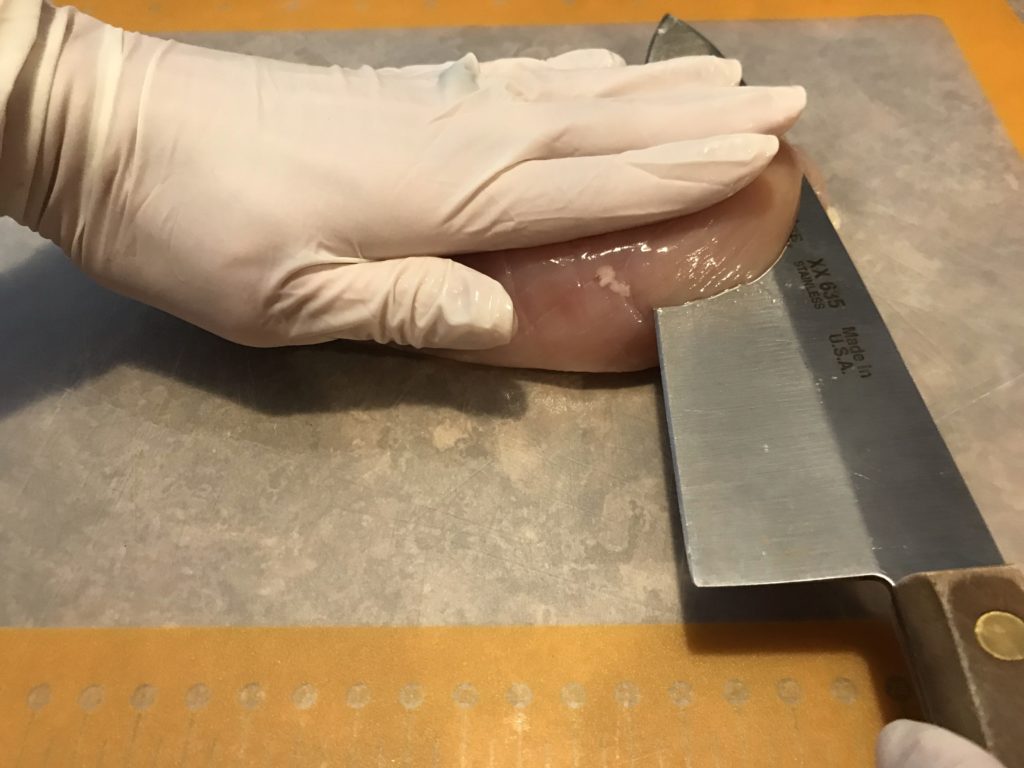
First, plug in your crock-pot and set to “low” (I like to add about a teaspoon of olive oil to the crock-pot and a smear it over the bottom and sides to coat it.). Then, using a sharp knife, I cut the two thick breasts in half. You can also use thin-sliced chicken breast, but I find its cheaper to buy them in one piece and slice them myself.
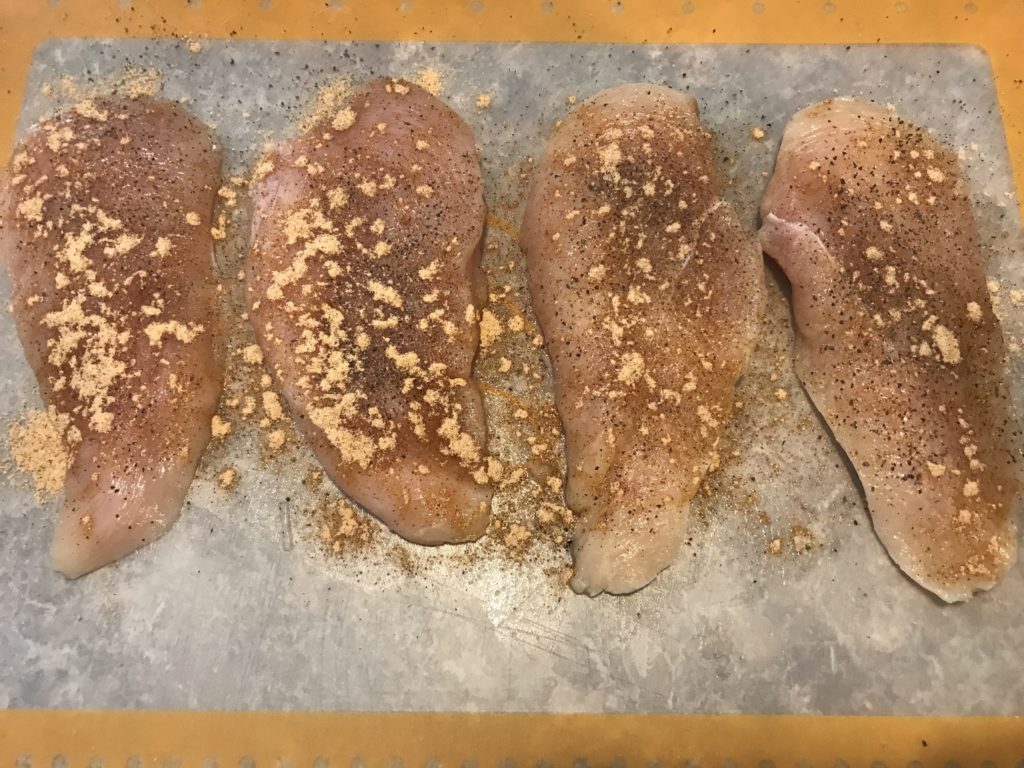
Salt and pepper each side of the chicken and then use about 1/3 of the taco seasoning packet to sprinkle on both sides of the chicken. Save the remainder of the taco seasoning because you will need it again in a moment.
Add the olive oil to a pan and heat on medium-high. I prefer to use a cast iron skillet, but any pan will do. The idea is to sear the chicken on both sides, not cook it through, so don’t add the chicken to the pan until it is very hot.
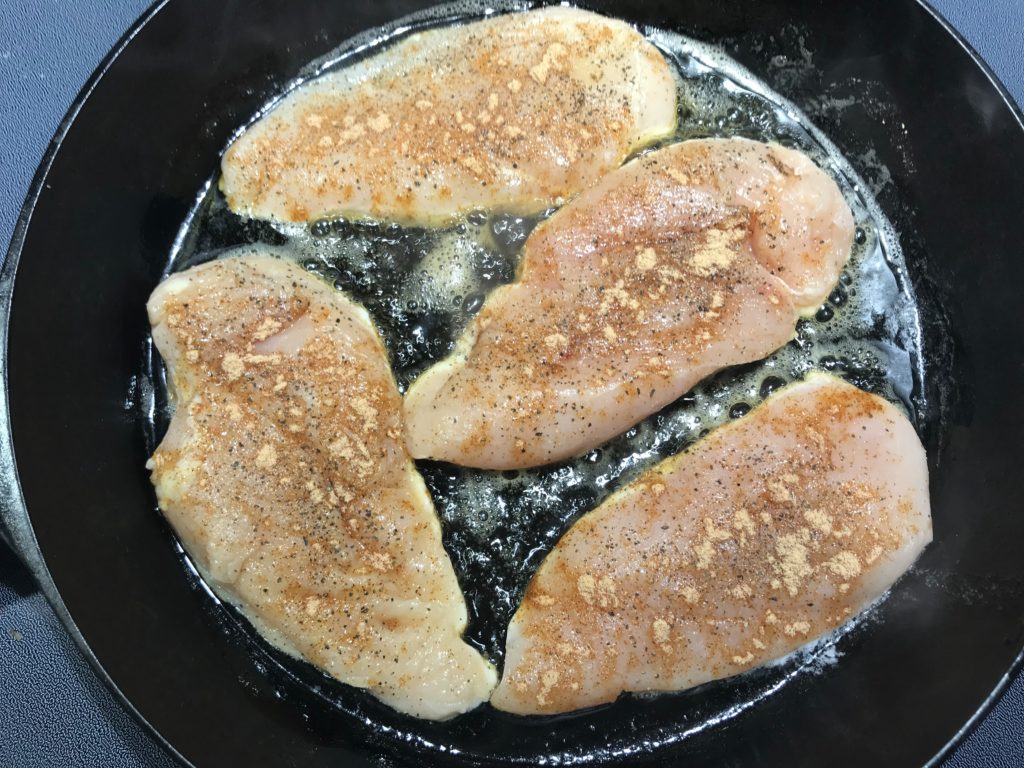
The chicken should easily pull away from the pan when the chicken has a golden brown crust. It usually takes about 3-4 minutes on each side.
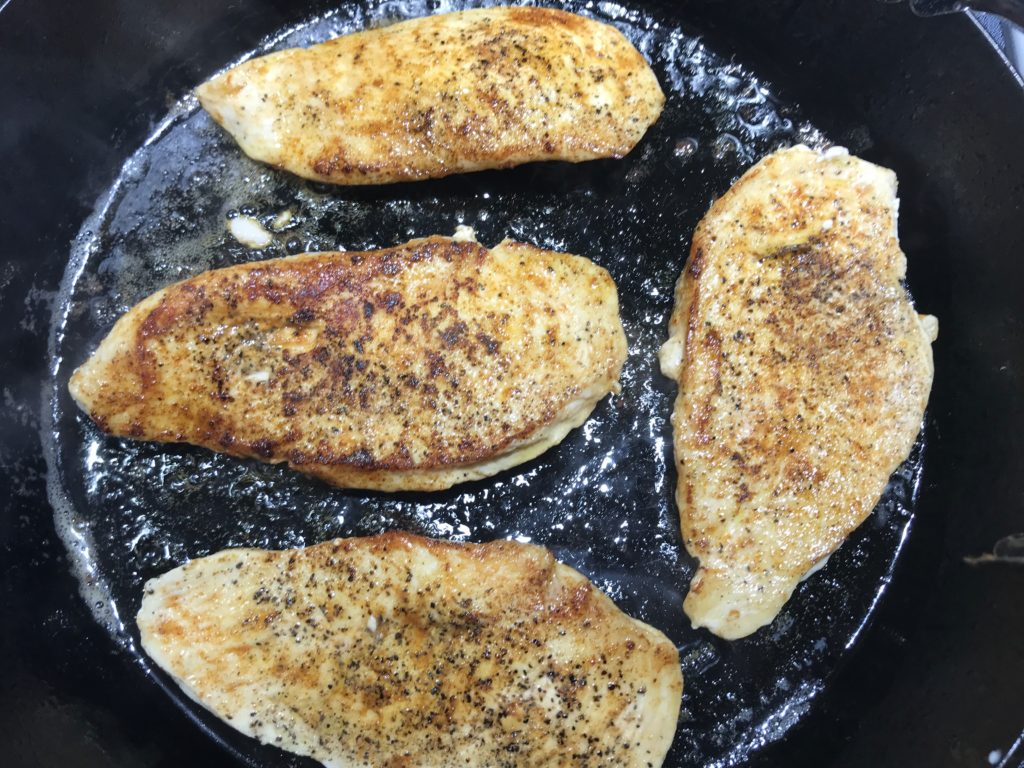
Once the chicken is seared, remove it from the pan and place it directly into the heated crock pot. Now, for the southwest part. 🙂
In a medium to large bowl, add the corn, black beans, Rotel, and cilantro. Sprinkle in the remainder of the taco seasoning mix and the sugar, and then add about a half cup of water.
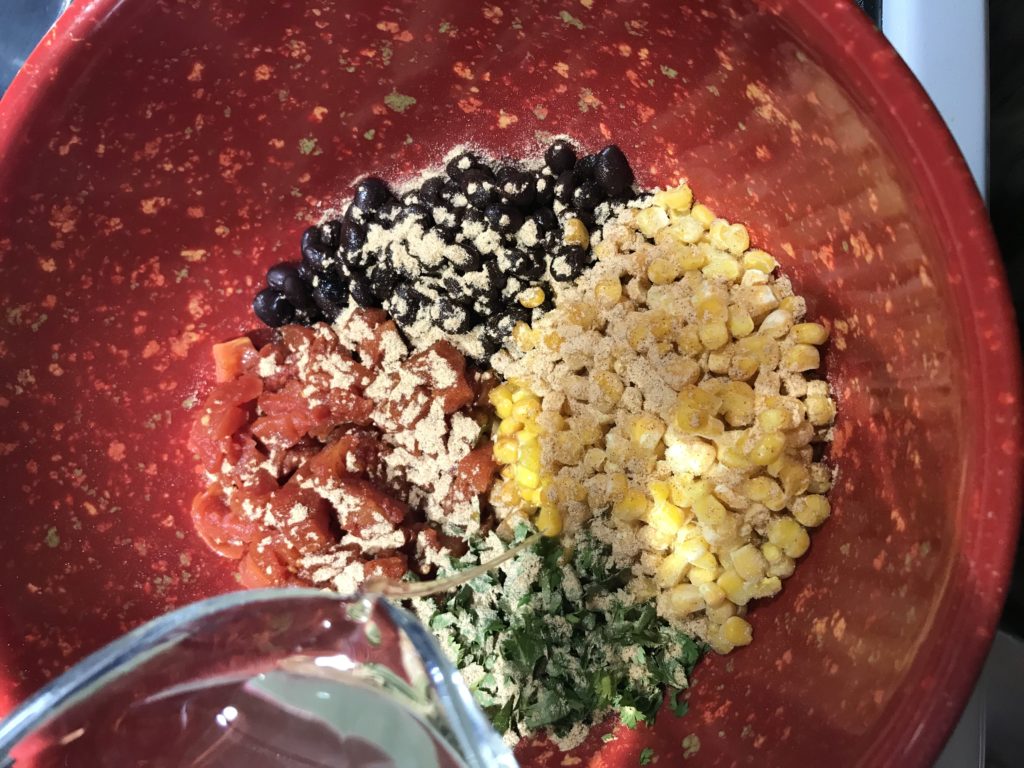
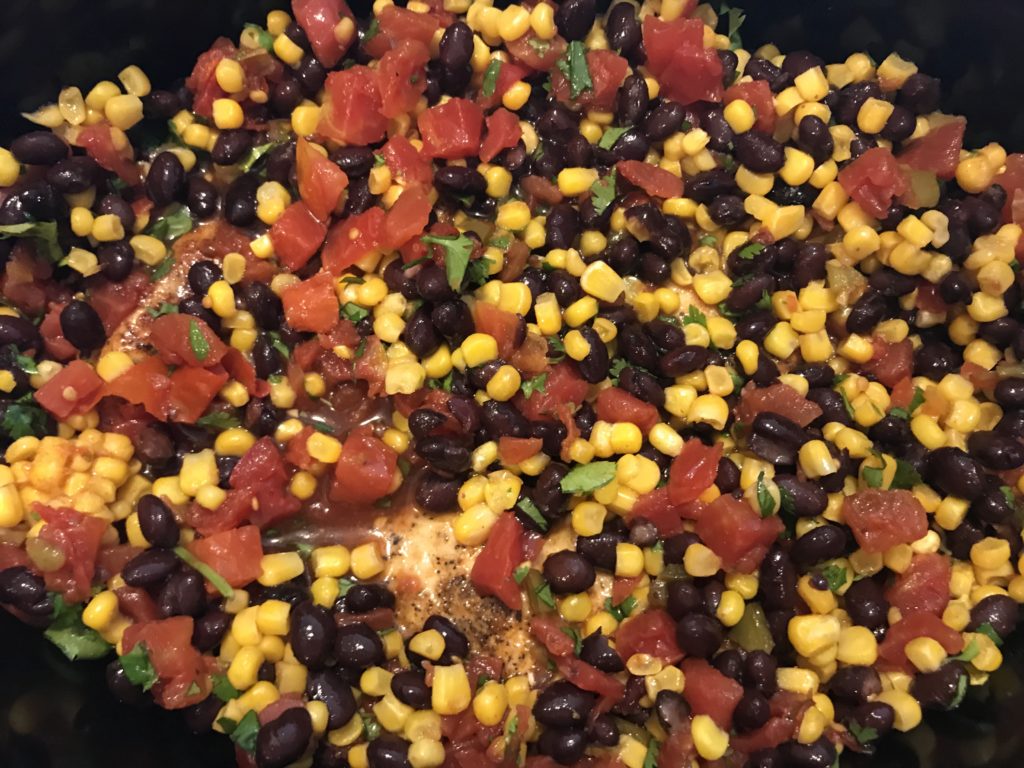
Gently fold the mixture until is it all combined (Be careful not to smash the black beans). Pour the corn and bean mixture evenly over the chicken in the crock-pot (no need to stir again), place the lid on, and cook on low for about 2 1/2-3 hours. Keep in mind that if you use whole/thicker pieces of chicken breast, you may need to cook it longer.
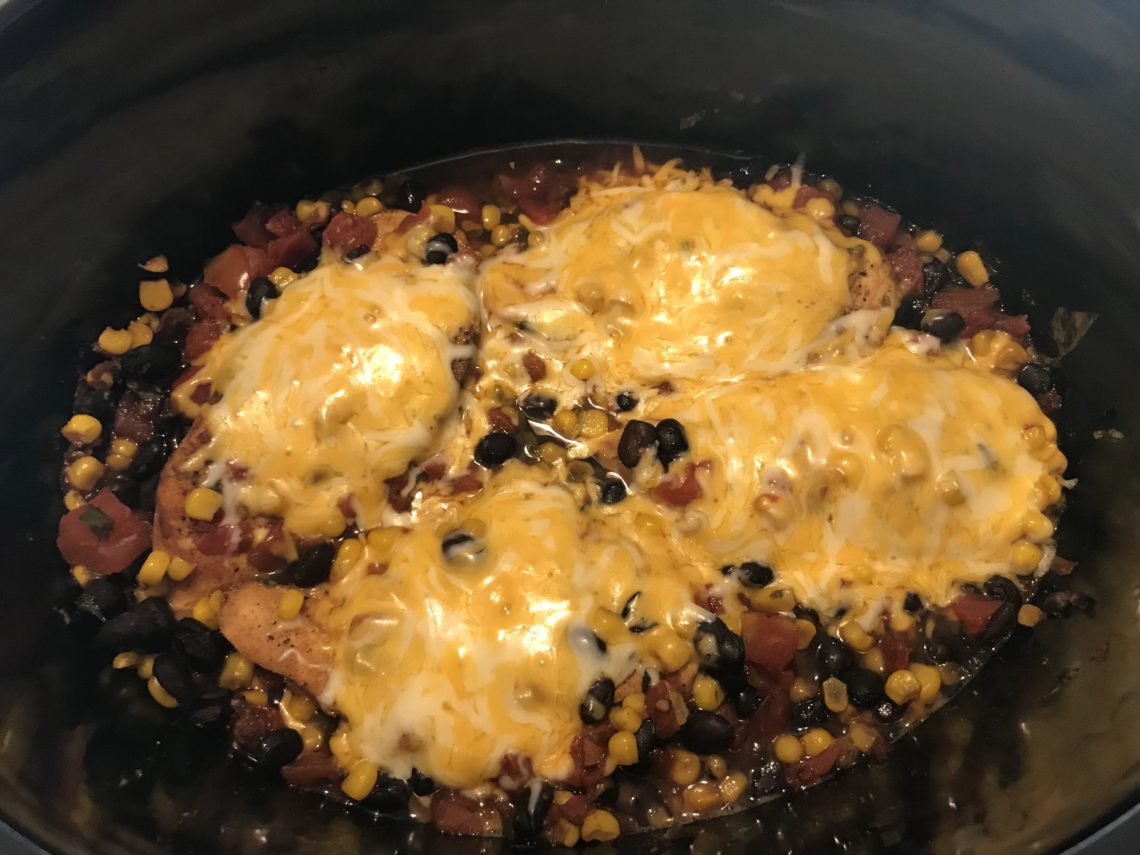
Once the chicken is done and tender, carefully remove the lid and gently lift the chicken pieces to the top of the corn and bean mixture, so they are visible and laying on top.
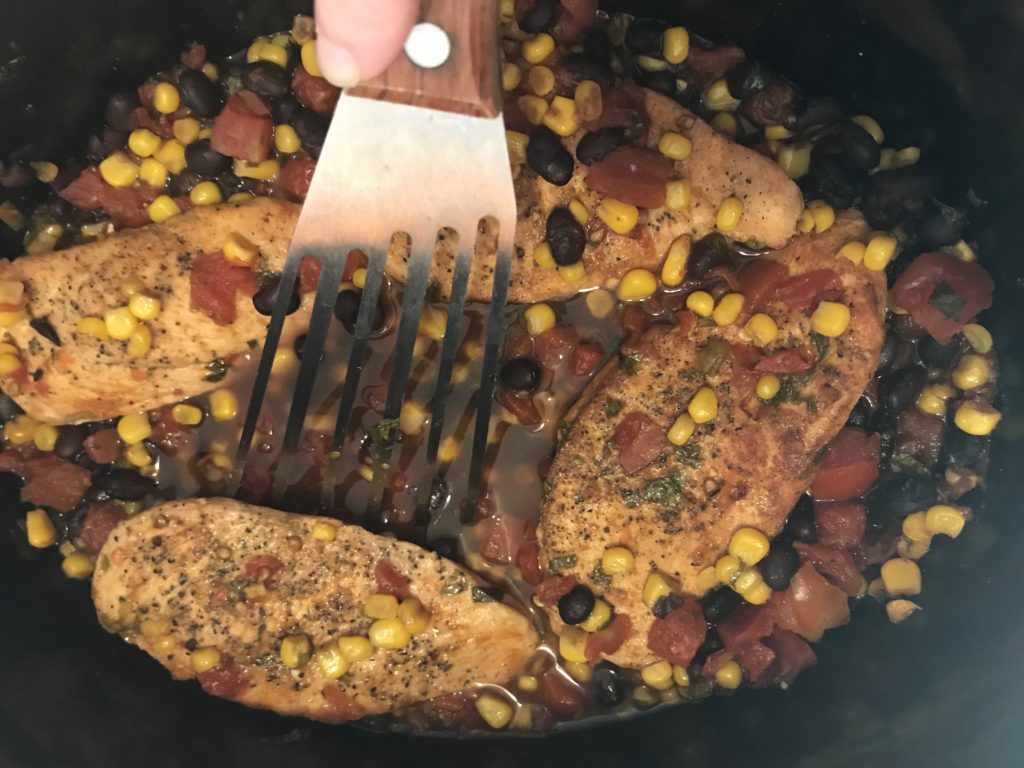
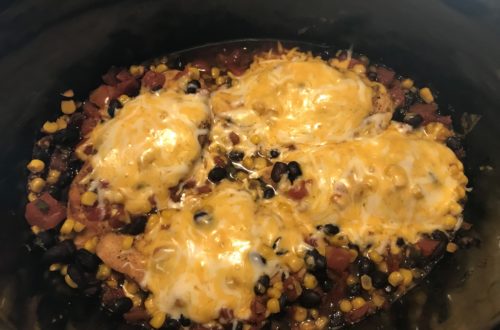
Cover the top of each piece of chicken with about 1/4 cup of colby jack cheese (or more, if you like), and replace the lid until the cheese is completely melted (about 5-7 minutes).
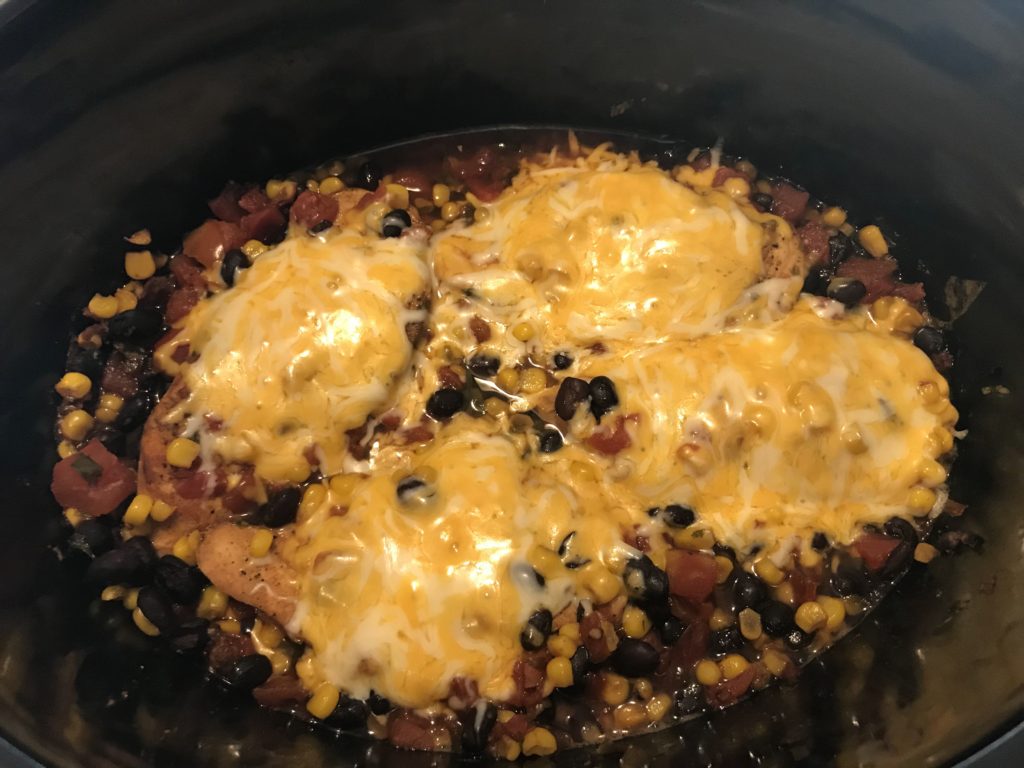
And just like that, you have southwest chicken for dinner! Be sure to scoop out a good portion of the corn and bean mixture with each piece of chicken. You can top it with sour cream and more fresh cilantro, and serve soft flour tortillas on the side.
If you get a chance to try this recipe, let me know how it turned out! Hope you enjoyed it as much as my family did.
Just a tip – I stored the leftover corn and bean mixture in the fridge. The next day I heated it up, added a dollop of sour cream, and ate it with tortilla chips. It made an amazing dip!
- You will need:
Two Versions of Curly Kale Chips: Salted and Ranch
- For the Salted version, you will need:
- 5-6 fresh kale leaves (makes one batch about 2 cups)
- 1/4 cup of olive oil
- salt and pepper to taste
- For the Ranch version, you will need:
- 5-6 fresh kale leaves
- 1/4 cup of olive oil
- 1-2 tsp. ranch seasoning mix
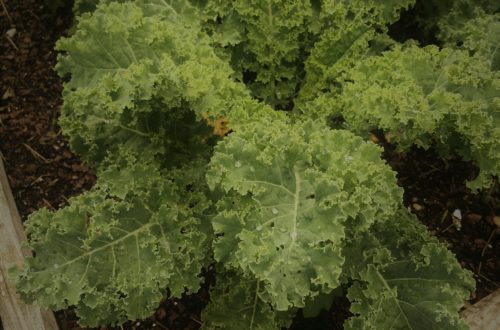
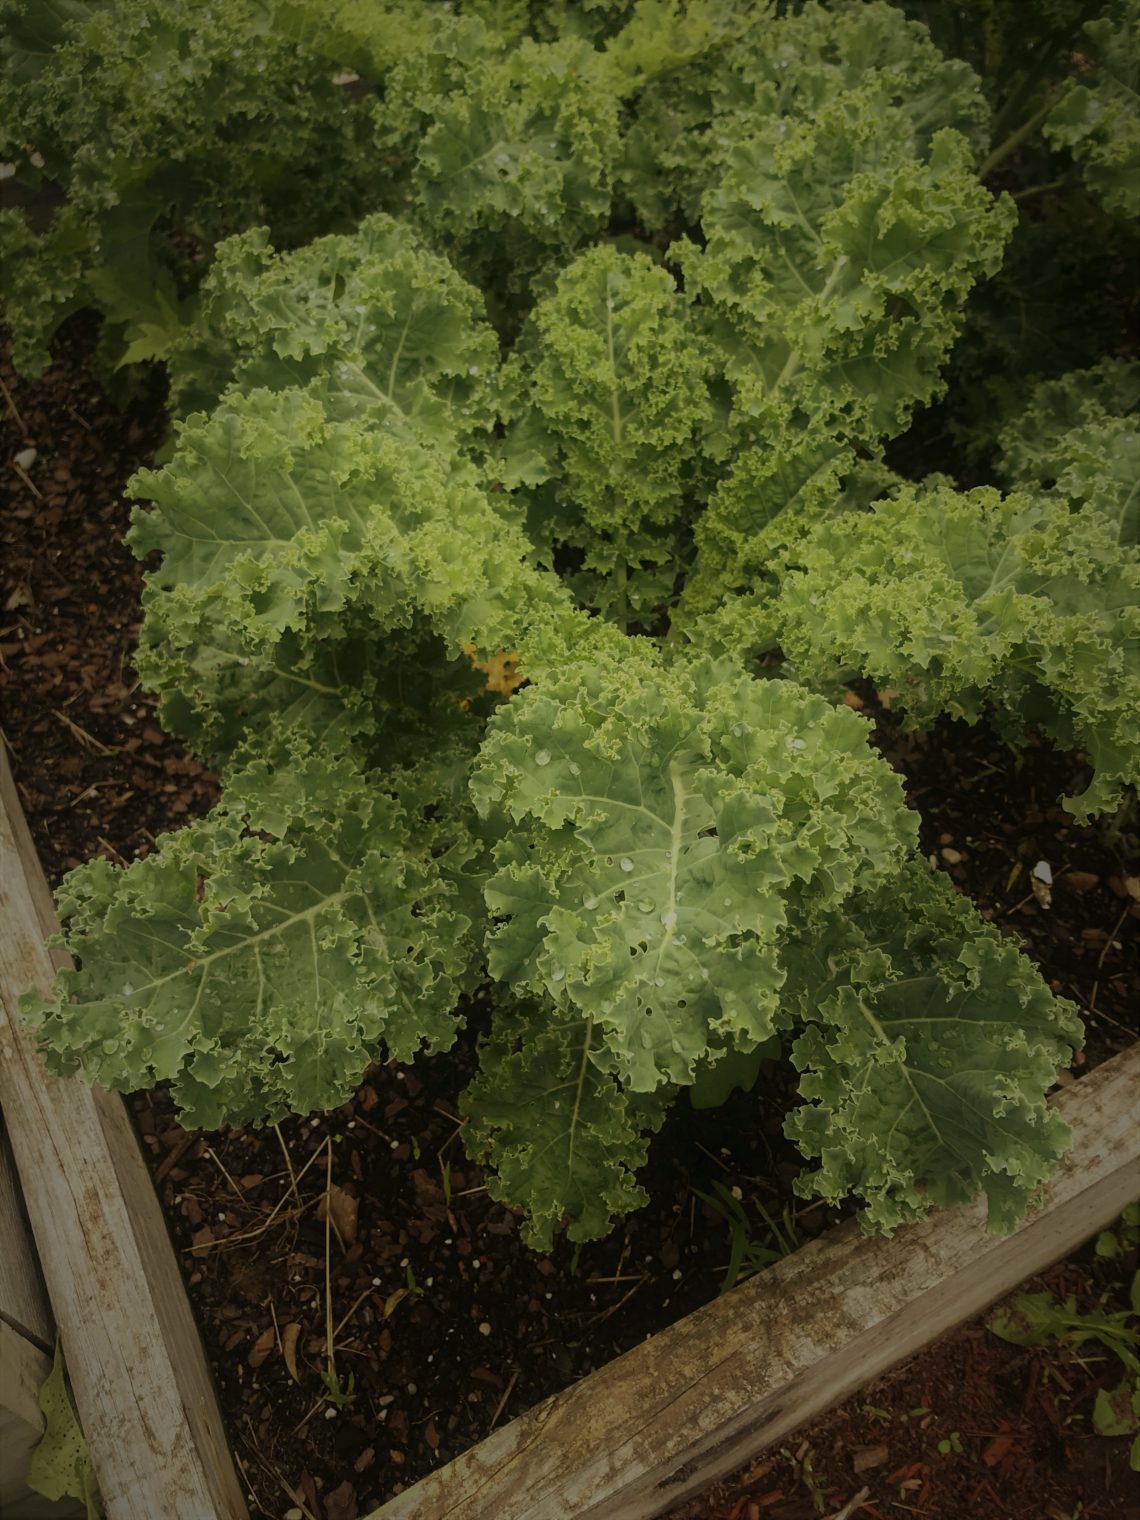
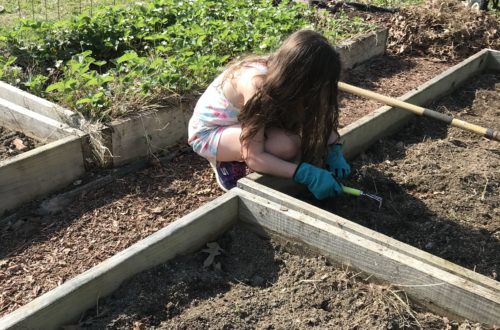
This year, I planted some curly kale in my garden beds. It was the first time I’d planted any leafy greens besides lettuce. I was really surprised how easy it was to grow and the abundance that only a few plants brought – I planted six plants.
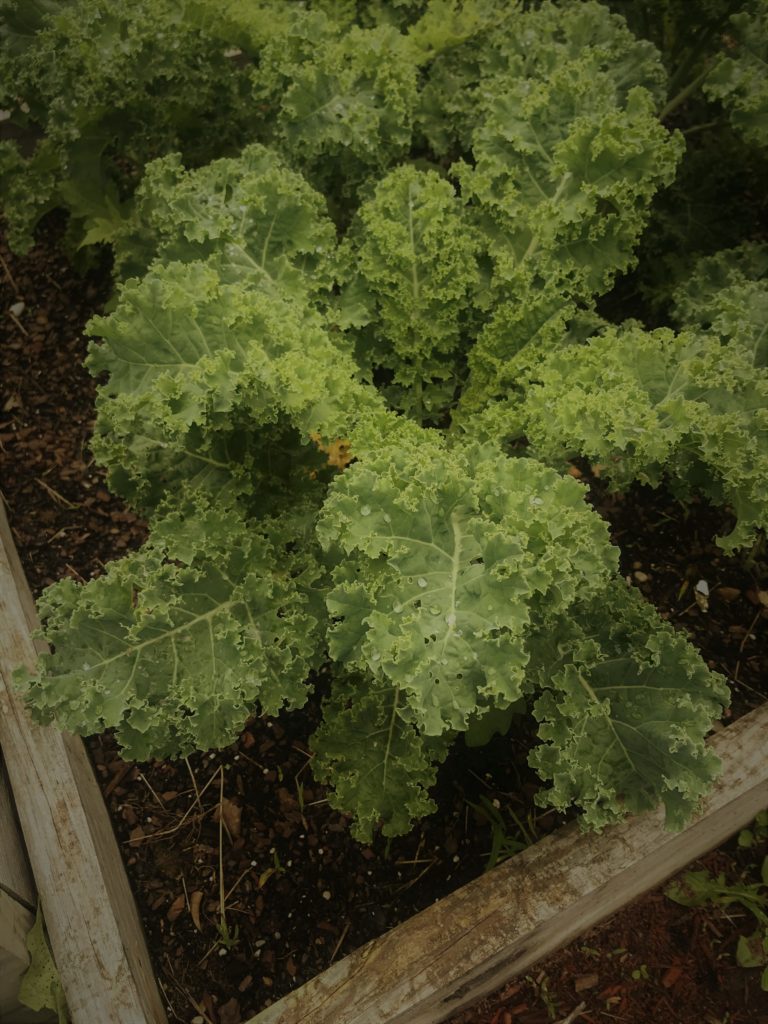
Since no one in my family likes kale (or any green veggie for that matter), I planted this for two reasons. For one, I wanted some greens to use in my green smoothie besides baby spinach, and two, I wanted to make kale chips! I had always bought kale chips from the store, but never tried to make them at home, so I thought I’d give it a whirl. And you know what? They turned out great!
I made two different versions: salted and ranch. Here’s how I did it. FYI – you don’t have to use curly kale, specifically – any kale will do. 🙂
After washing the kale thoroughly, I laid them on a tea towel to dry. You want them to dry completely before proceeding to the next step.
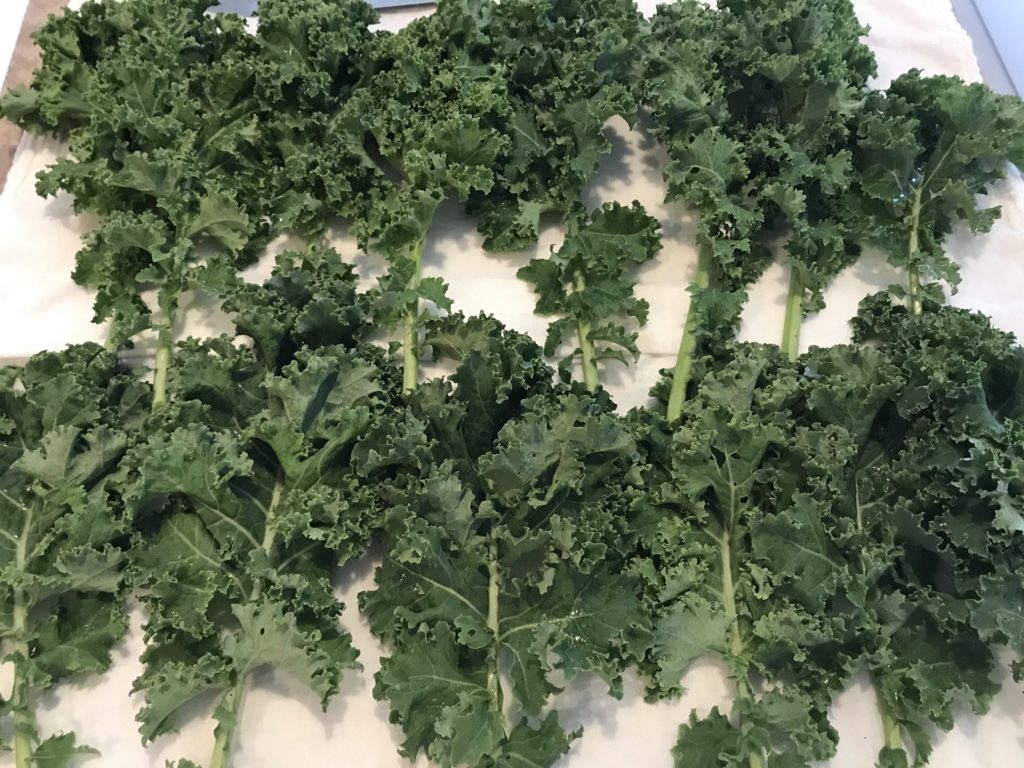
After the kale is completely dry, I preheated the oven to 350 degrees. Then, I used the spine (backside) of my butcher’s knife to remove the leaves from the rib or stem. I prefer to use my hands and tear the leaves into chip-sized pieces. I think they turn out better if they aren’t too big.
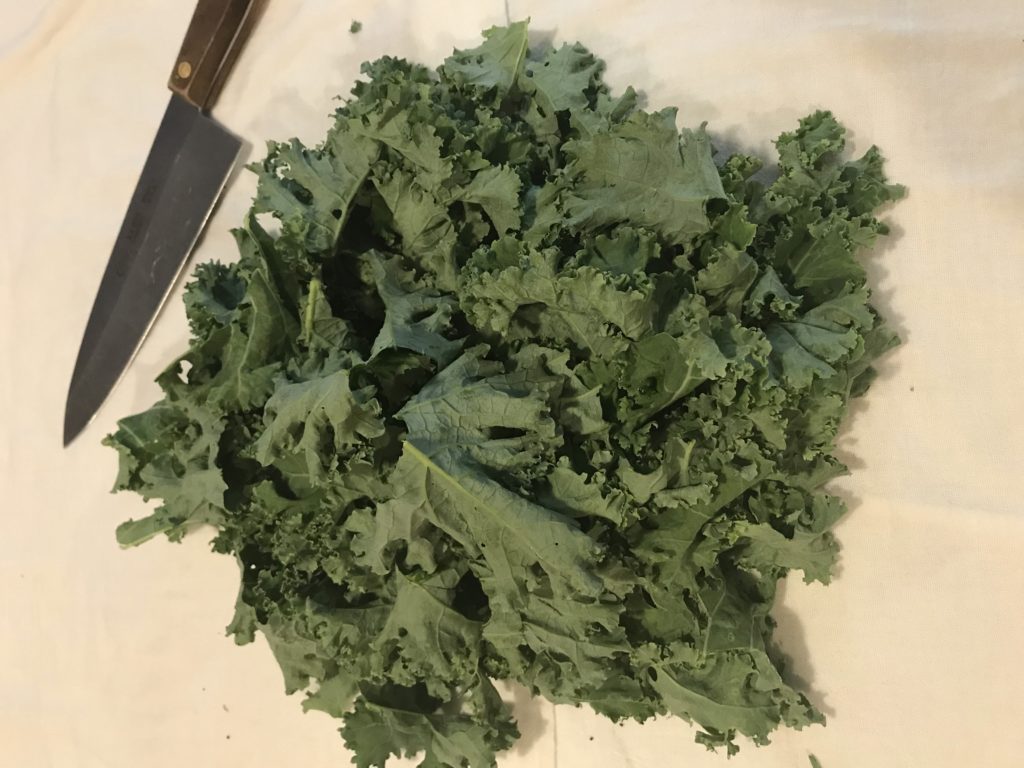
Next, I transfer the kale into a large bowl, so I can coat it with the olive oil (I have never used any other kind of oil, so for this recipe, I would recommend using olive oil only). I have seen other kale chip recipes that instructs you to drench the kale in oil, but I don’t like my kale chips deep-fried in the oven! However, it is important to make sure the entire surface of the kale is coated in oil. The method I use to do this takes time, but it’s worth it!
I start by drizzling in a small amount of oil over the kale and then use my hands to massage it in to every crease of the leaves. If the leaves are too dry, drizzle in a little more. When you are finished, your kale should be shiny, but not dripping with oil.
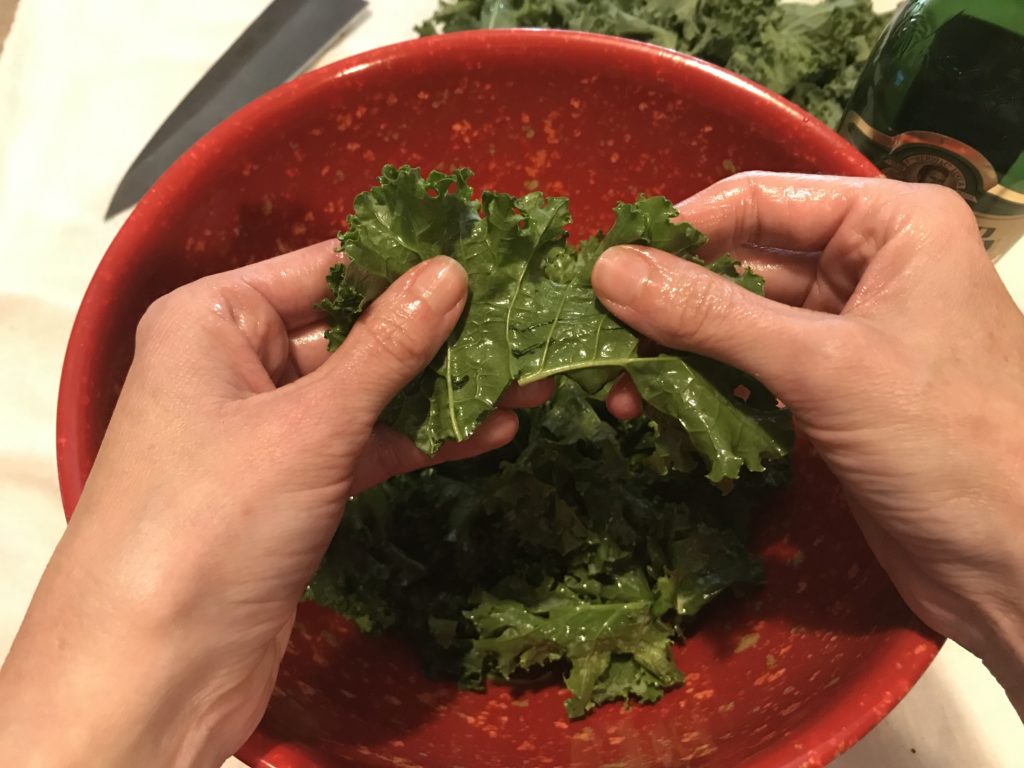
For the salted version, this is when I like to add the salt and pepper. I just used coarse salt, but you can use sea salt, seasoned salt, or a salt substitute like Mrs. Dash. The ranch version is a little different, so I will explain that at the end.
After the leaves are seasoned with salt, place them on a large baking sheet. I like to cover my baking sheet with aluminum foil to make clean-up easy. No need to oil the pan, since the kale is already coated with oil. Be sure not to layer the kale on top of each other. You should have a single layer of kale leaves with a little space between them. If they are folded over, unfold them. This will help them to bake more evenly.
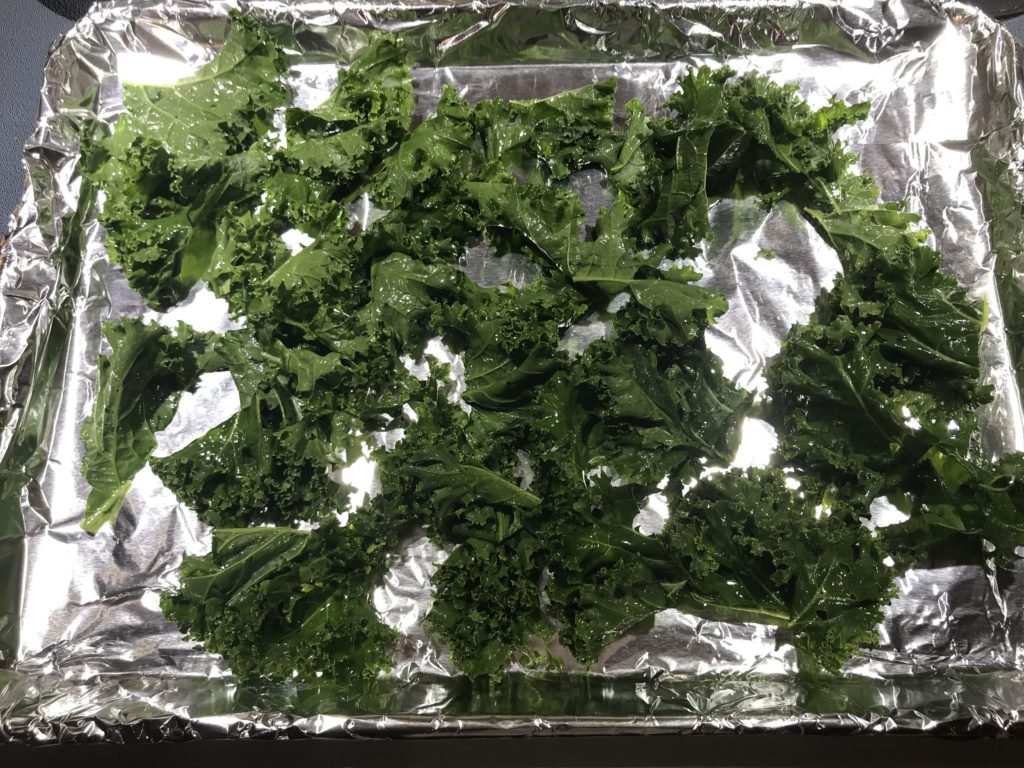
Bake them in the over for about 10-12 minutes or until the kale is crisp.
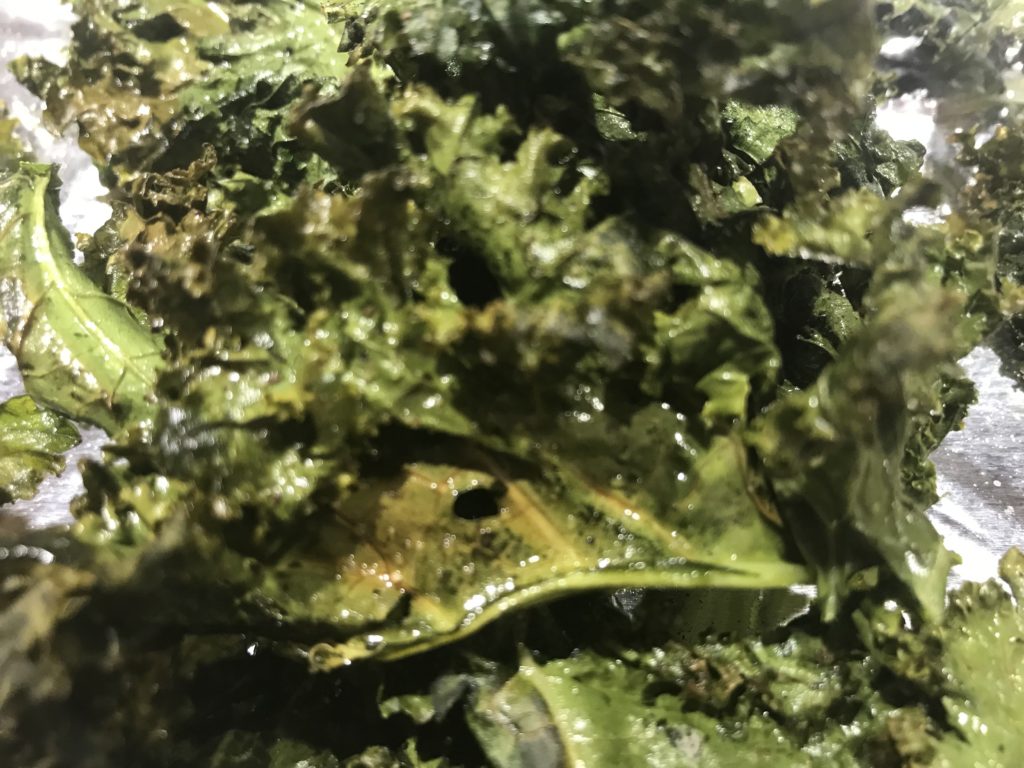
Salted Version For the ranch version, the steps are the same until it is time to coat the leaves with the olive oil. Instead of using just the olive oil, I mixed the ranch seasoning mix with the oil and then drizzled it in to coat. A little ranch seasoning goes a long way, so you might have to play with the seasoning to oil ratio to get the right amount of ranch flavor you like.
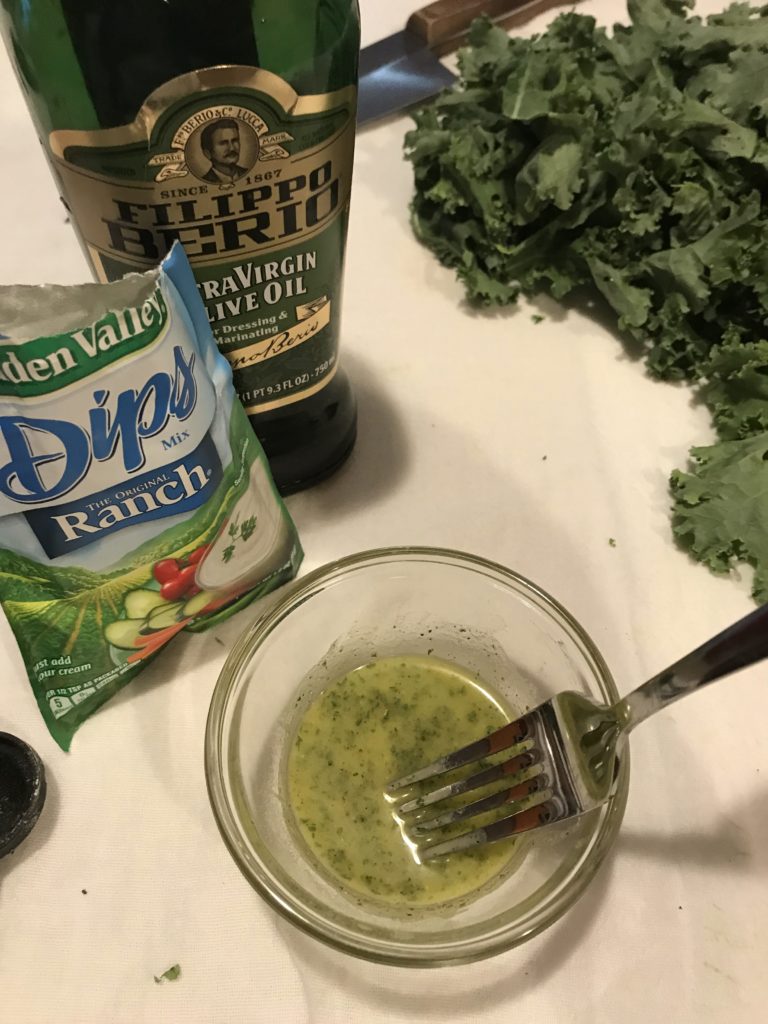
Just like the salted version, don’t dump in the whole amount of seasoned oil into the bowl. Drizzle it in, little at a time, until all the leaves are evening coated, not dripping.
Once coated, place them on the baking sheet in an even single layer and bake until crisp!
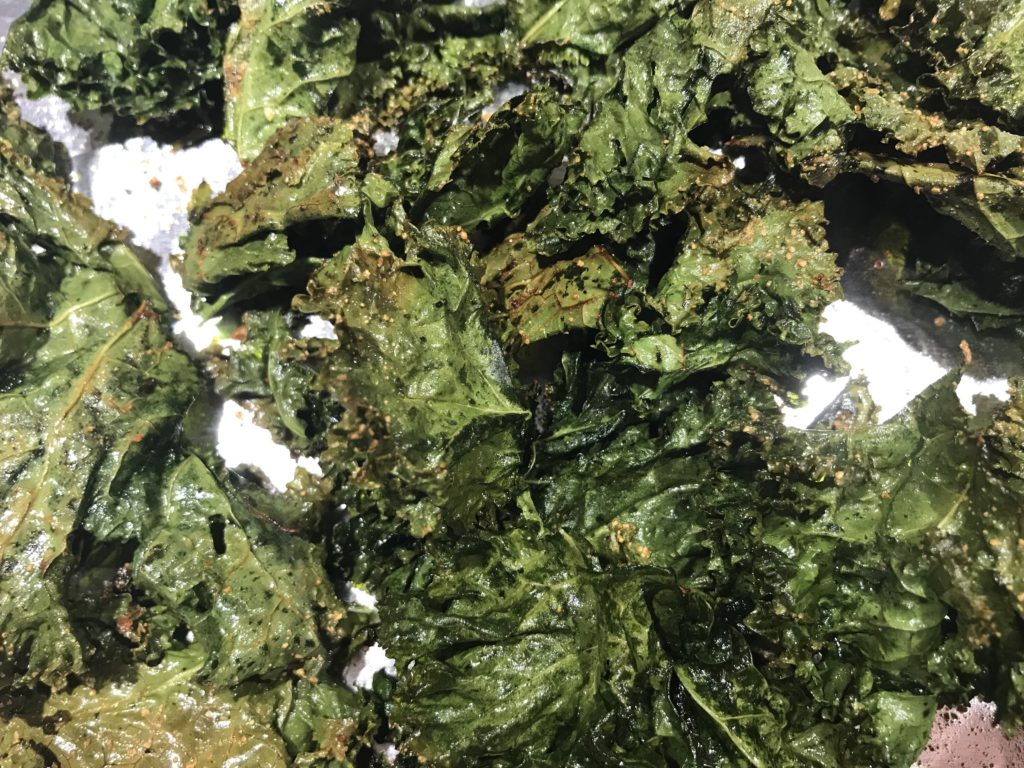
Ranch Version All that’s left now is to enjoy them! If you don’t eat all of them in one sitting, you can store them in an airtight container. Just be sure to allow them to cool completely before you store them, or else, they will lose their crispiness.
If you try this recipe, please let me know how they turned out.
If you have some tips or tricks you’d like to share, I’d love to hear them!
- For the Salted version, you will need:
